

Fence art, part 4: a prototype
/Last week I went down to Backstreet — our glorious founder Kim was working and said it was okay for me to join her — to make an ABORTIVE ATTEMPT for the fence art.
For those just joining us, this project involves my creating narrow banners to hang atop the fence across the back of my labyrinth, thus extending my neighbors’ privacy from six to eight feet. For this prototype, I had the following goals:
test my theory that the powerful little magnets, sewn into twill tape, would be sufficient to hold the banners up, yet come down with a quick pull
experiment with installing a metal ring to hold the shape of an opening to hang the shell things in
Here we go.
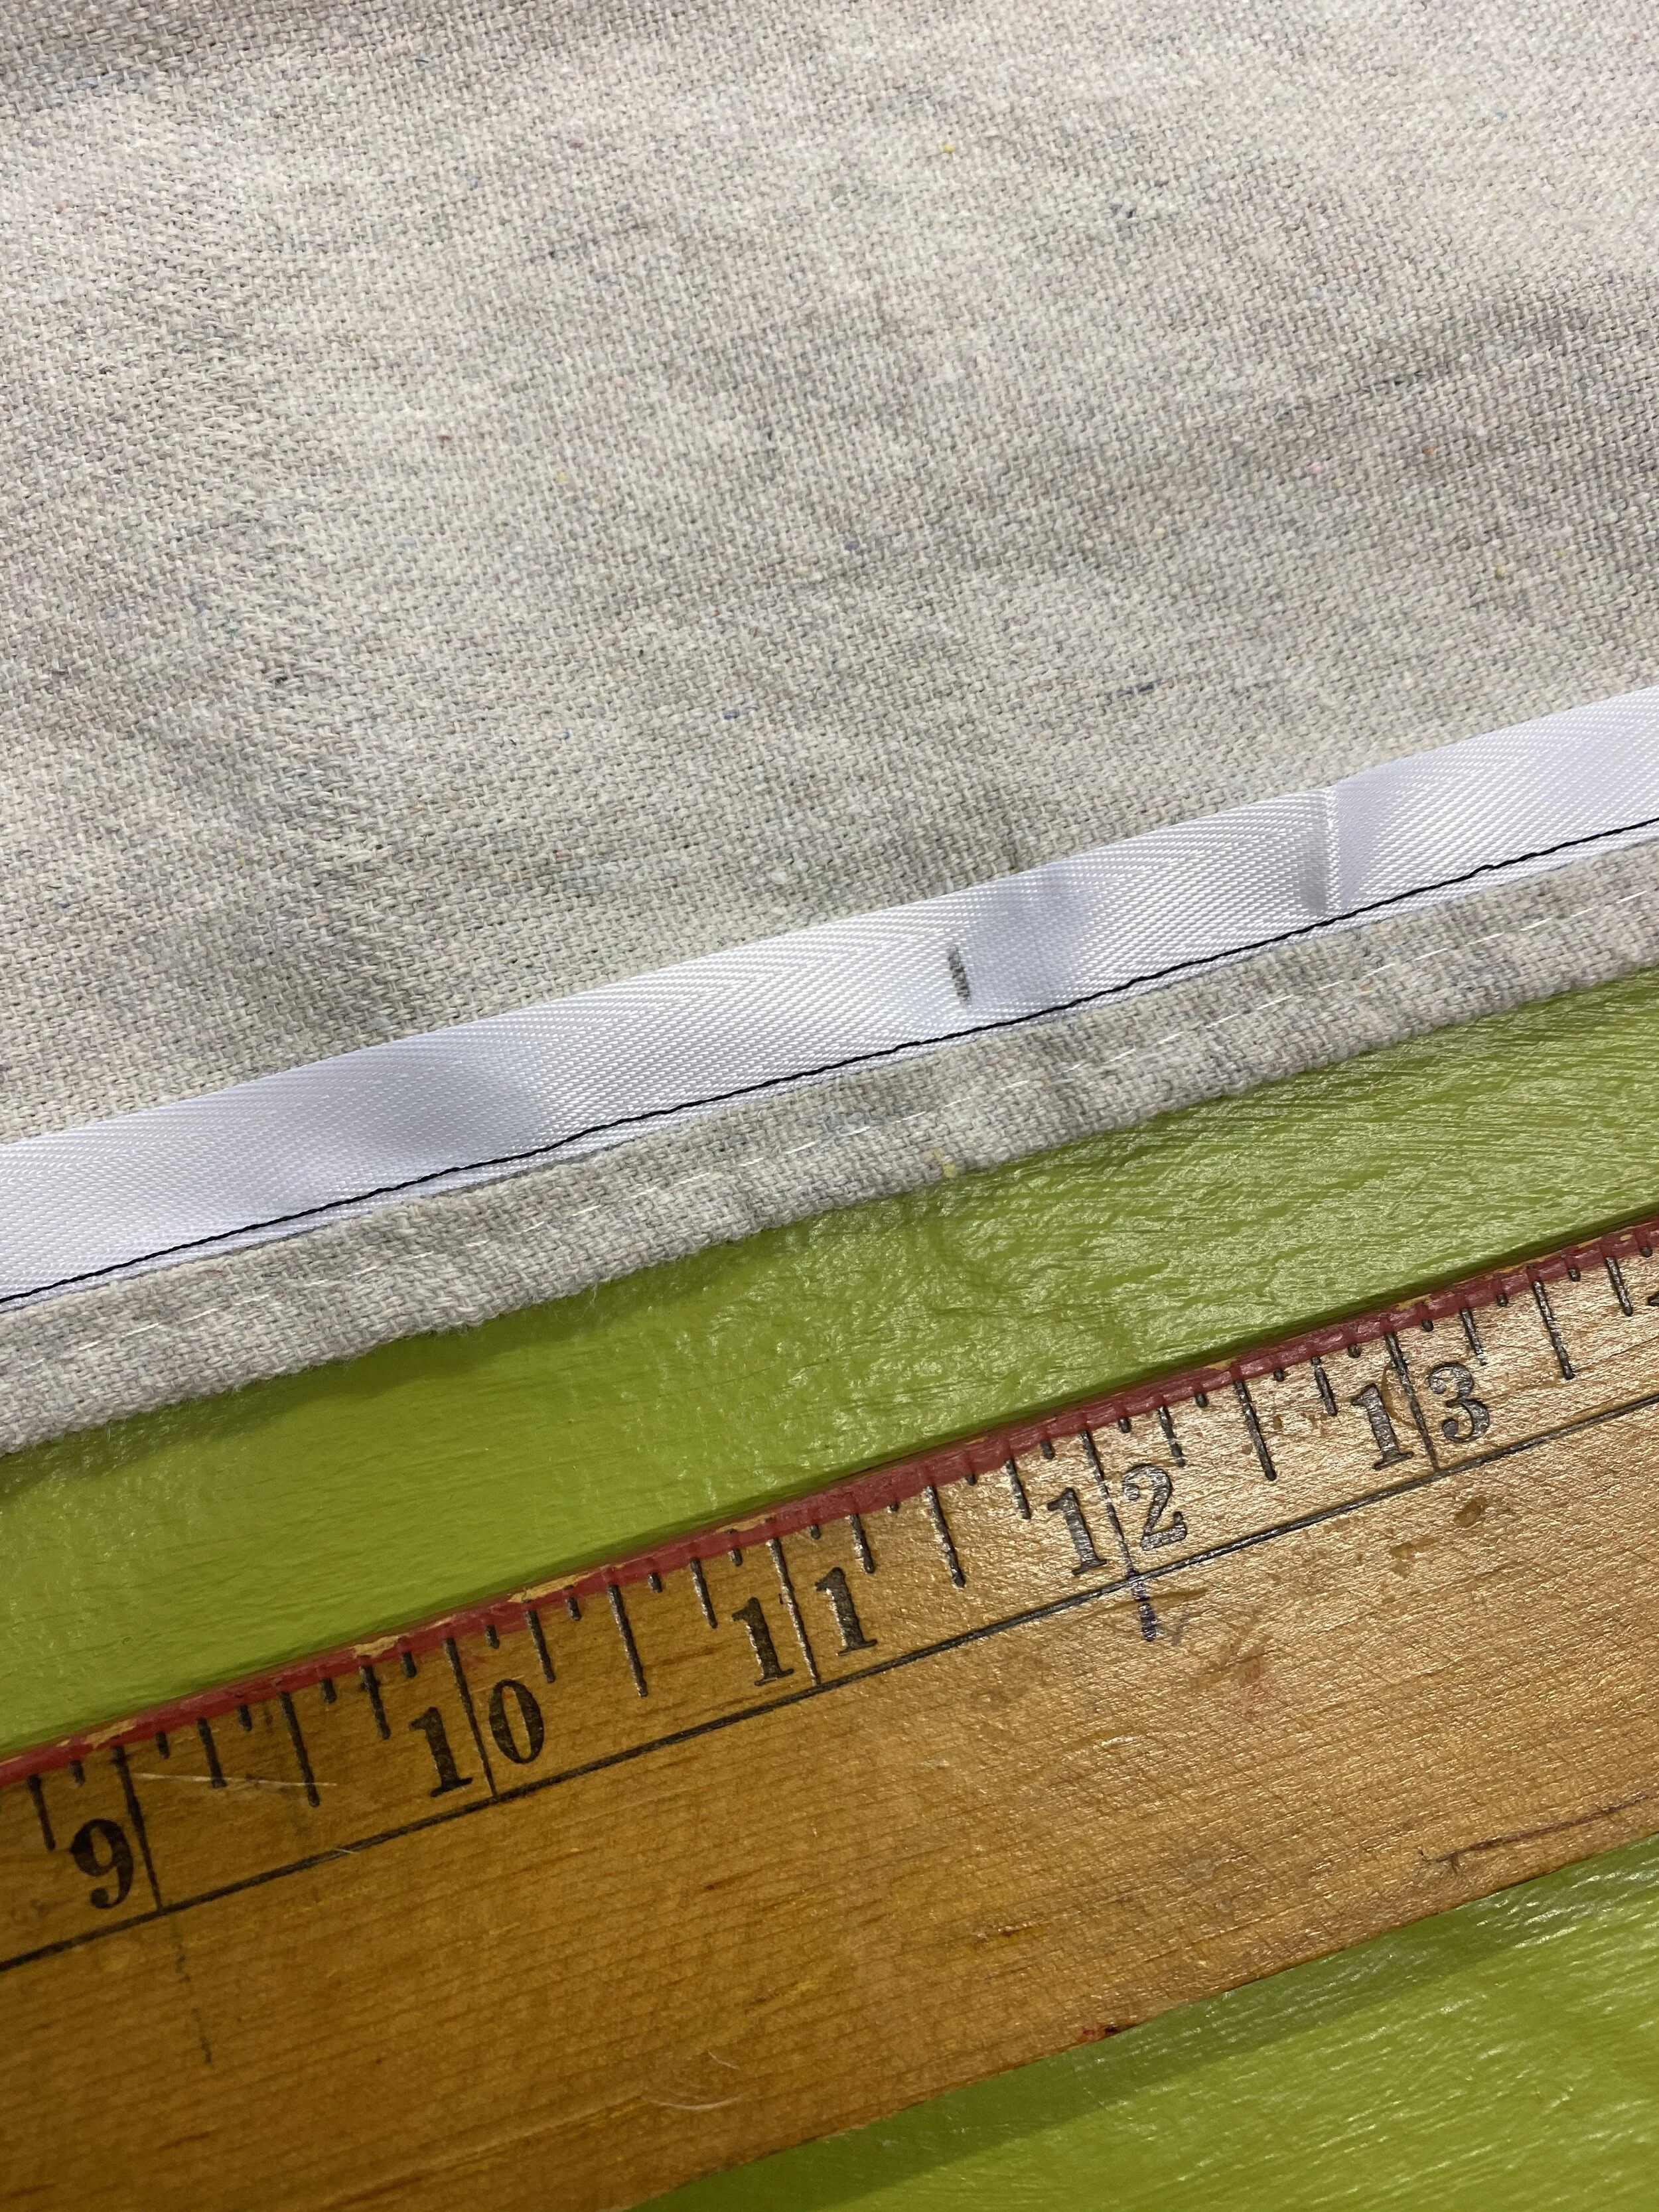
Sew the twill tape along one edge.

Mark it every 12 inches. This is a test; I may want to space the magnets every 6 inches.
Stitch in little pockets.
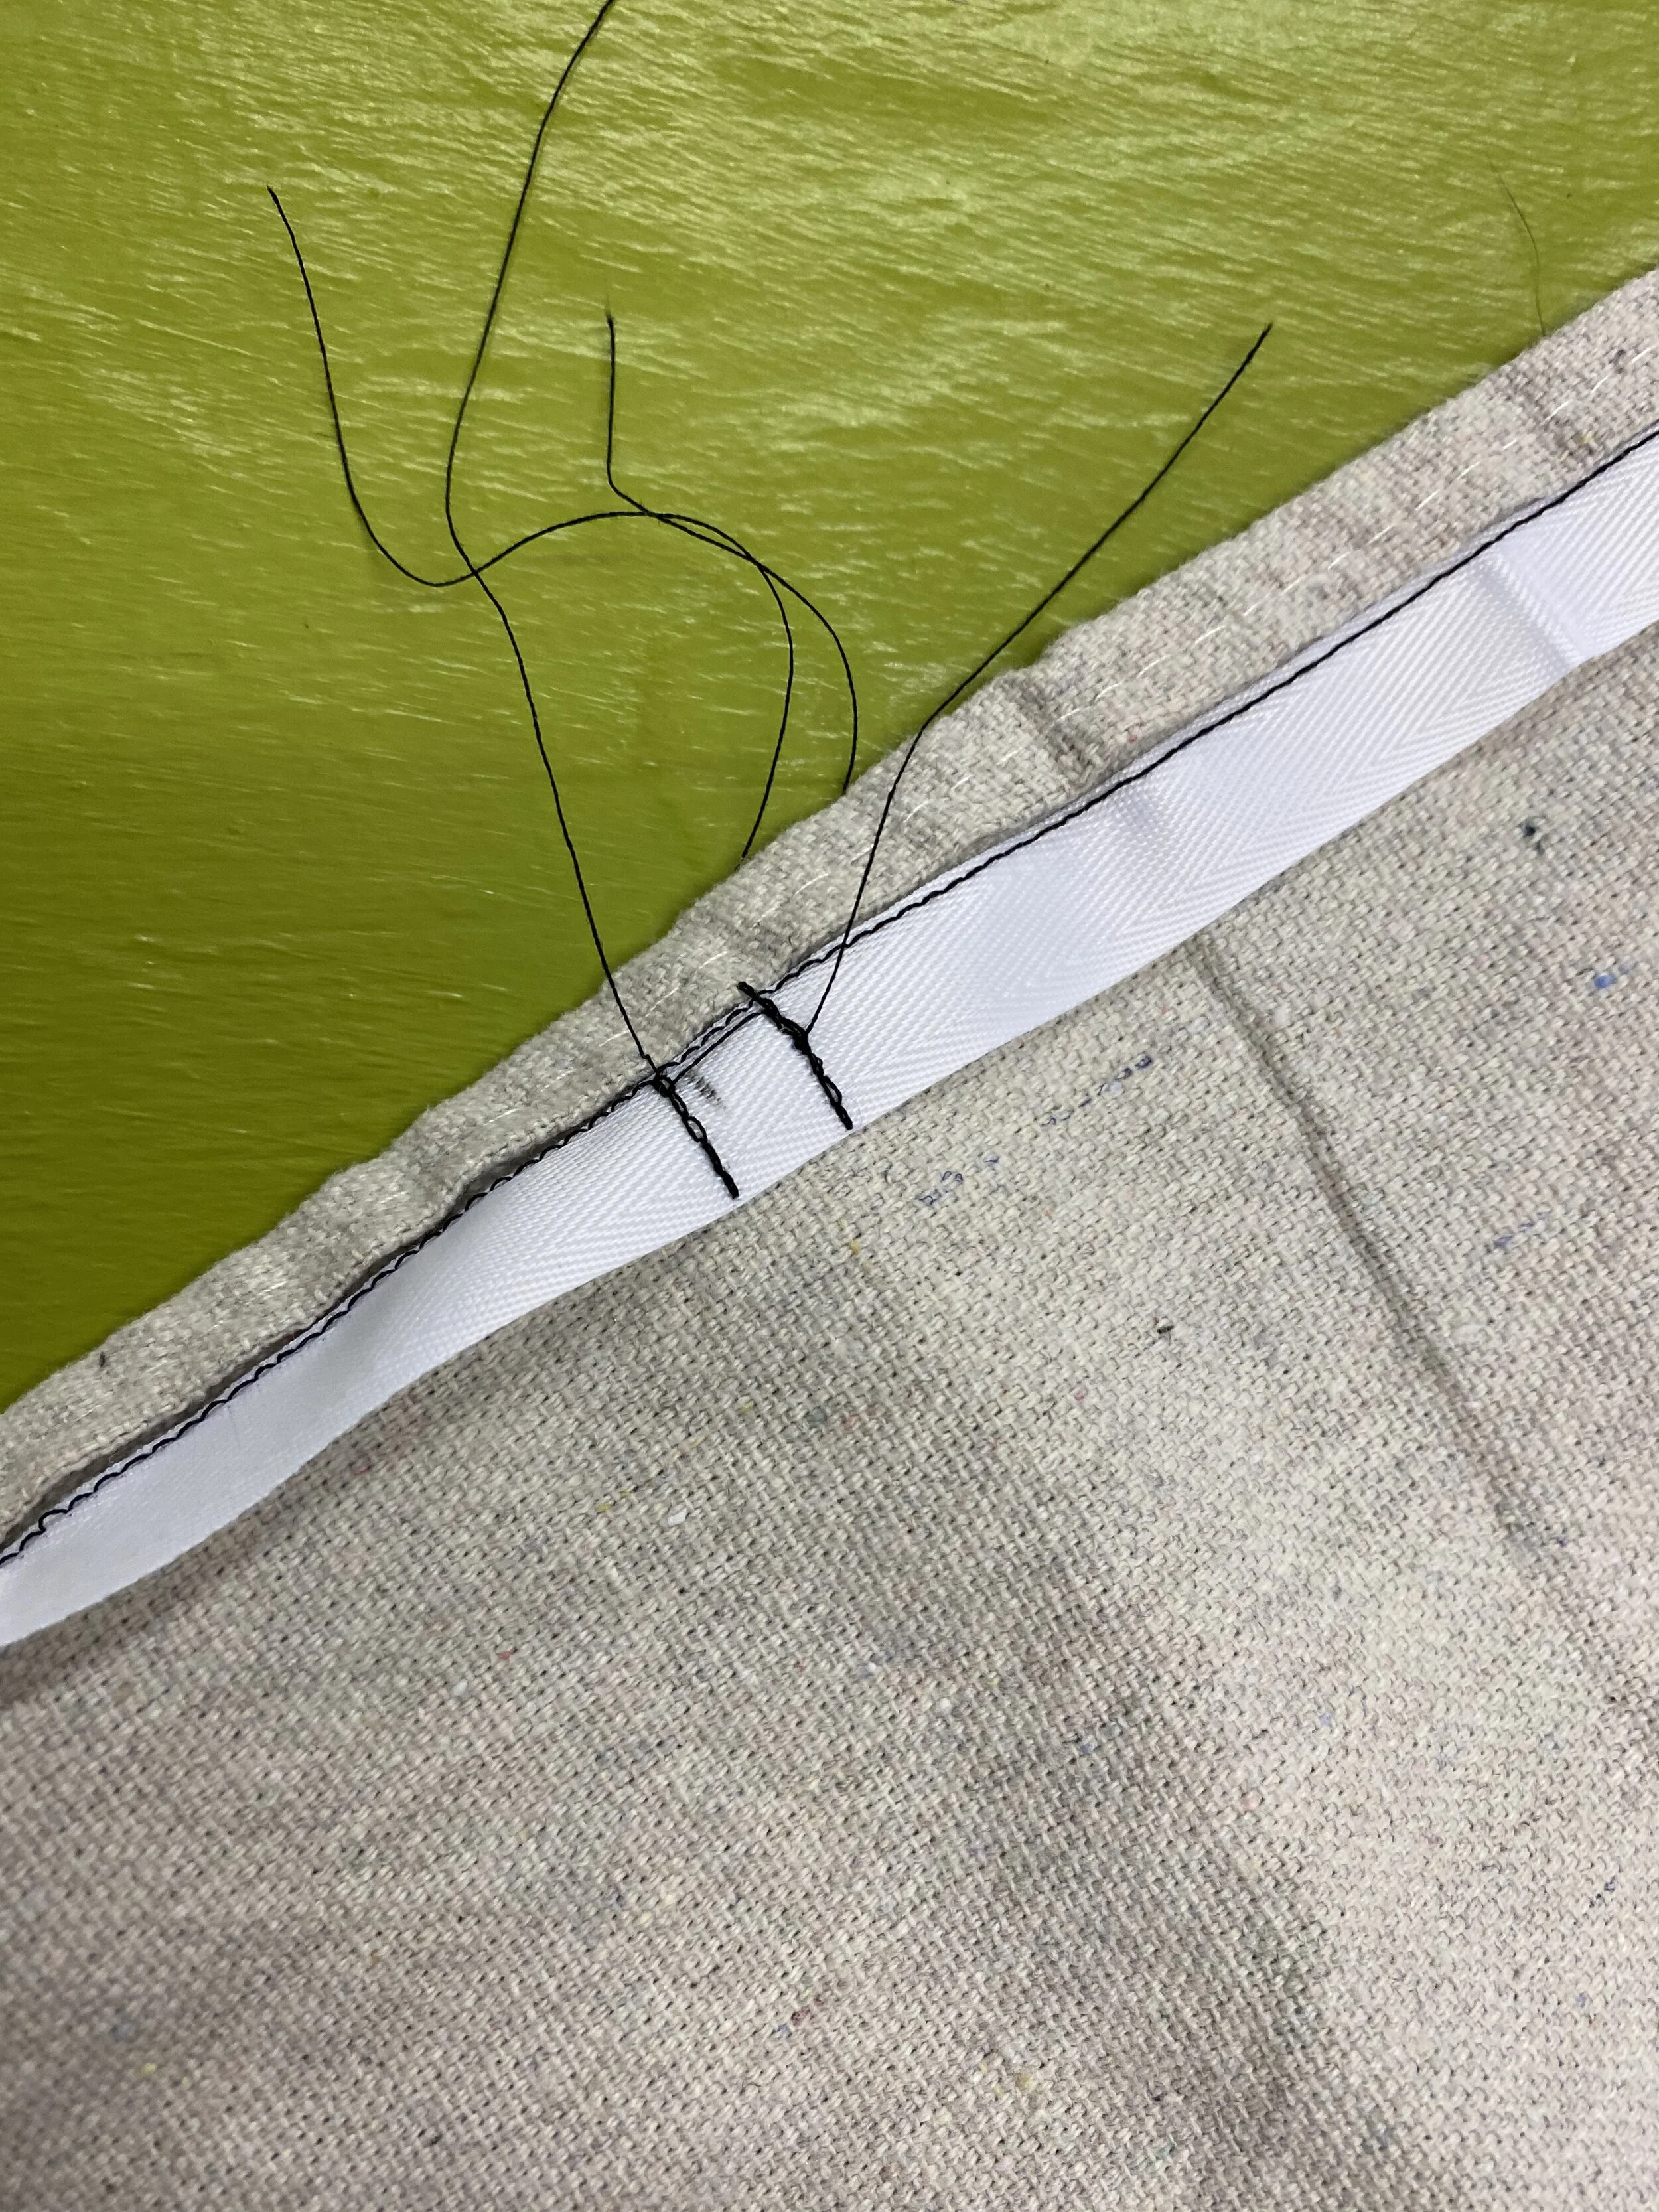
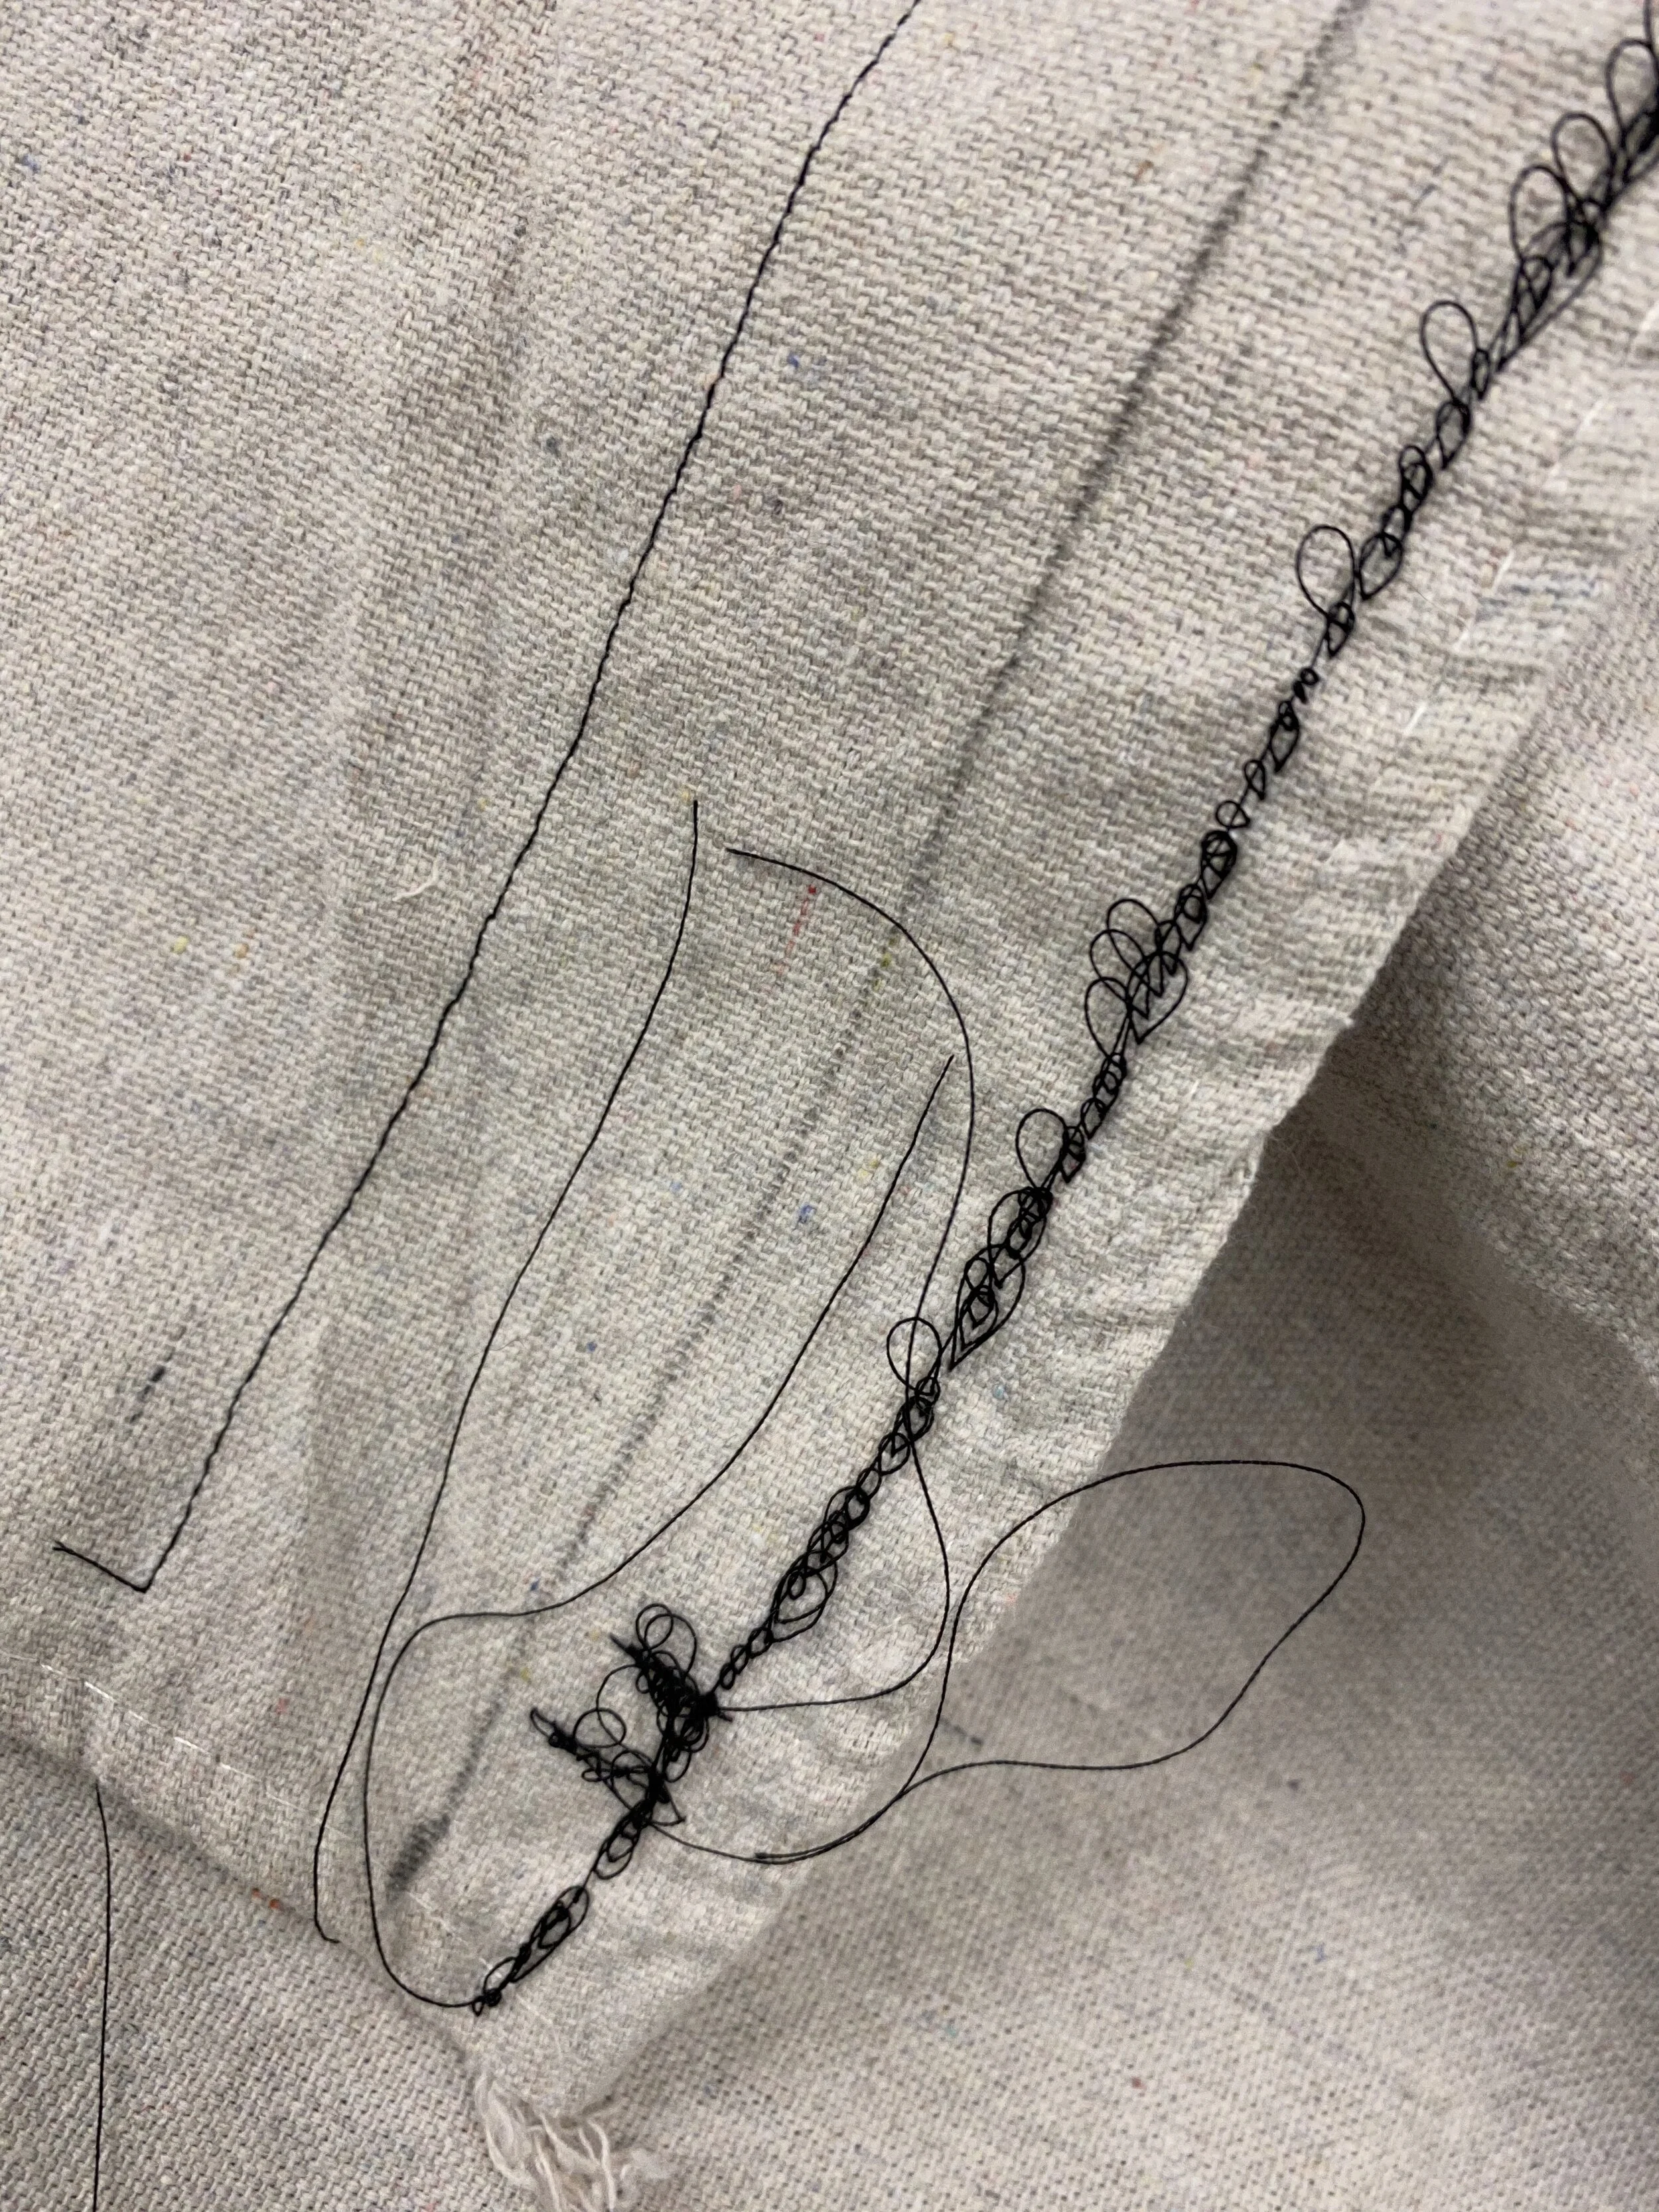
Pro tip: When starting to use someone else’s sewing machine, double-check to make sure it’s threaded correctly. Ugh.
Add a second strip of twill tape; match the pockets.

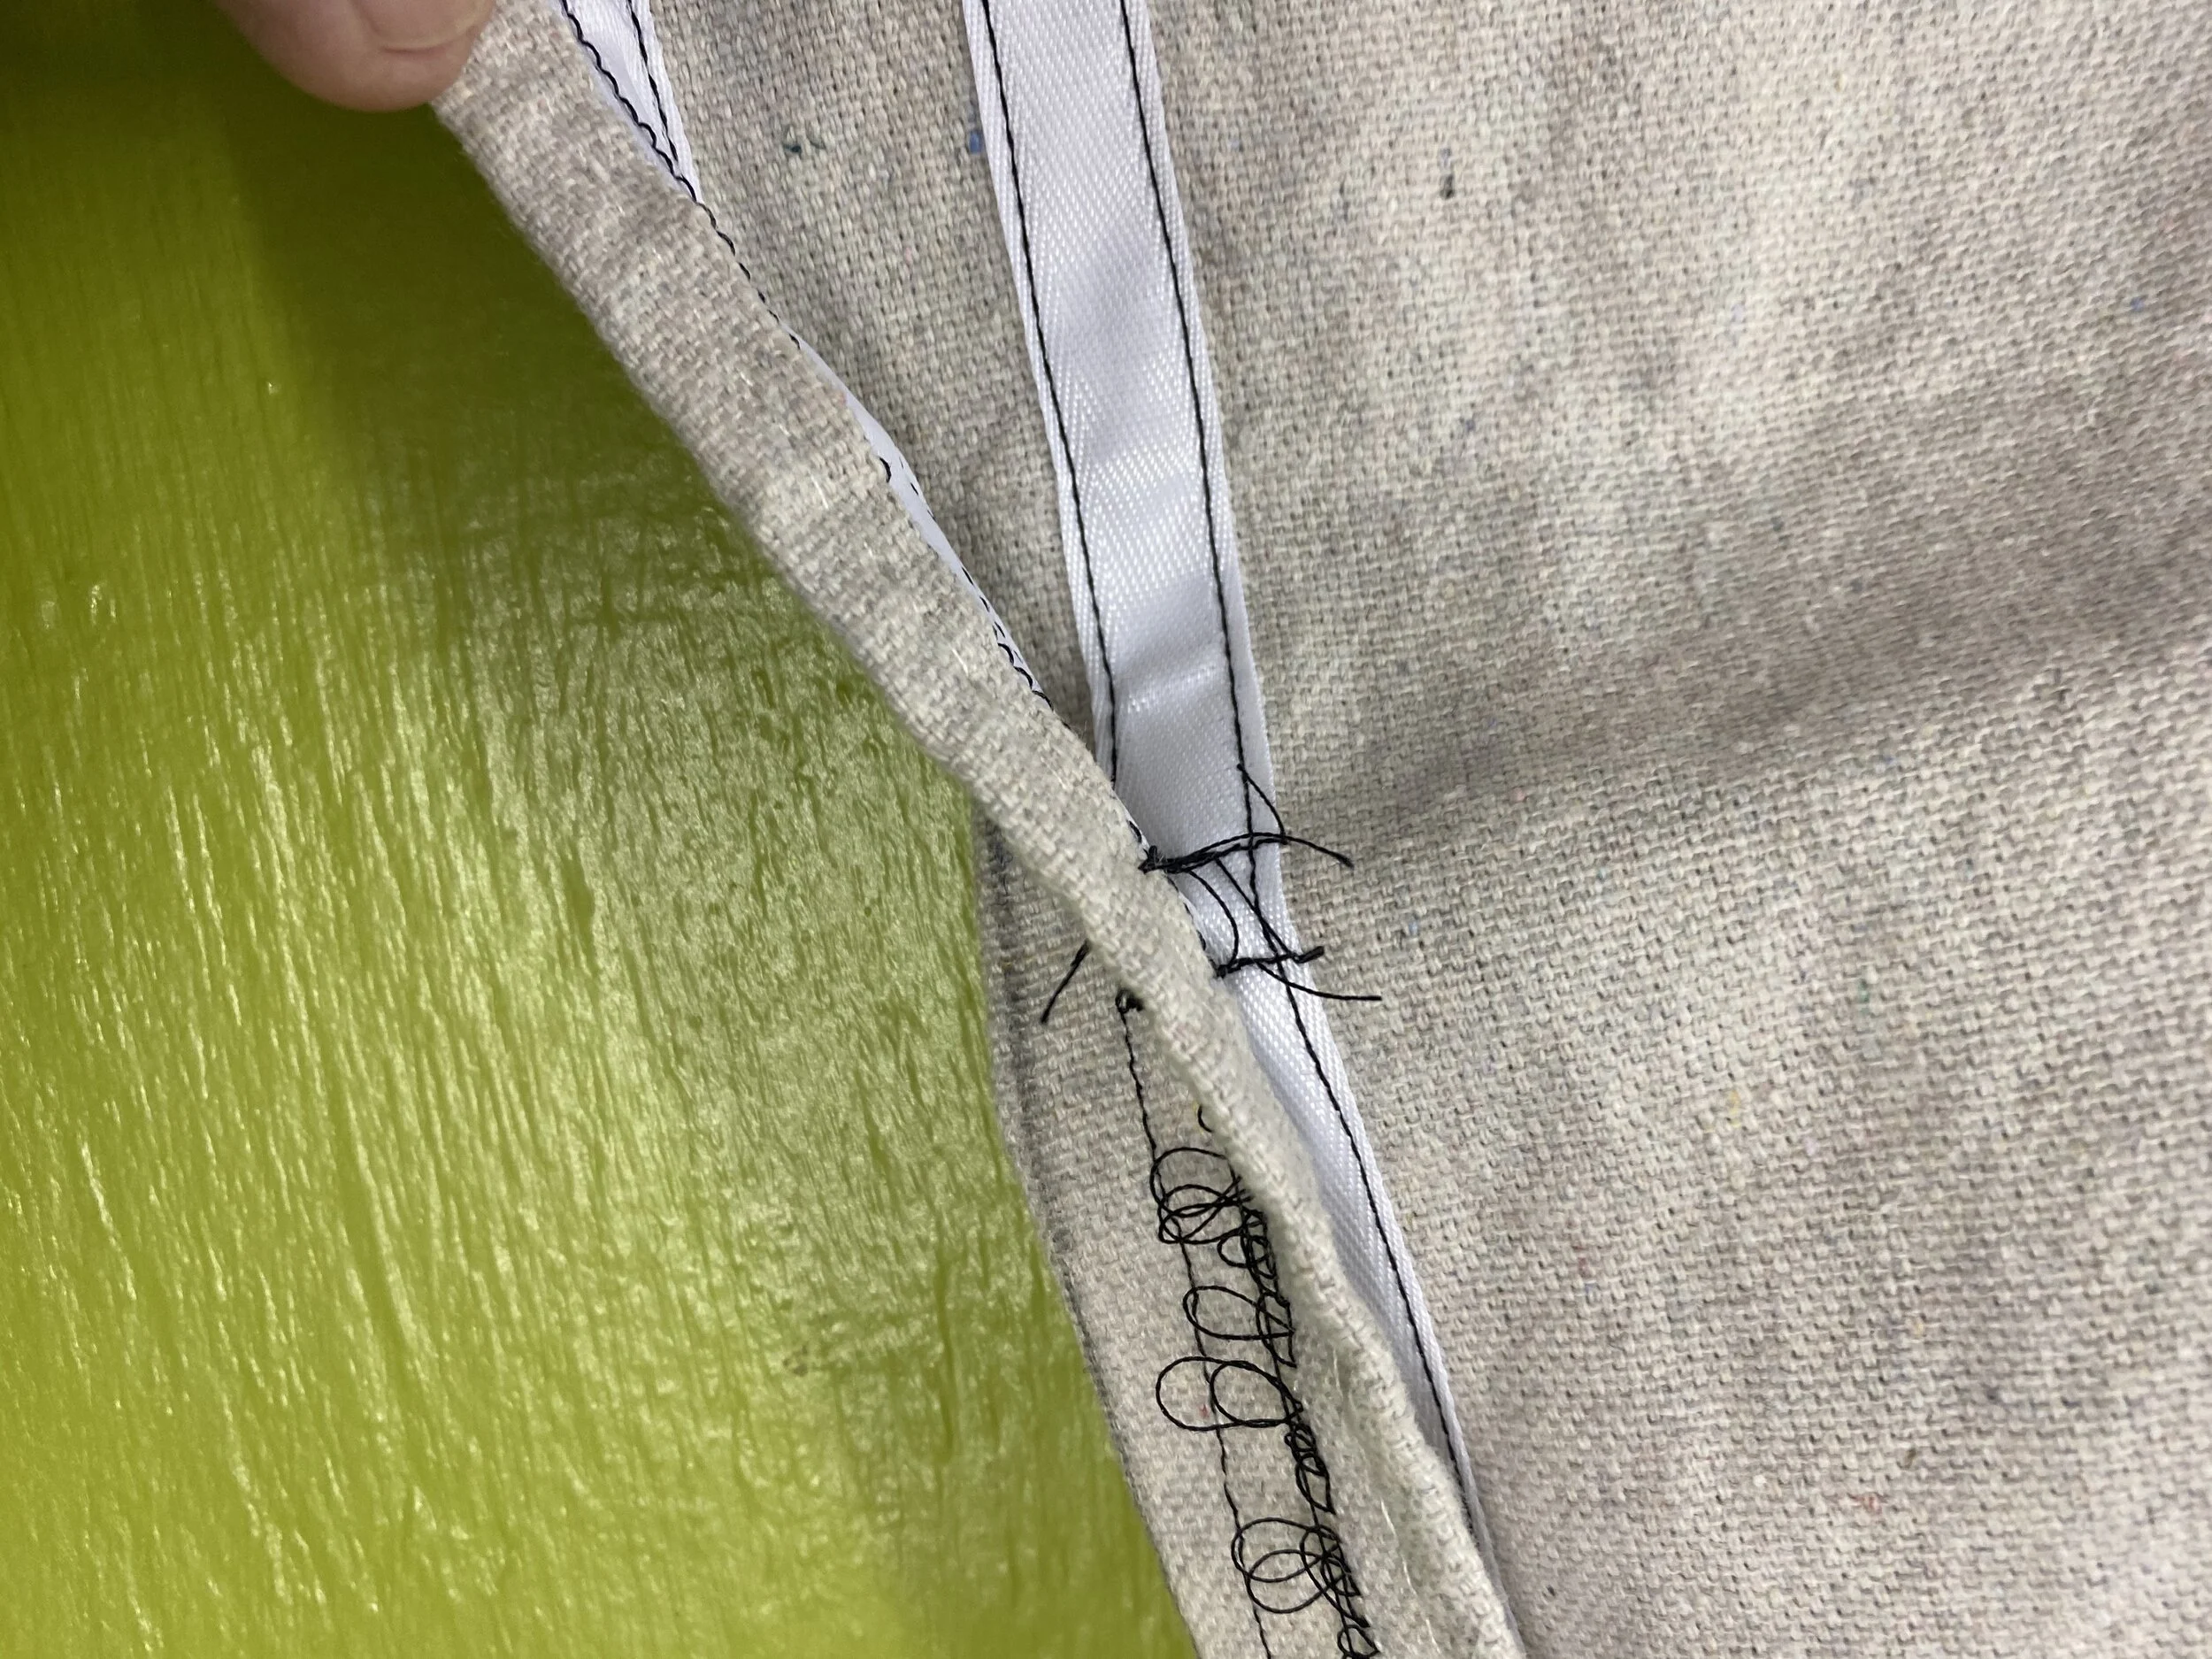
Using a bamboo knitting needle, push the tiny little magnets into the pockets…
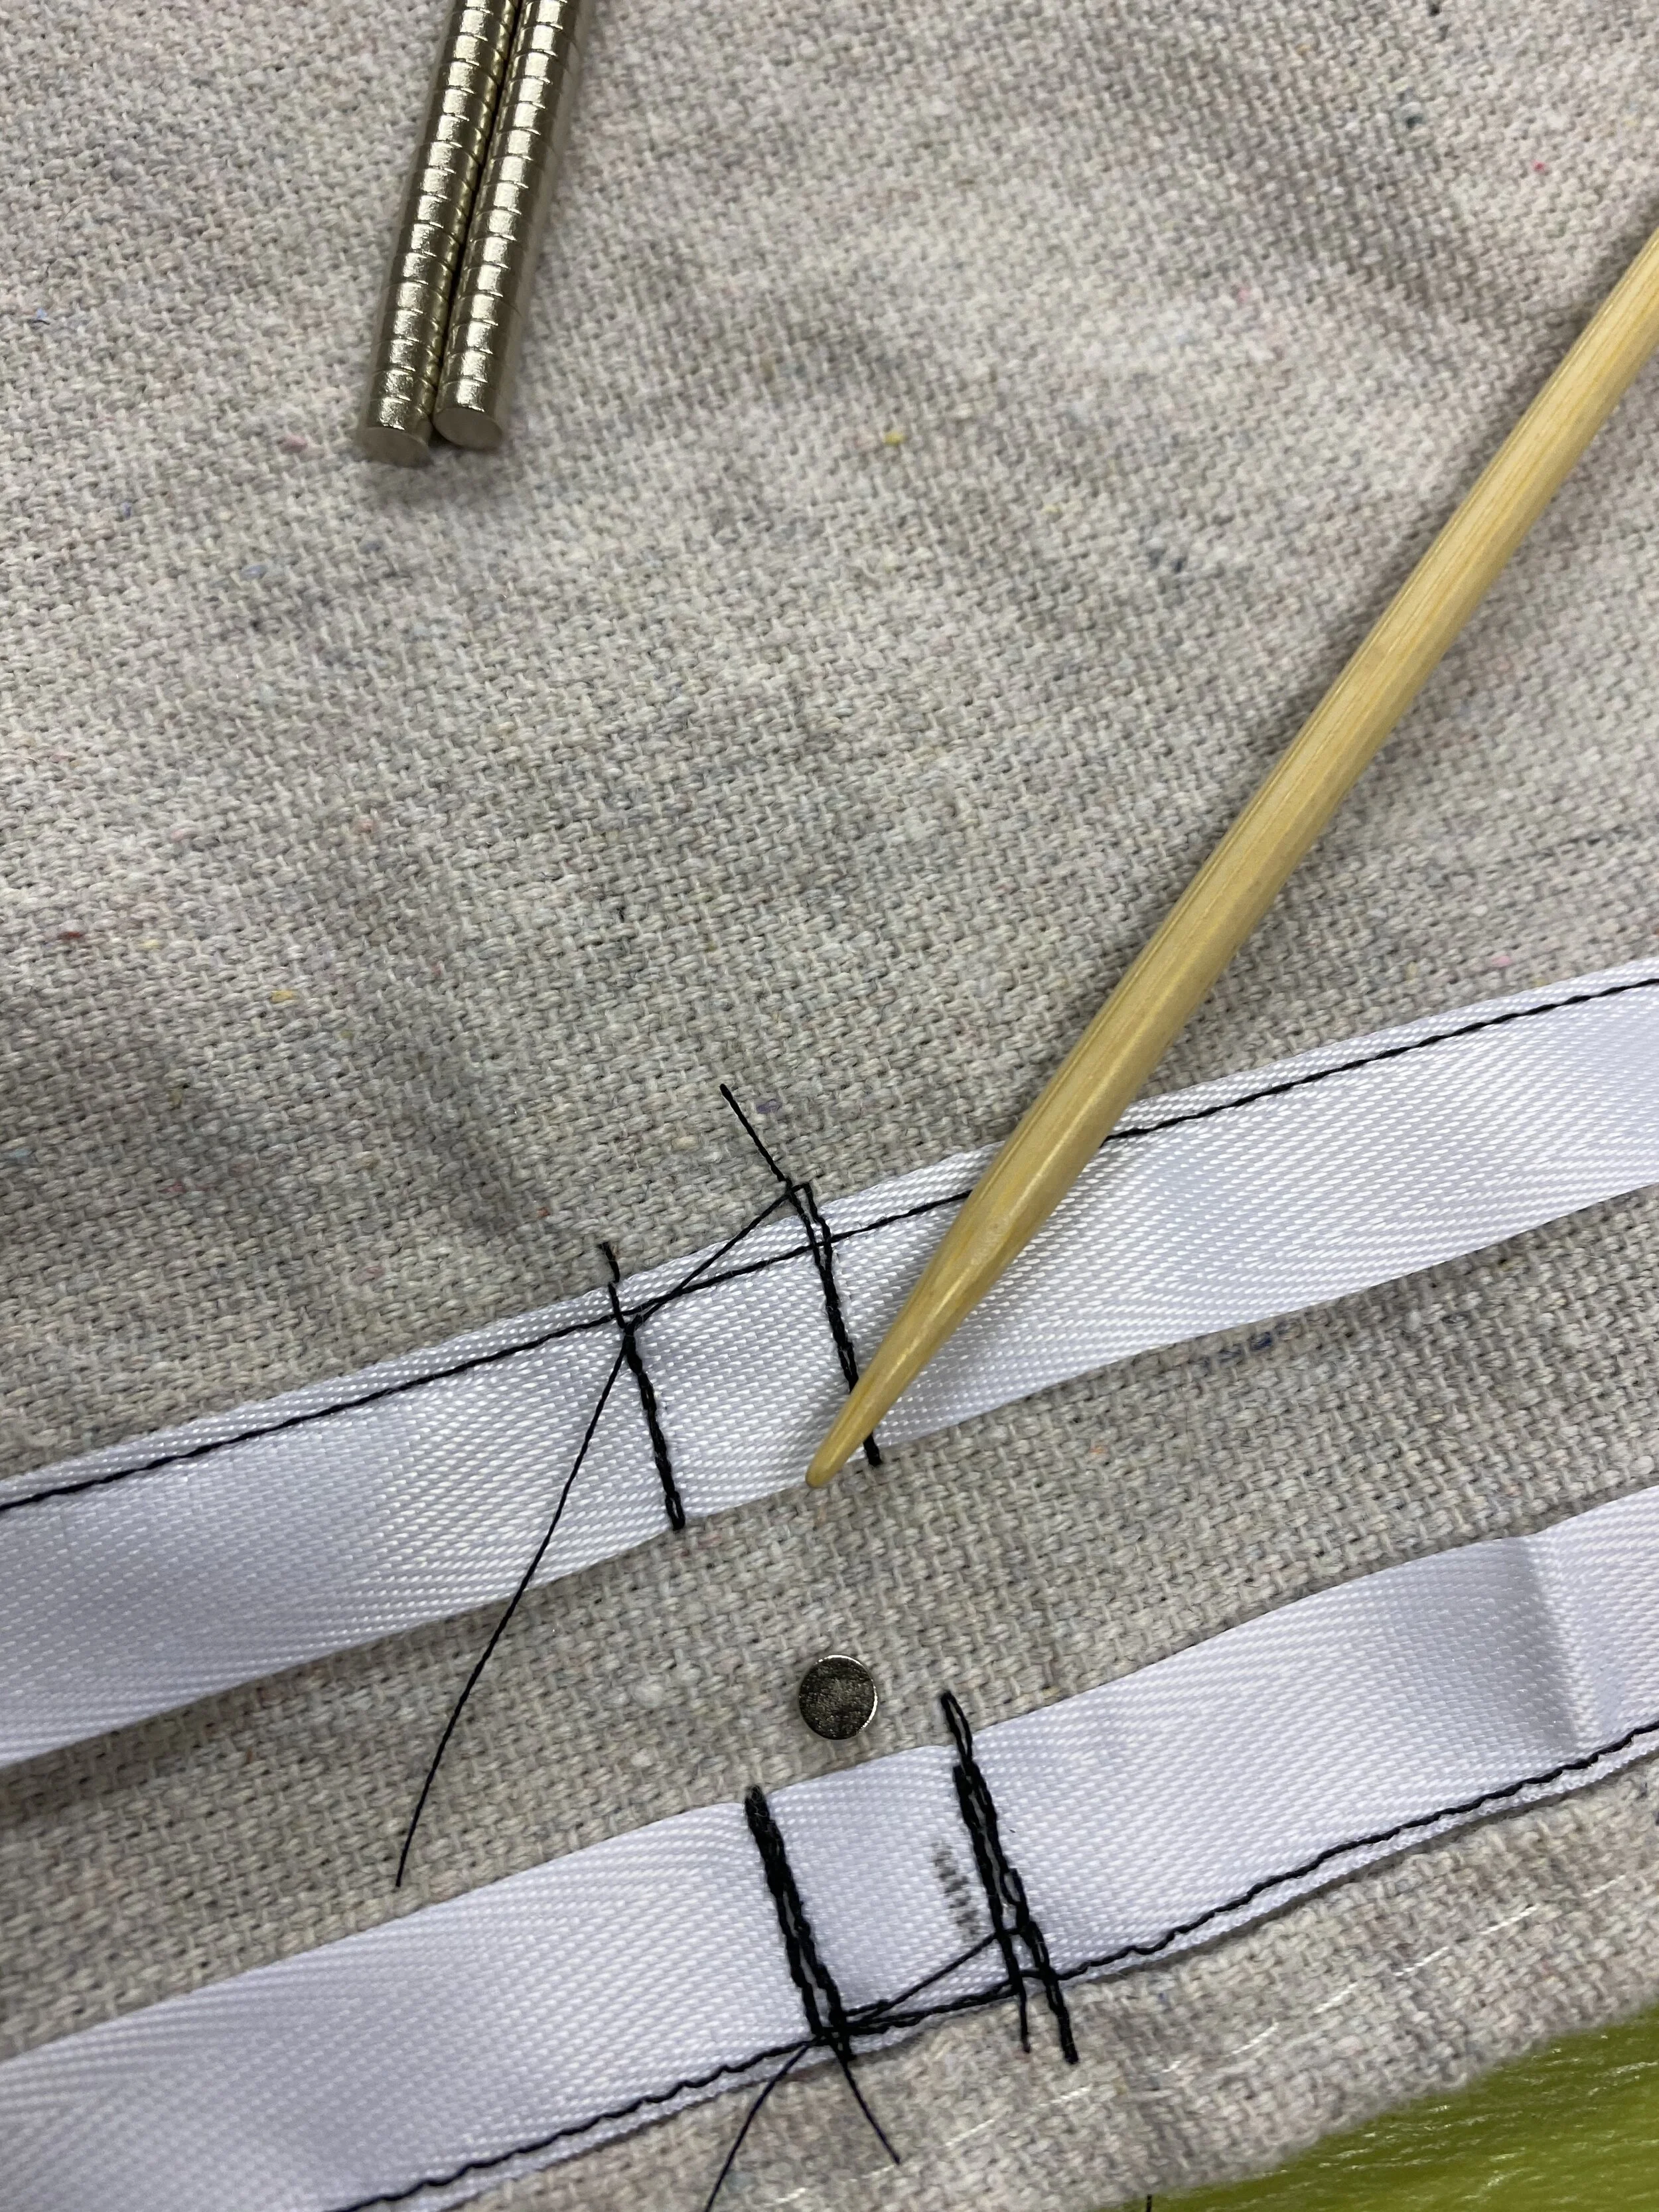
… and stitch them closed.
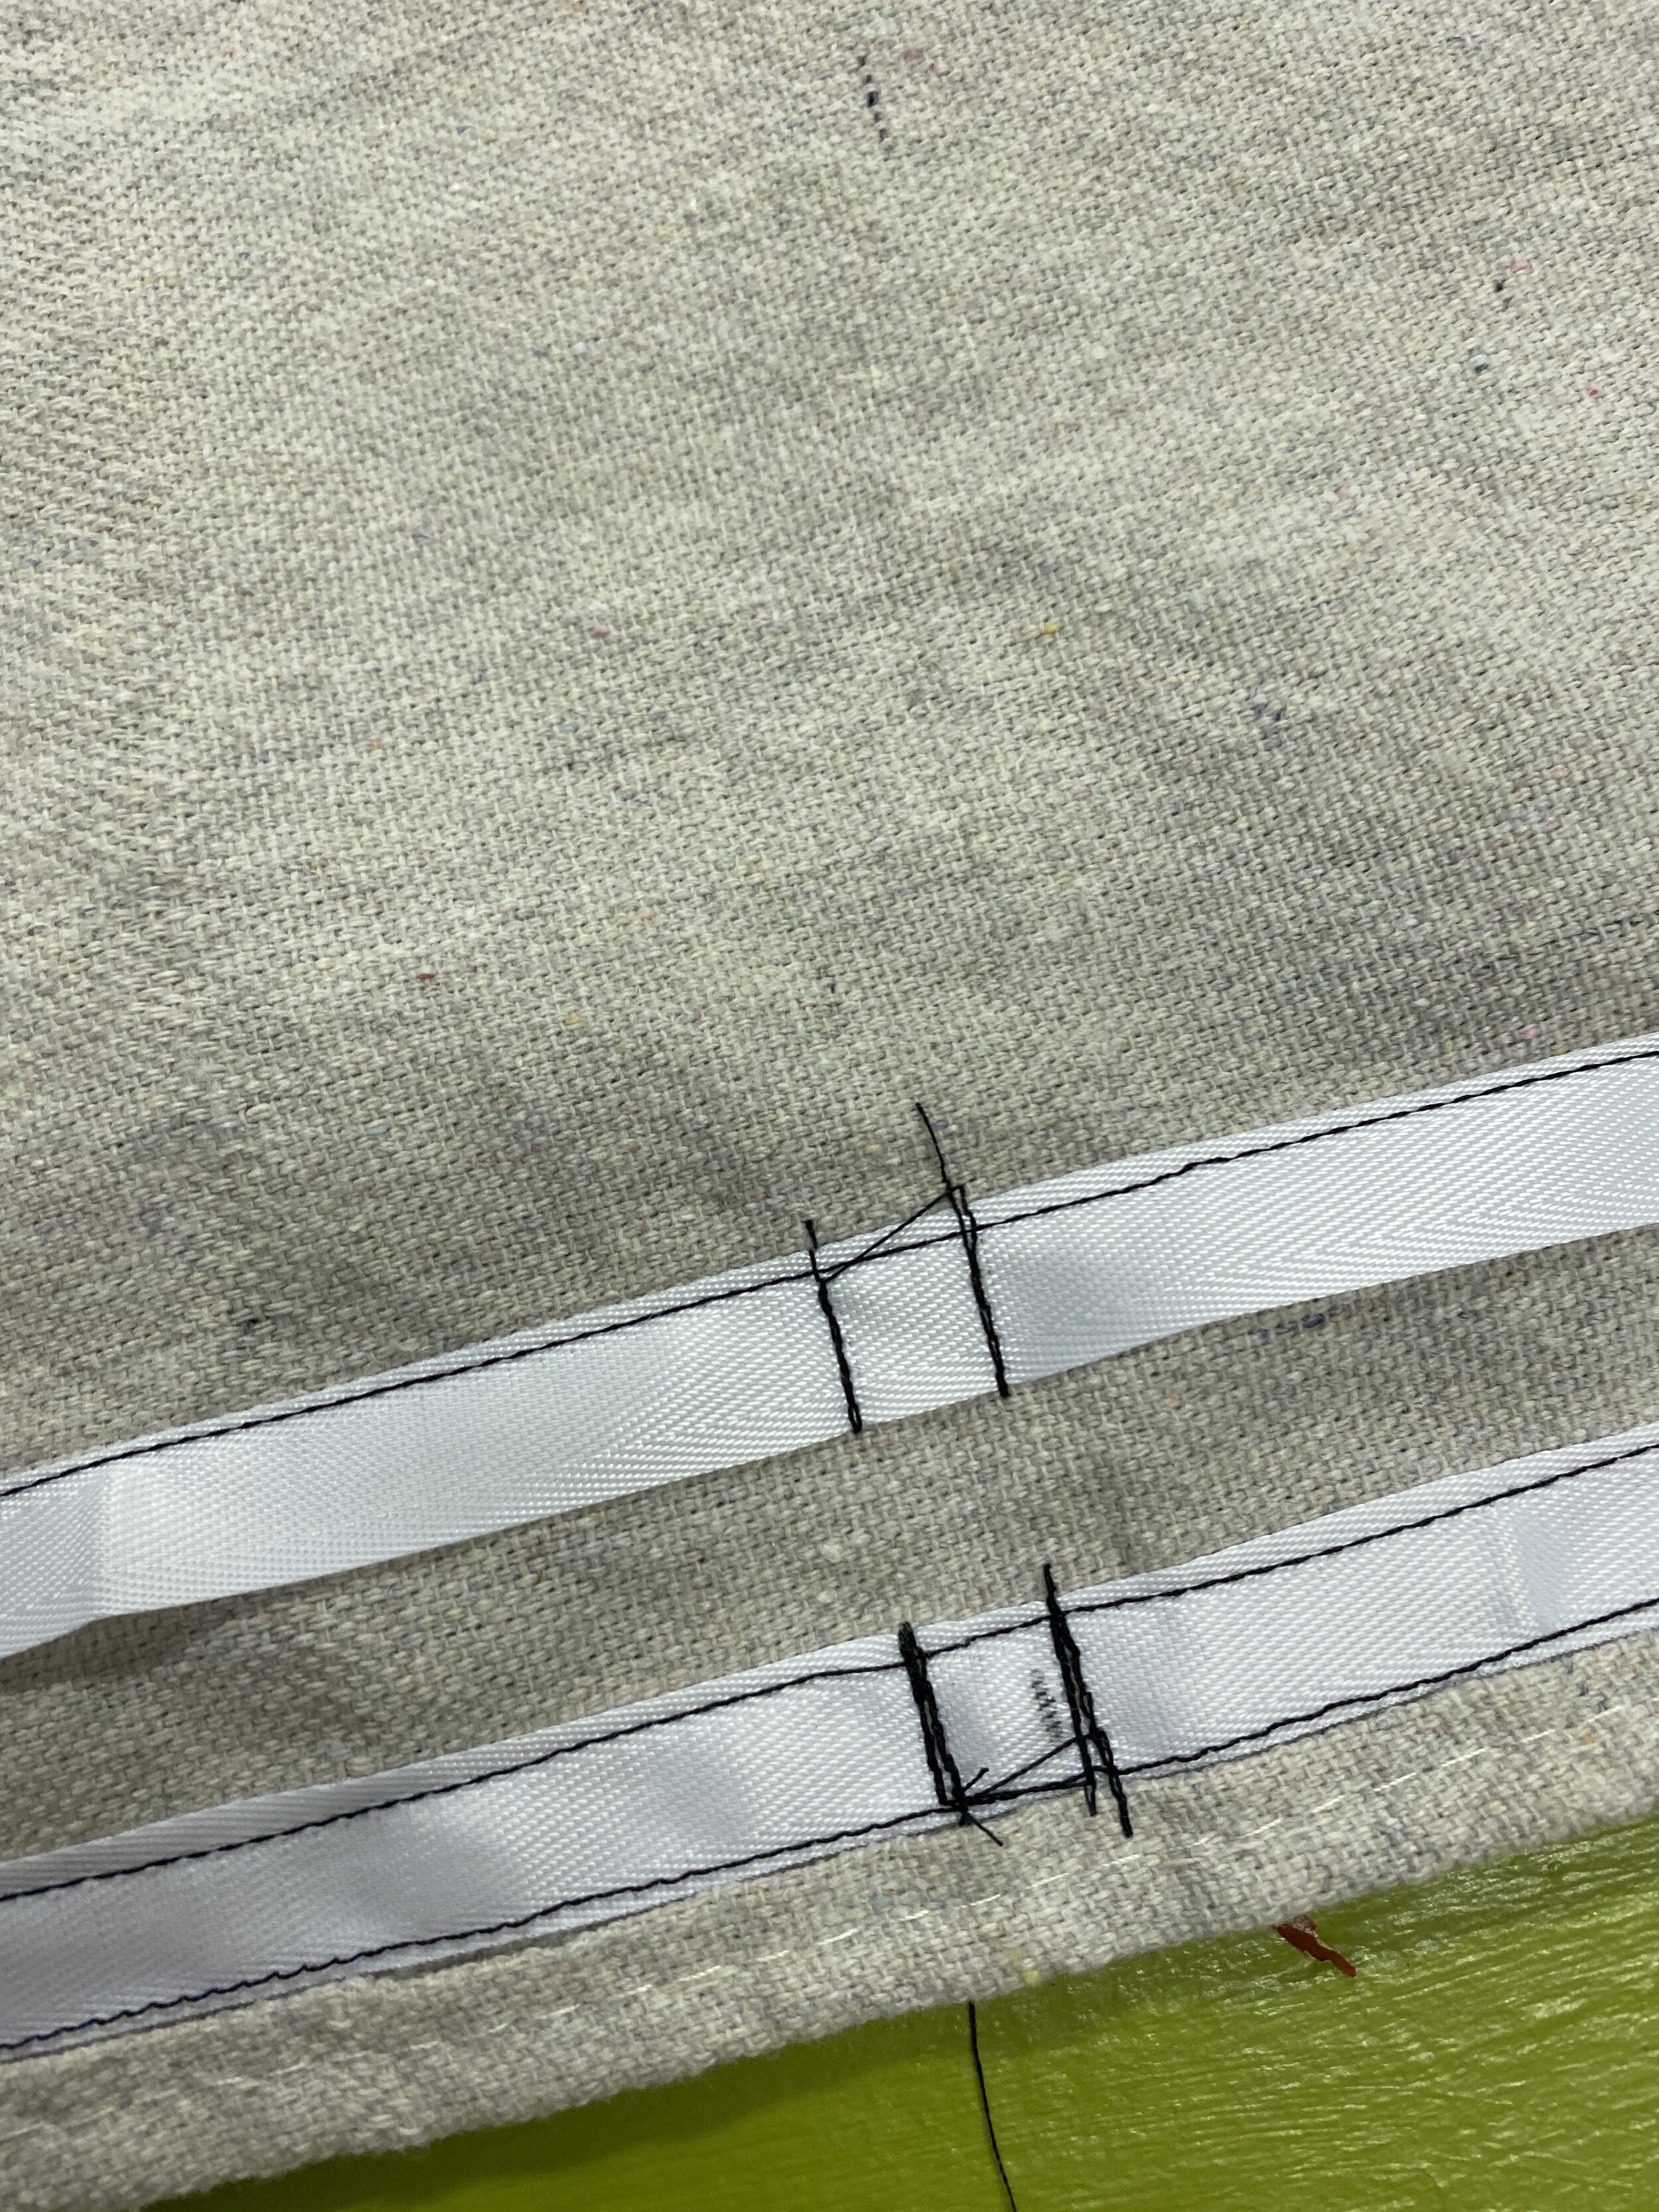
This is the only step that requires careful thinking: Dole out the second set of magnets, letting them click into place onto the first set, thereby guaranteeing that they’ll find each other when we’re done. Then, FLIP THEM OVER, insert them into their pockets, and stitch shut.

Click! the two strips of twill tape now seek each other and snap shut. Goal #1: Works in concept; still to be tested in the wild.
Goal #2: Position the metal ring. Eventually, if I decide to go with this idea, I’ll need to design the five panels to present an aesthetic whole. For the ABORTIVE ATTEMPT, I just plopped it down.
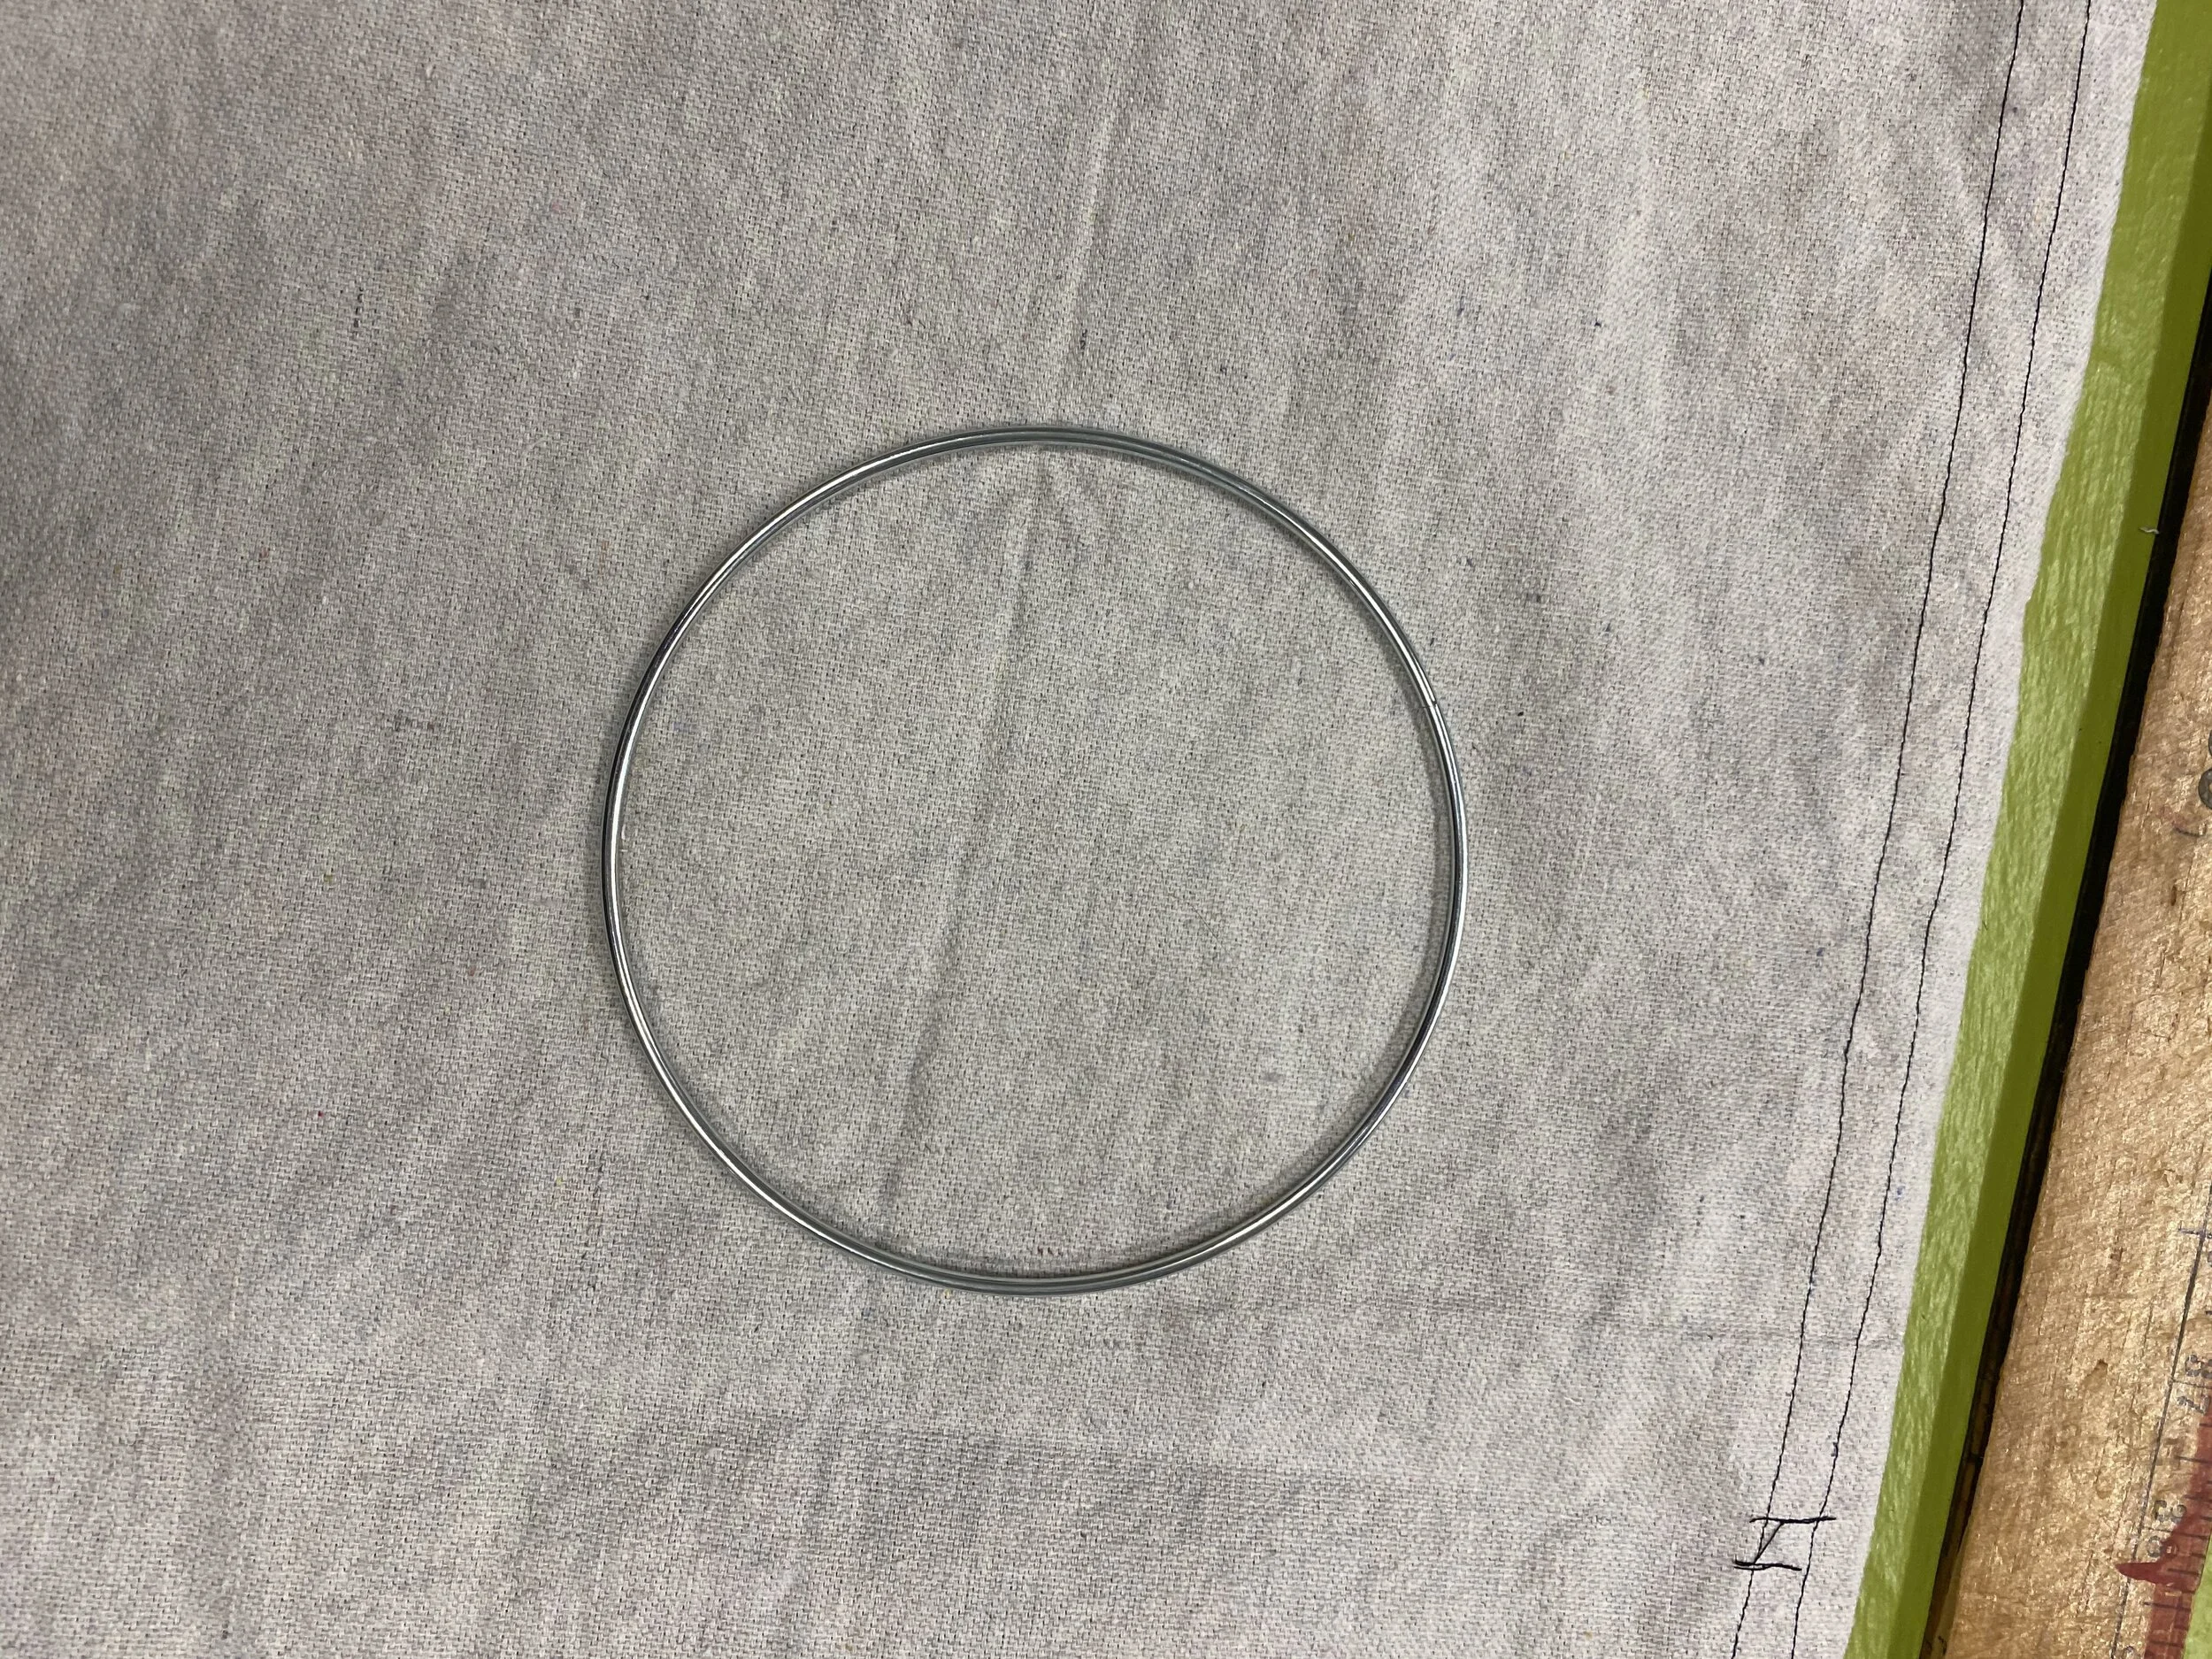
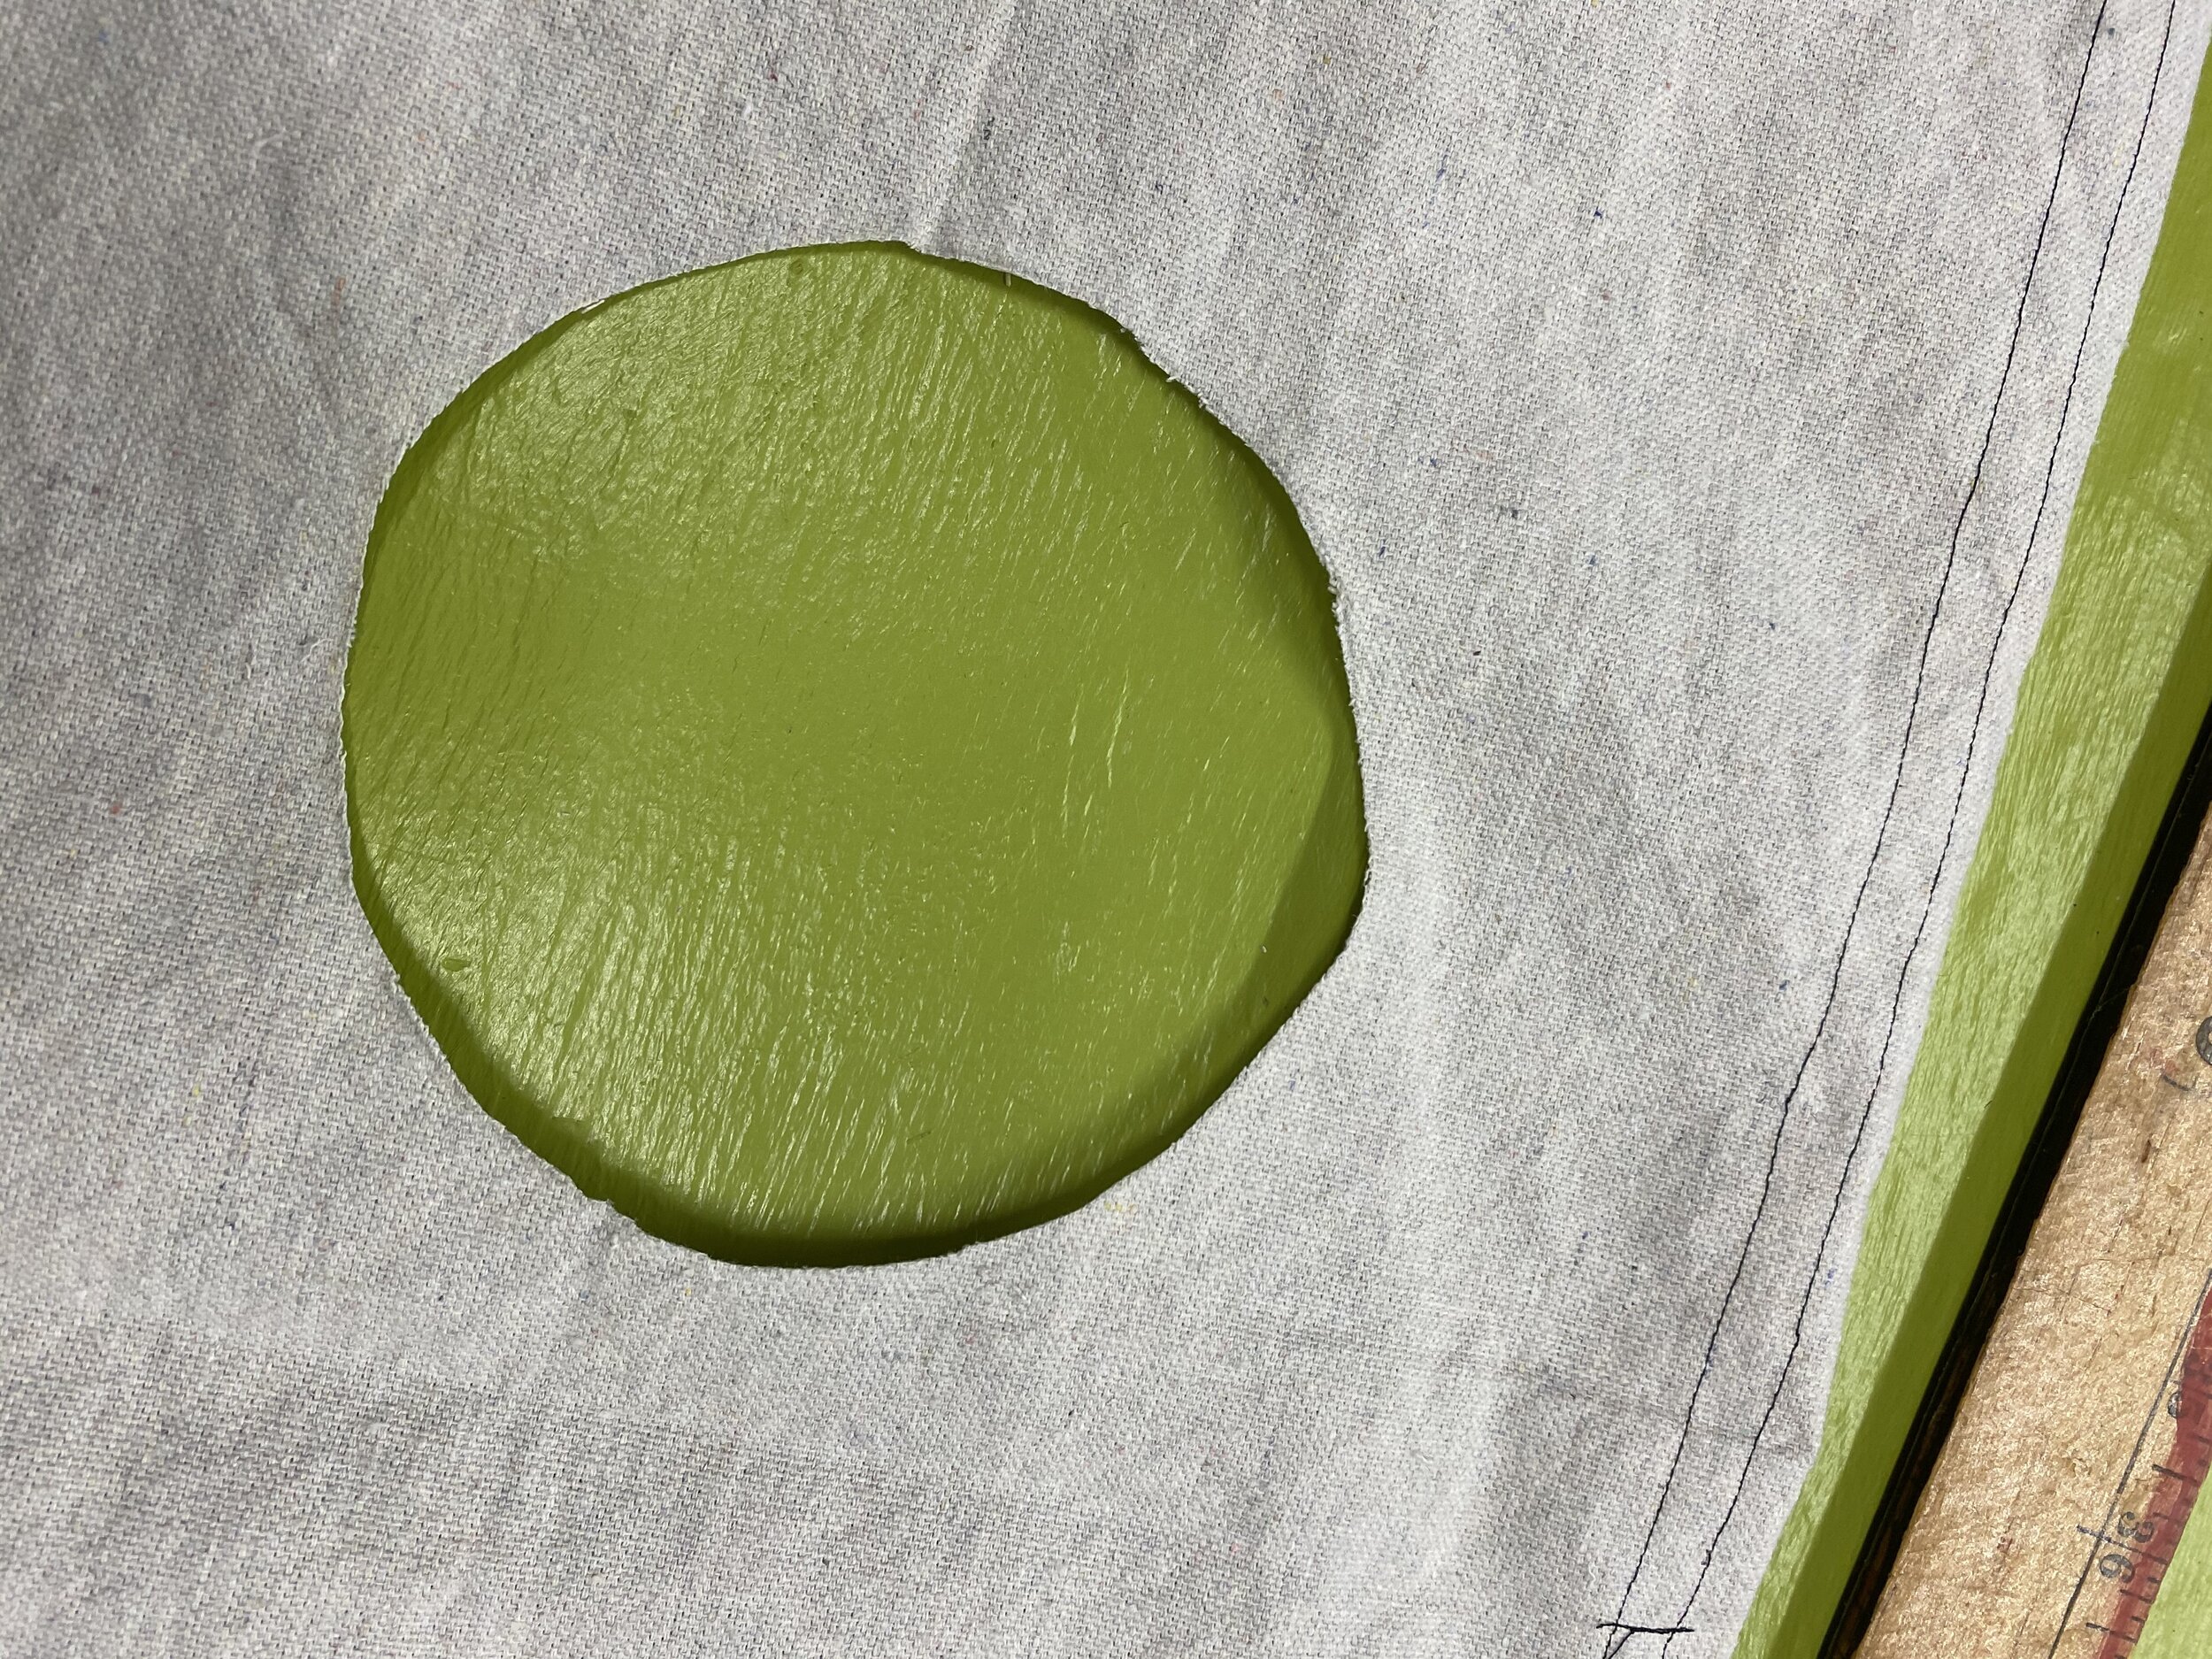
Draw the circle…
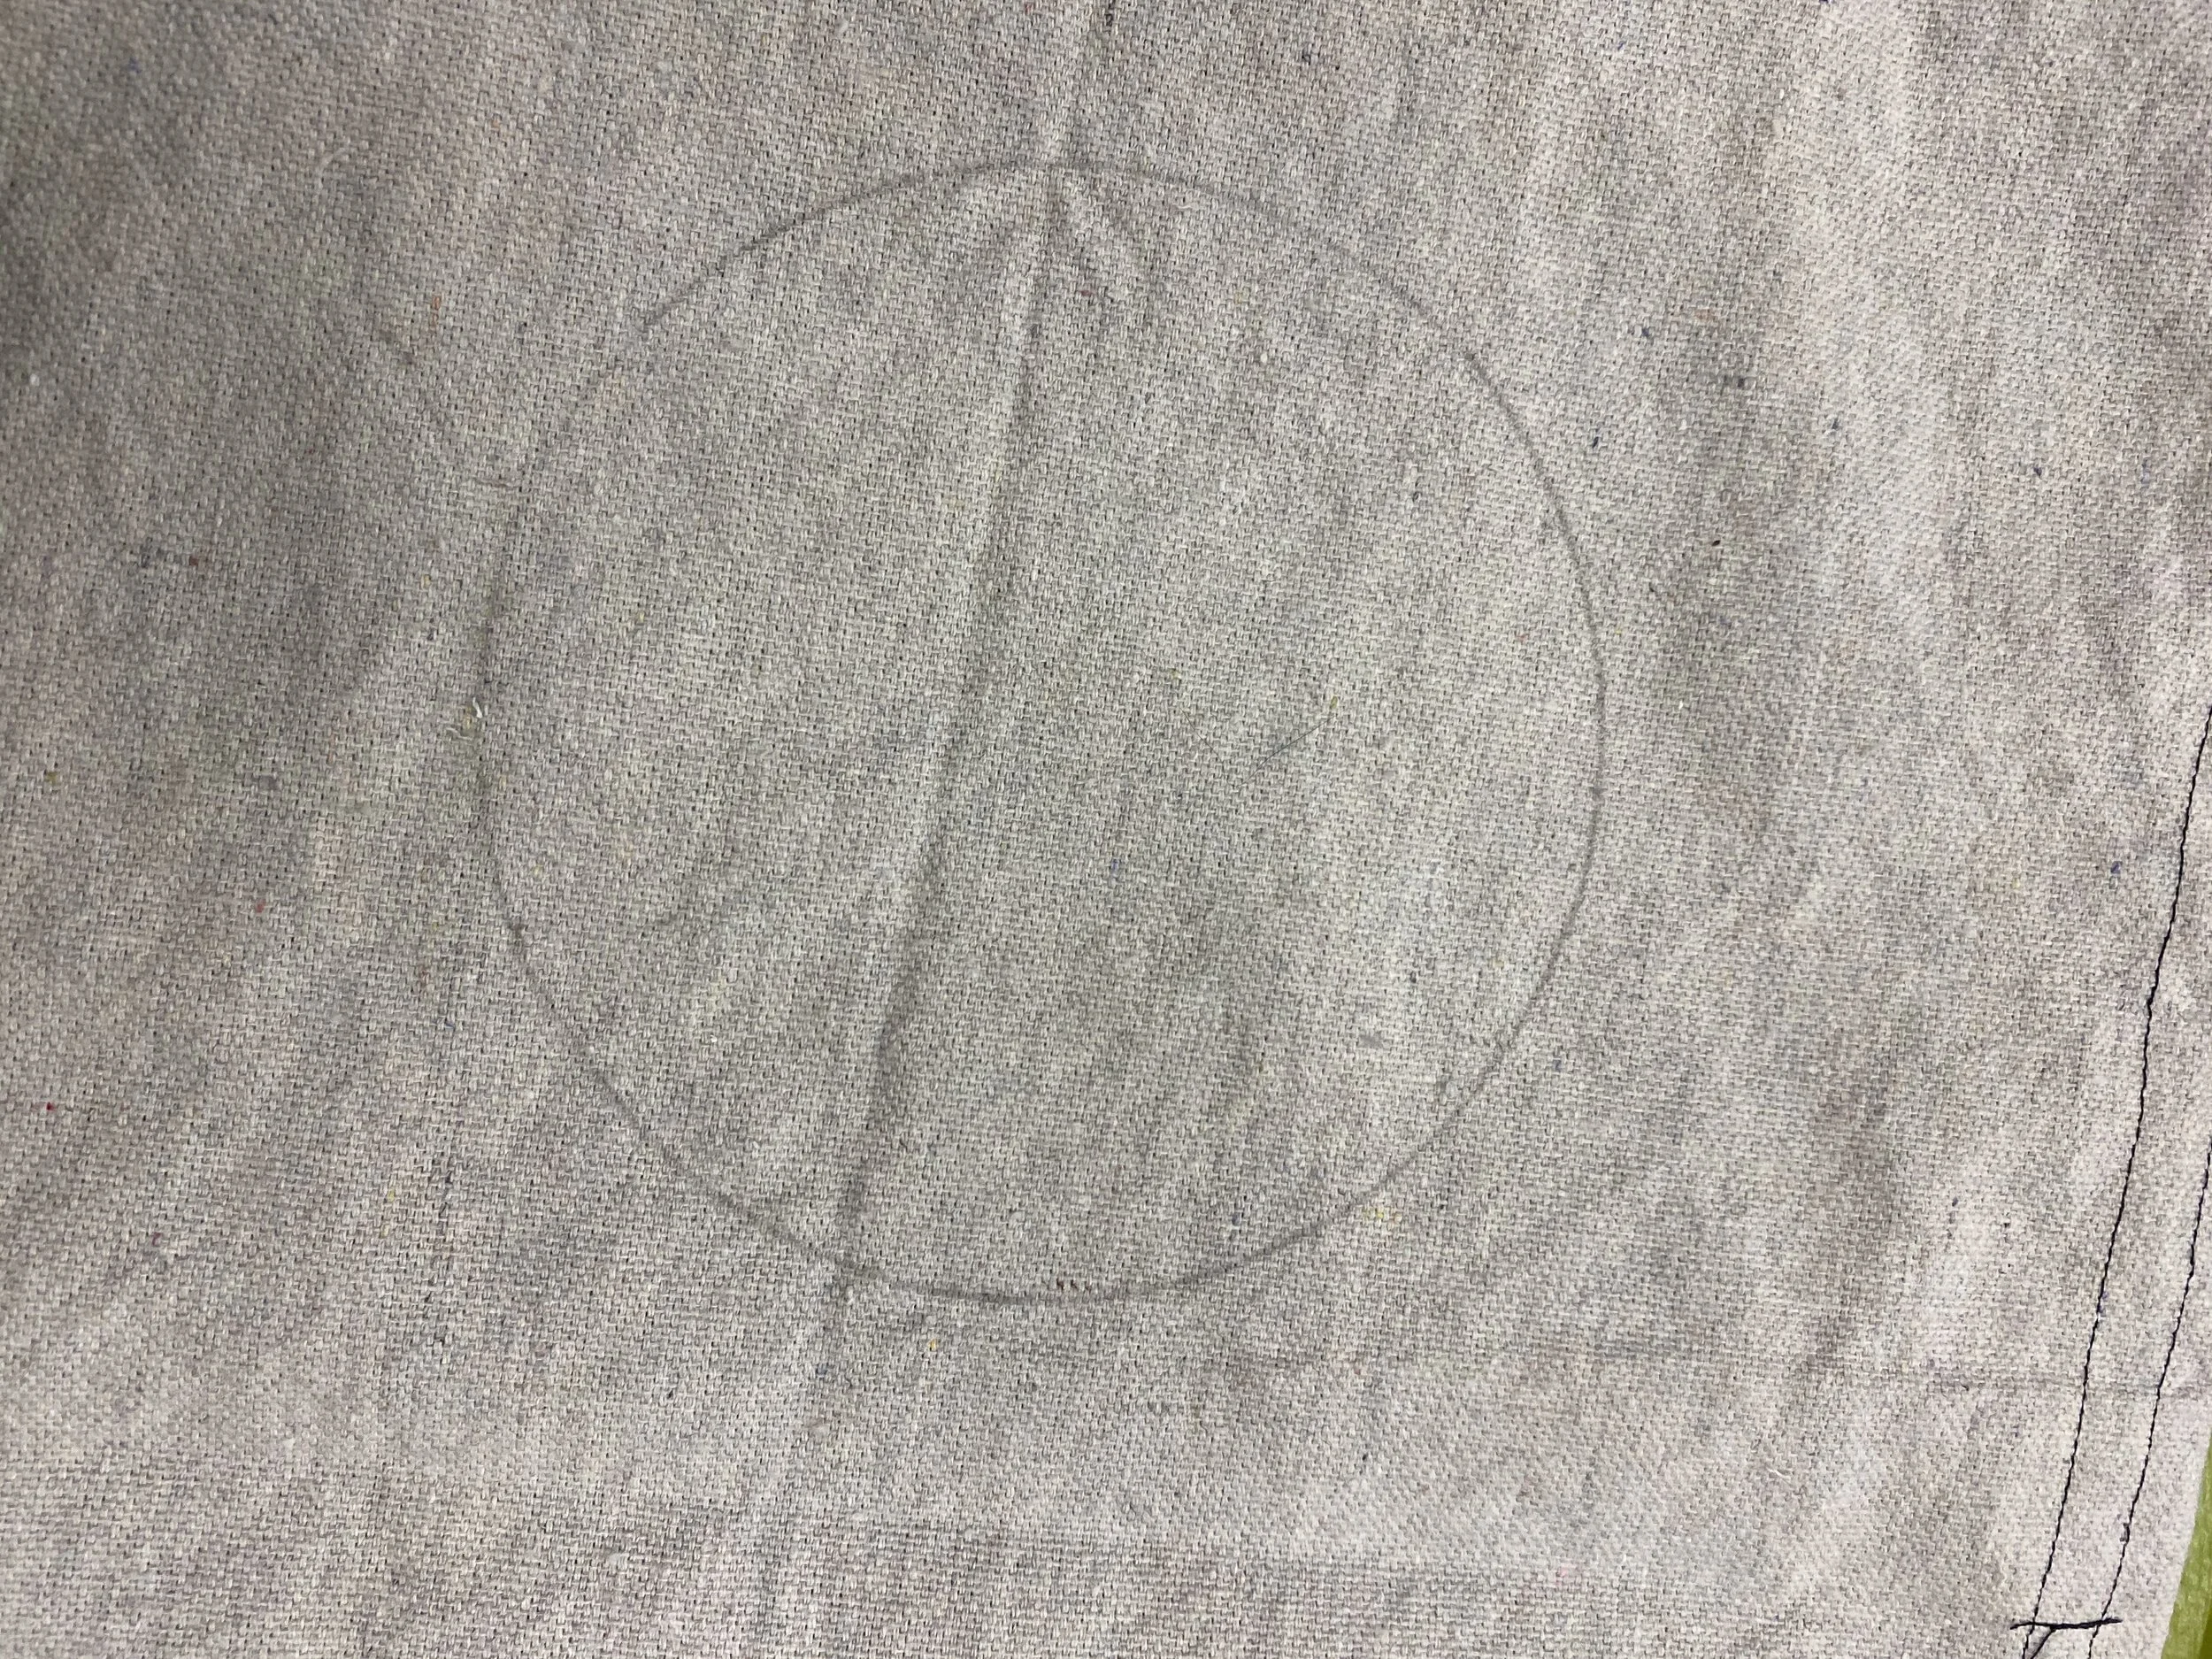
… cut it out…
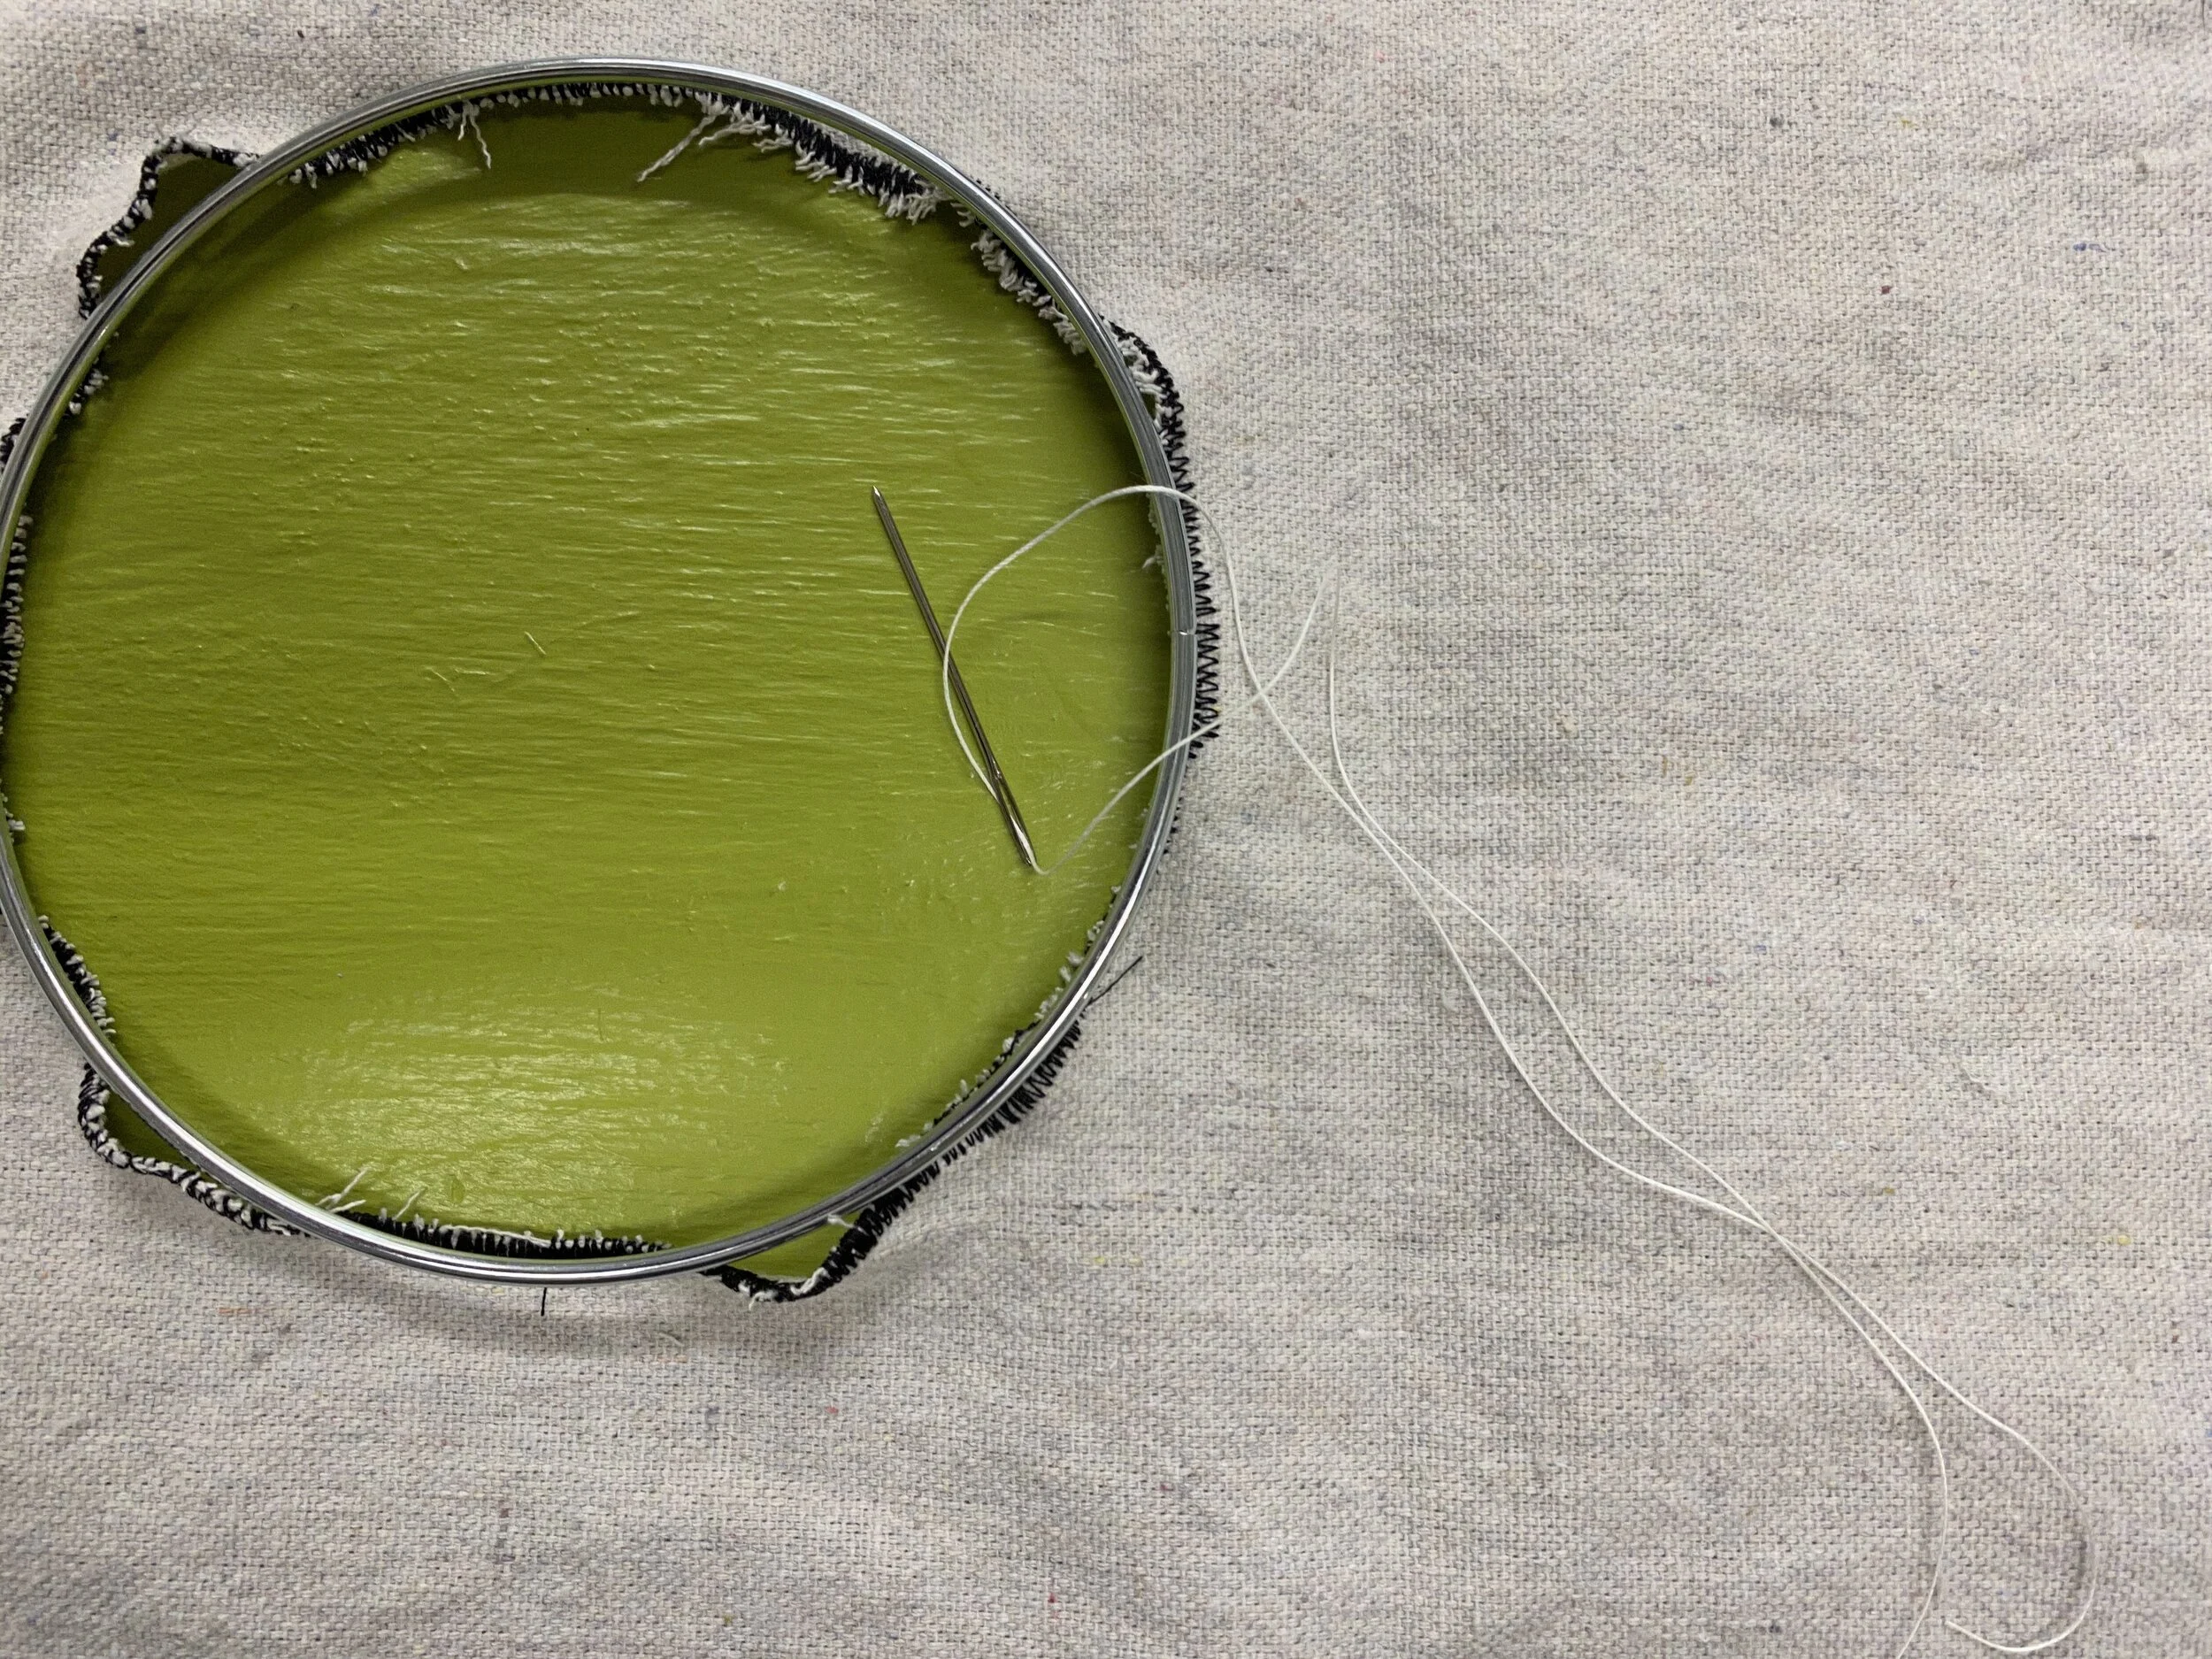
… zigzag stitch around the edges, twice.

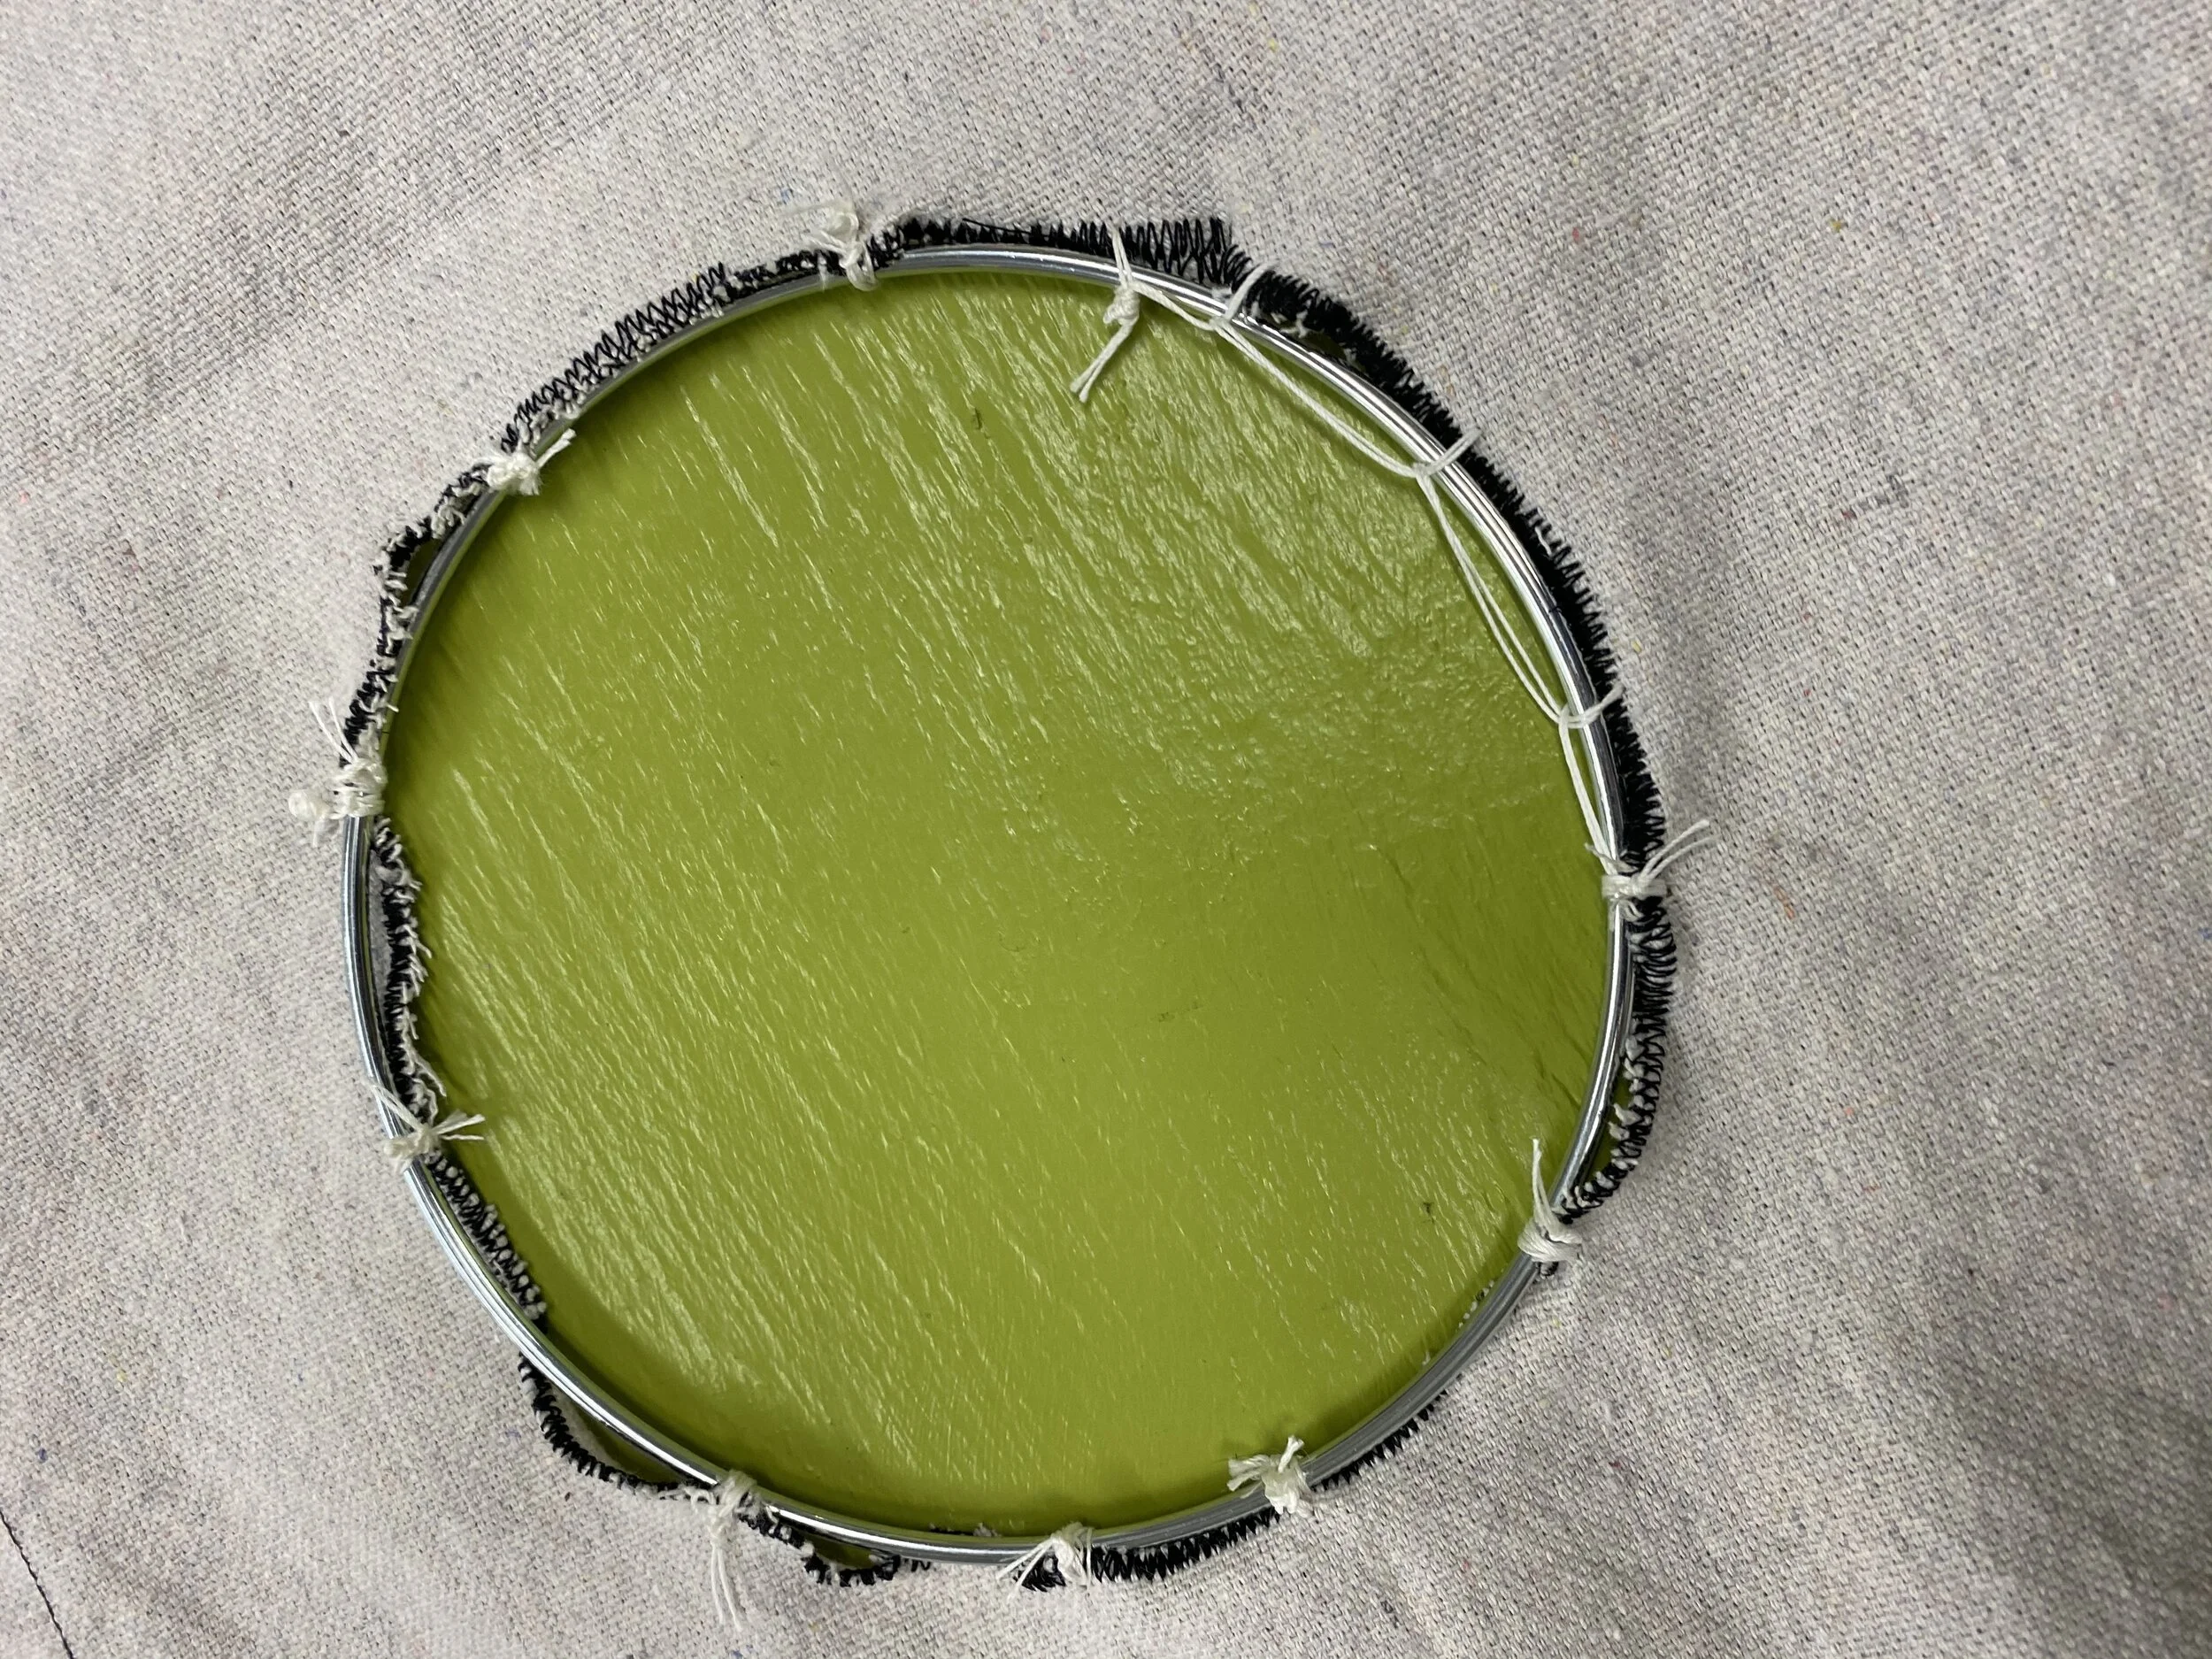
Handstitch the ring to the canvas.
I might try a second circle to see if it’s possible to zigzag stitch the ring directly to the canvas; that’s risky, might break the needle, destroy the machine, etc.
In situ. I am happy to report that installing it is easy: Throw the top edge over the wire, and the magnets, with some coaxing, find each other and snap into place.
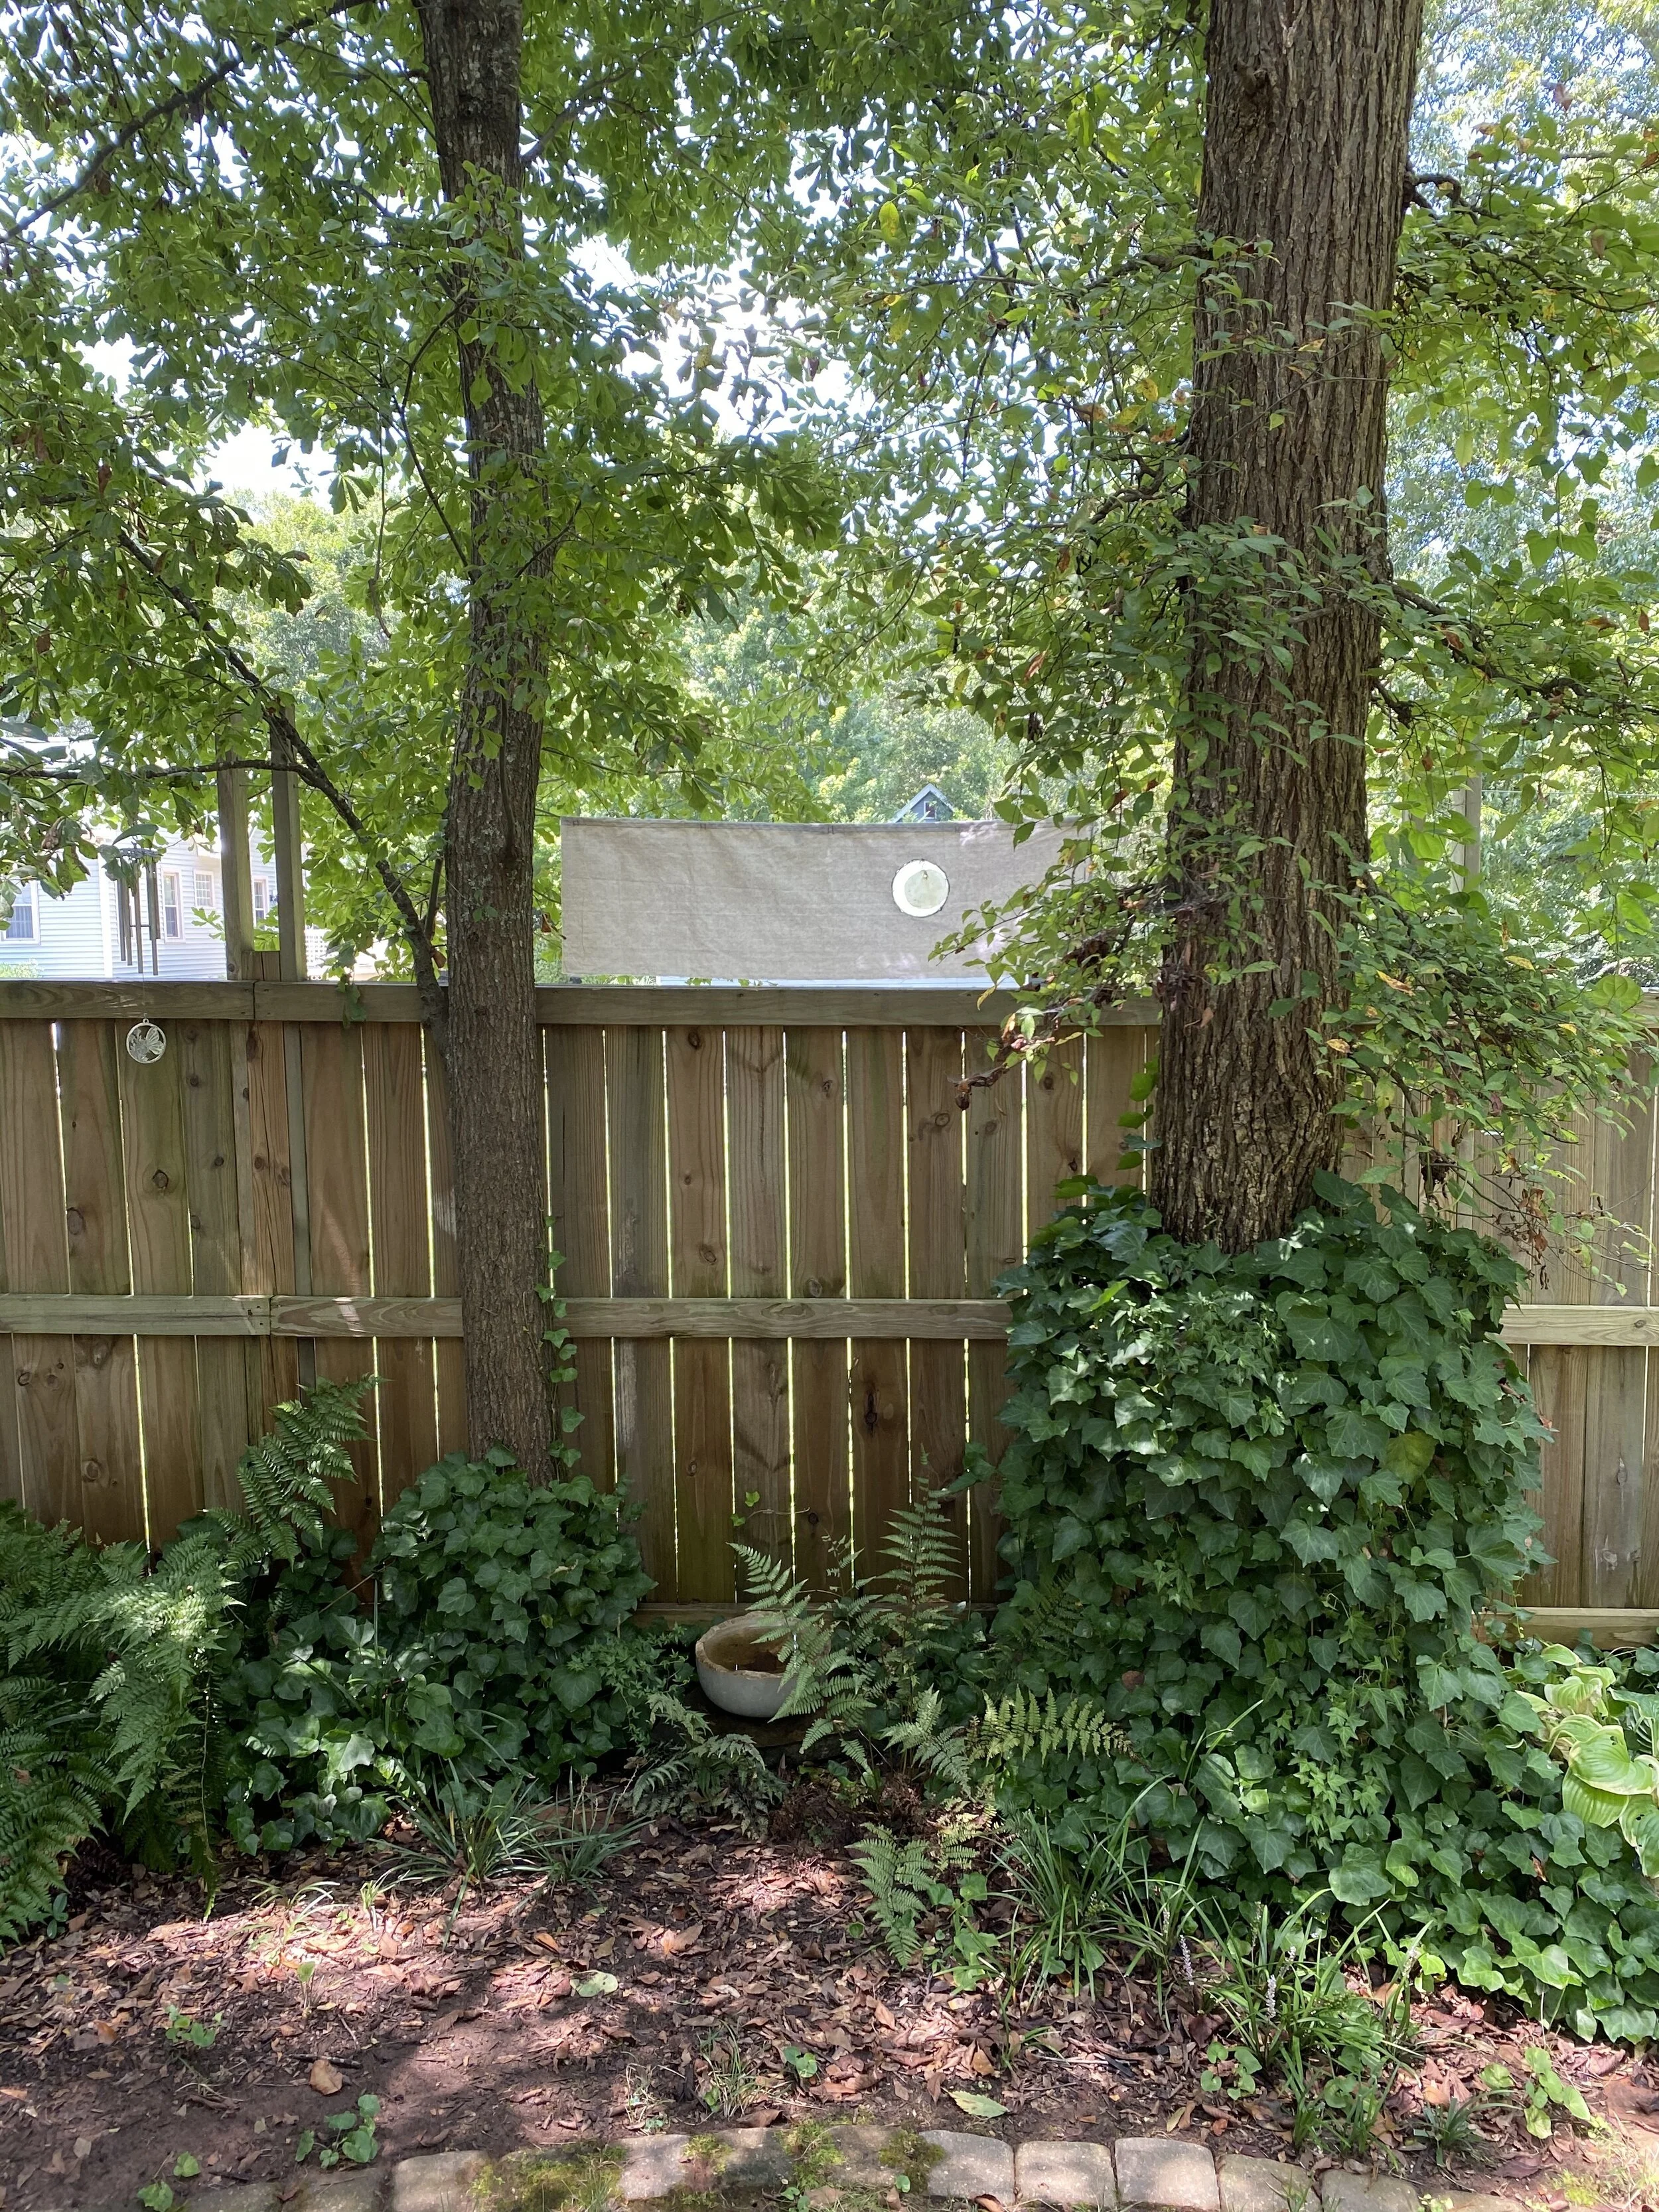
Late afternoon sun, which is integral to any design concept.

Closeup of the shell dangling in the circle. Not as tidy as it was in my mind, but as we Lichtenbergians say, let’s let it sit there and annoy us for a while. (GESTALT) I slammed this one in using random wire; the actual banner will use metal binder rings so that I can remove the shell for laundering.

Taking it down was a dream: a firm tug, and it came right off the wire.
All in all, a workable prototype. My next step will be to decide exactly what the design of this installation will be. Do I want the five panels to have some kind of decoration other than the shells? Do I even want the shells? Think how easy it would be just to make the five banners without any of the circles…
More GESTALT is required.
