

Pictures are hung; men are hanged: Part II
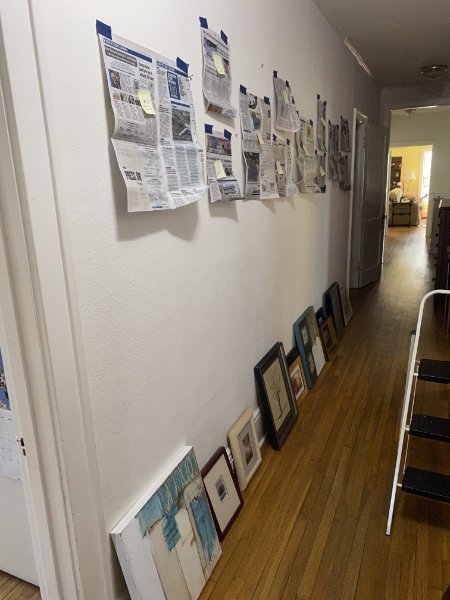
/When last we left our hero, he was preparing to rehang the art that outgrown its former space. He had gotten as far as tracing rectangles of each piece onto newsprint and marking the spot where any hanging device should be. He then taped the rectangles in place:
Next step: Get the spacing right. This is where some math comes in: (width of wall - total width of art) / number of spaces = width of each space. In my case, it came out to ≈3.5 inches.
Cut the appropriate square out of newsprint and start spacing.

Next: Level the arrangement. This is where choices, the bane of all artists, comes in. We can probably agree that the four larger pieces need to be on the same level, so we’ll start there.
I held up the first of them to a height I thought would be effective. I positioned the newsprint to that height and measured: 25”. Using my trusty metal yardstick — you need a metal yardstick — I measured down and taped a piece of string there.

At the other end of the hall, I measured down and taped the string taut.

After I moved all the larger pieces into place, positioning the smaller pieces required a consultation with my Lovely First Wife so that I didn’t create ripples in the space/time continuum down the road. We’ll get to those in a moment.
But first, the magic!
Remember how you measured where the hanging wire would peak and marked it on the newsprint? Behold:

You simply place the bottom of the hanger on the plus mark and nail the sucker in.

Tear down the newsprint…

…and hang your picture. (The scrap of newsprint comes out easily, but if that bothers you, just tear down the newsprint before driving the nail all the way in.)
The result is that no matter the differences in the hanging wires, etc., in the individual pieces, the tops of all four pieces hang at exactly 25” below the top of the wall.

The distribution of the smaller pieces can be handled in three and half different ways:
Center the gap between each pair at 35” down from the ceiling, at the halfway point of the larger pieces. This would create a single line of space through the display.
Center the entire pair around the 35” mark, i.e., add the heights of both plus a 3” gap, divide by 2, subtract that from 35” — and that’s where the top of the top piece goes. Space accordingly. This would create a kind of square-wave line through the display.
Align the tops straight across.
Align the bottoms straight across.
Number 3 (and 3.1) were off the list immediately. I thought my Lovely First Wife would go with #1, but she eventually agreed that #2 would be more pleasing (if more complicated mathematically).

And done, in time to welcome guests for St. Patrick’s Day revelry. No spouses or Assistive Felines™ were harmed in this process.
You may thank me in comments.
