

Fence art, part 2
/You know how to swage, don’t you?
I had never even heard the word until last week, when I went to buy another set of wire rope clips. (I don’t know why I didn’t have two sets in the first place.) While doing so, I discovered ferrules and stops:
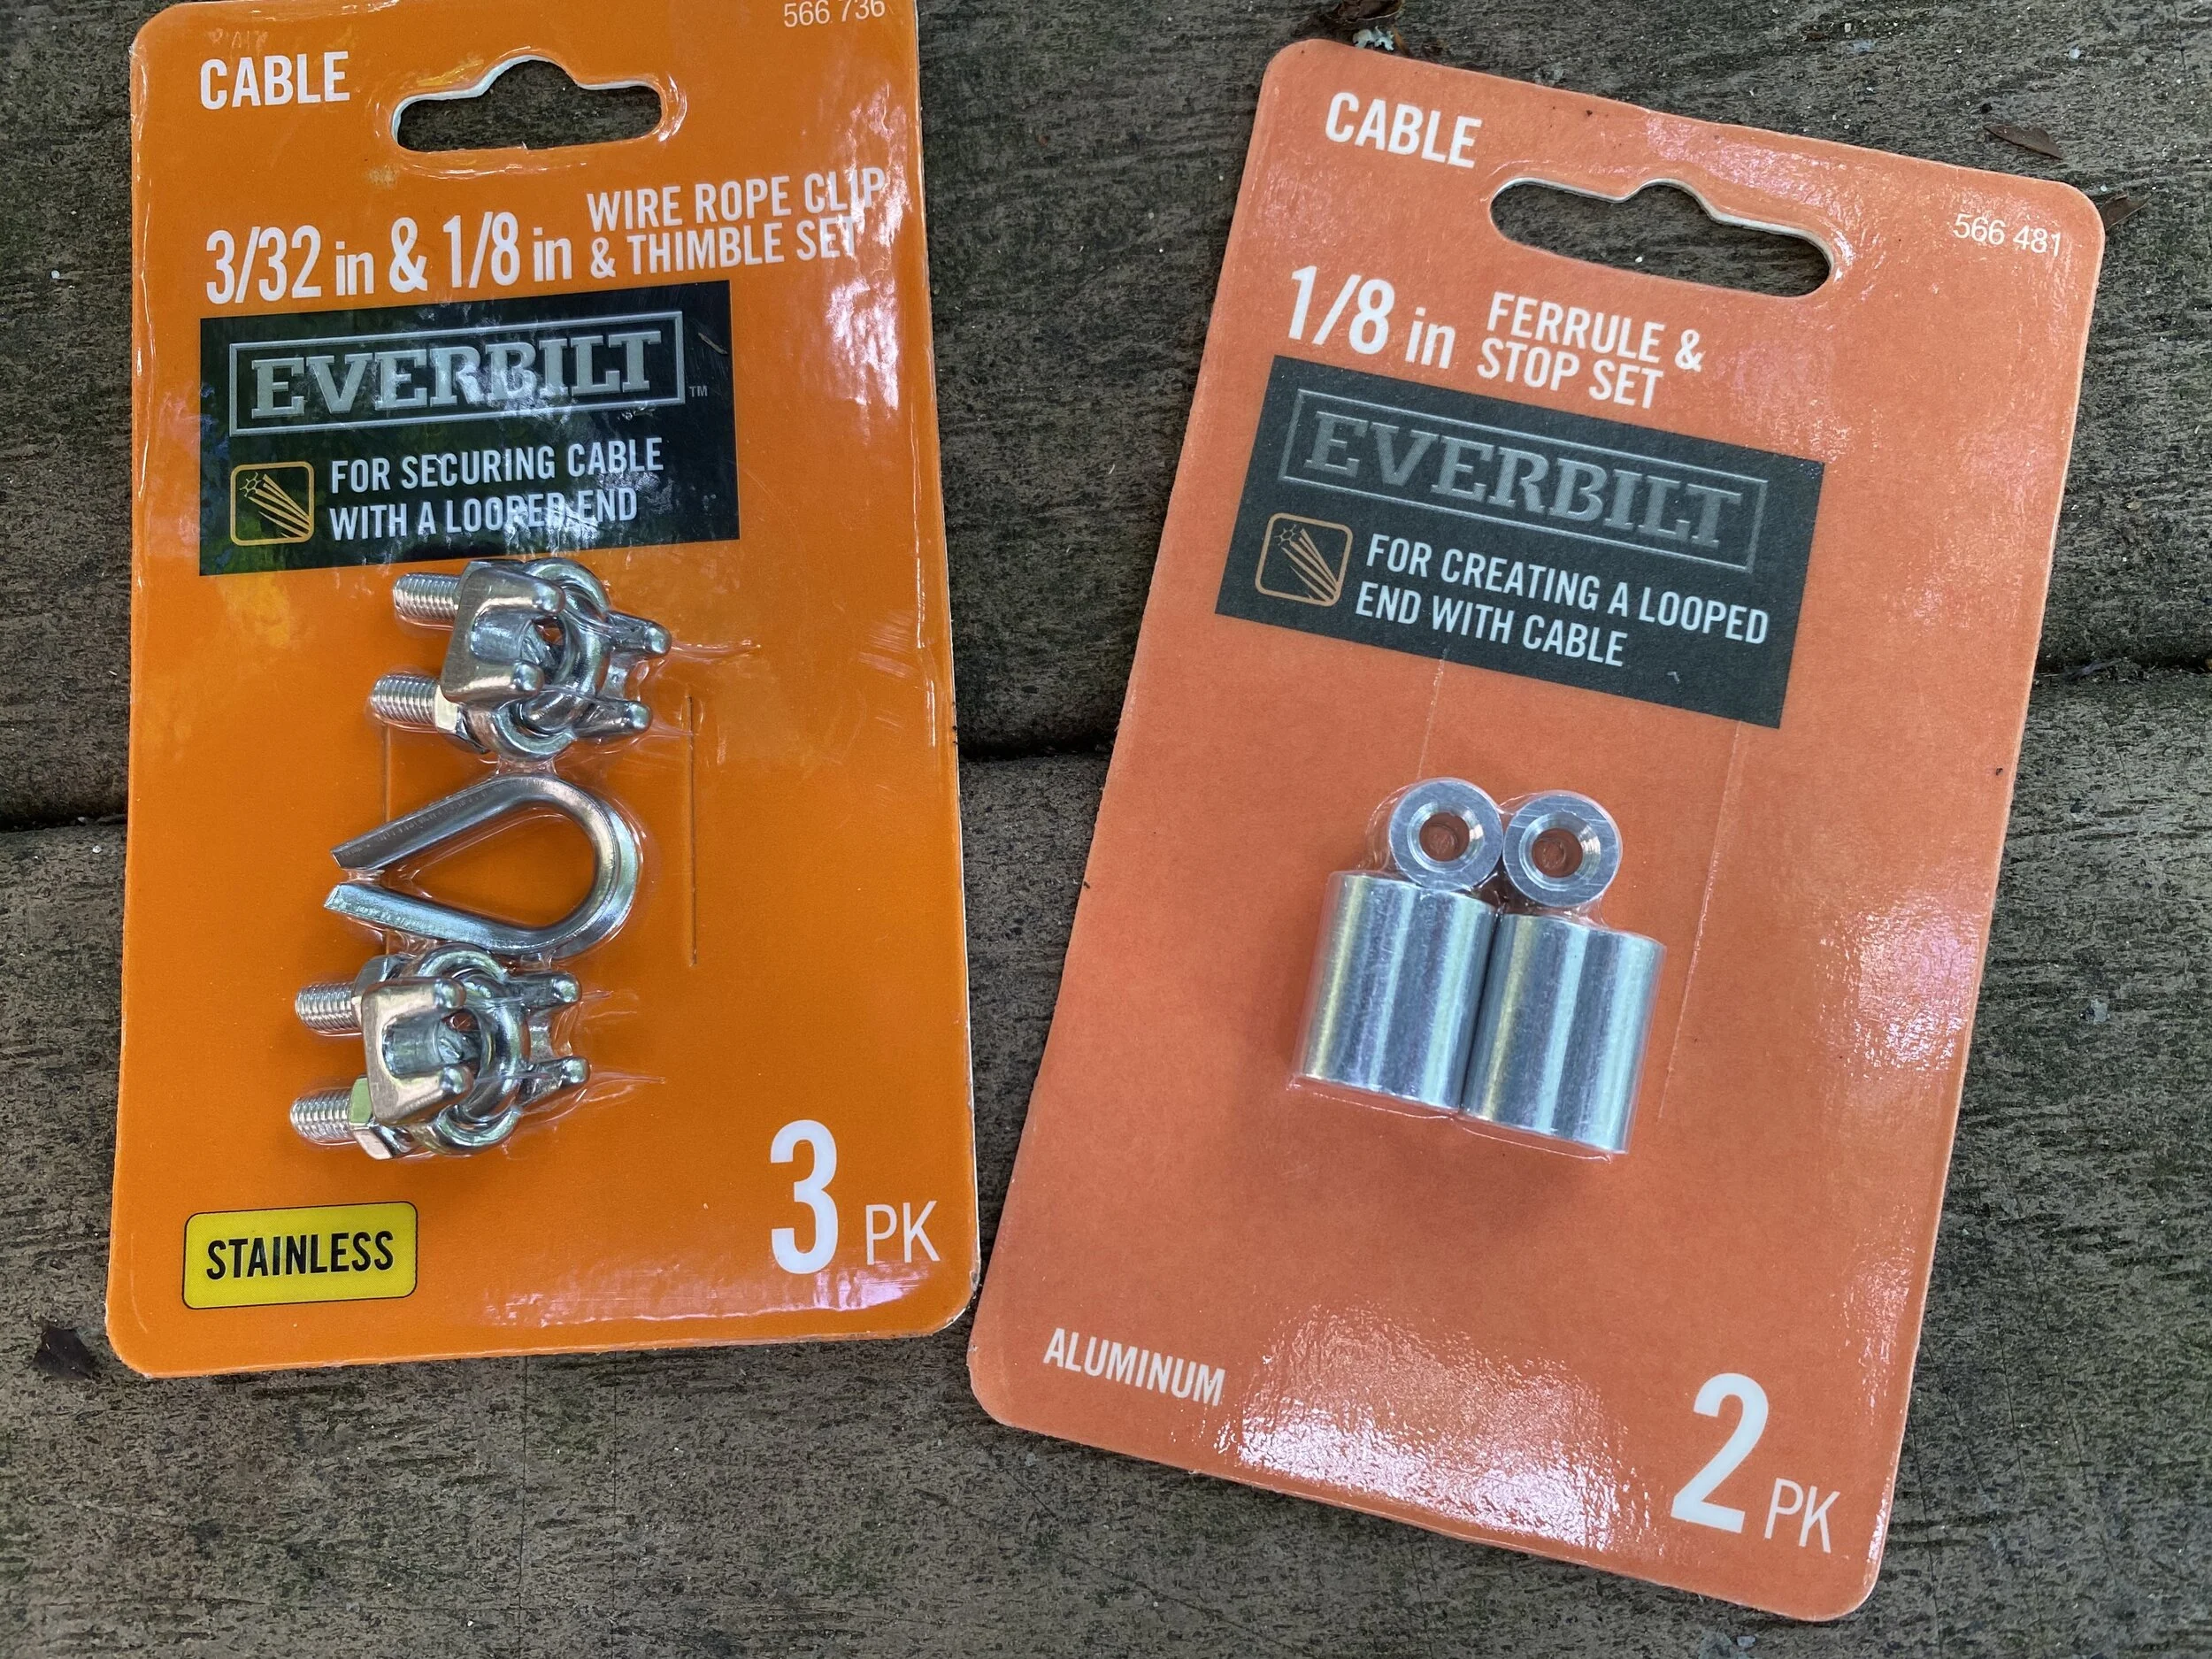
The instructions made it clear that these puppies were more reliable than clips, not requiring periodic tightening/maintenance, and more importantly would easier to install while standing on a ladder balanced in the ivy. But to do that, I had to have a swaging tool.
A what now?
It looks like a heavy-duty bolt cutter, but with crimping holes instead of blades:
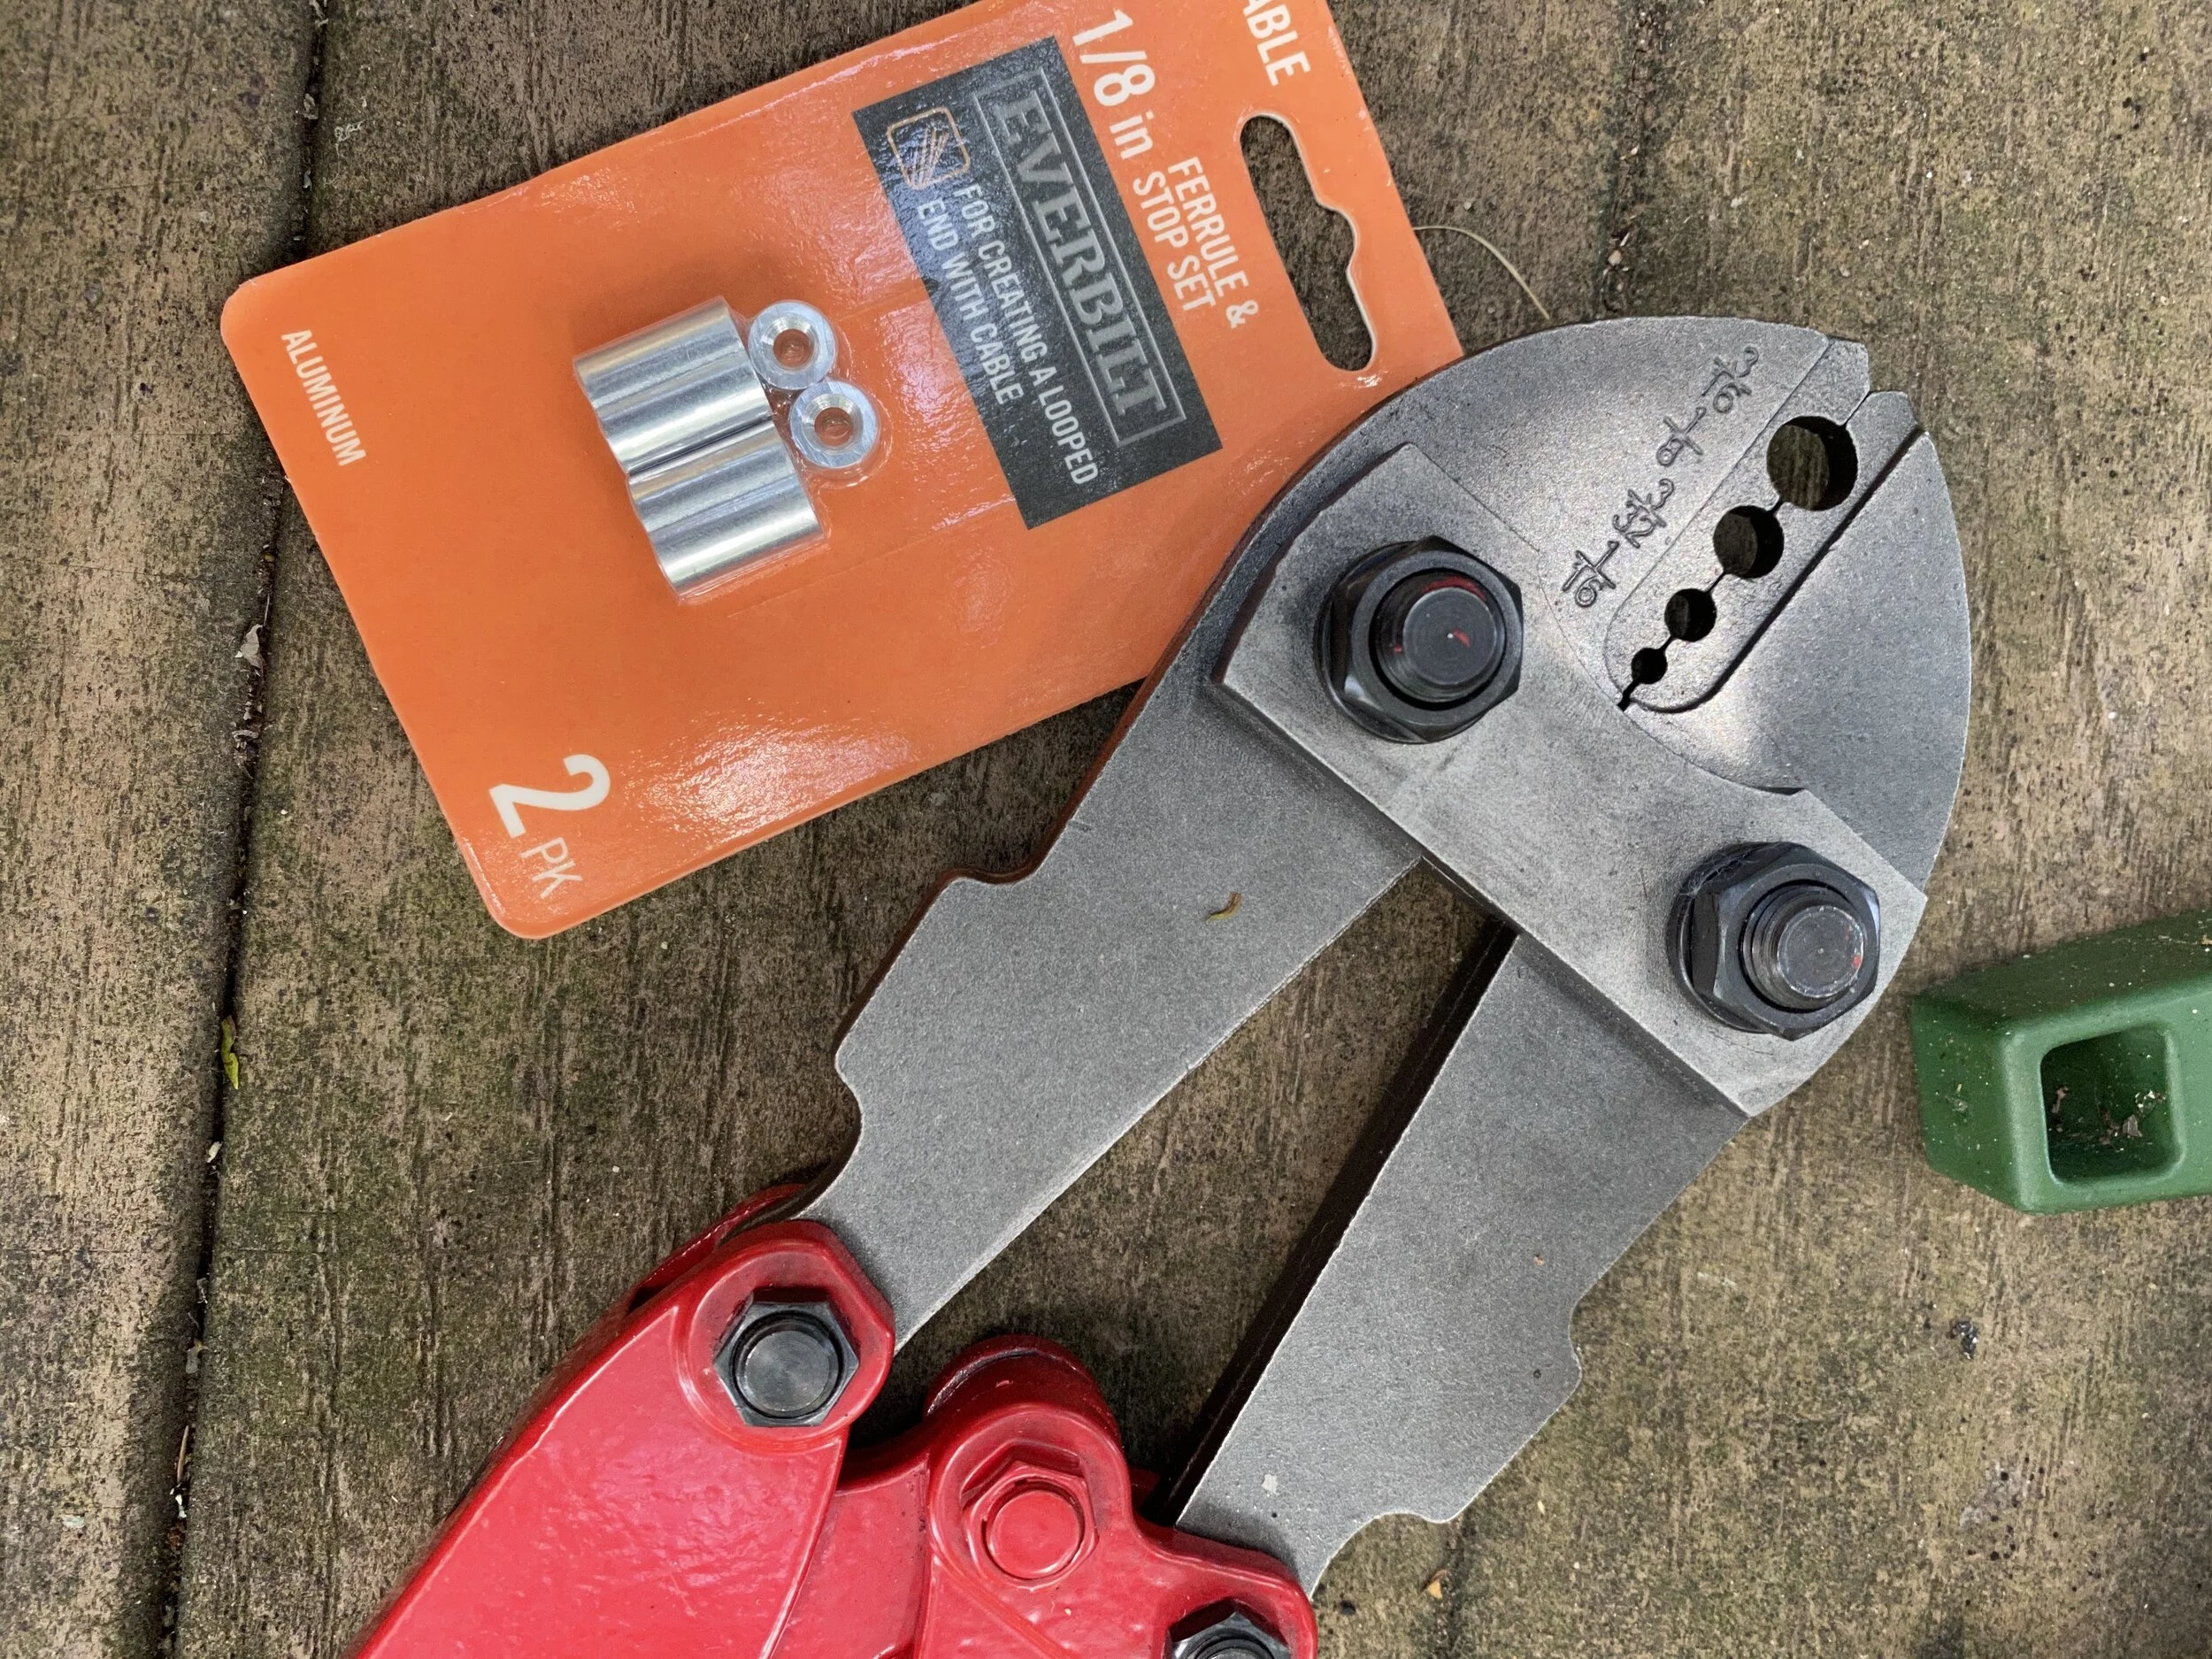
Sure, I’ll buy a tool that I will probably use on one project in my life, but hey, I have one now if you need to borrow one.
I headed home to google the thing and found lots of instructional videos. The first was basic; it even explained that the illustration on the back of this very package was incorrect, which I had wondered when I looked at it.
Then this video, professionally produced, was stellar.
tl;dw: The aluminum ferrule gets squished into the very fabric of the twisted wire cable, binding it and keeping it from going anywhere. The video gives examples of different sizes of wire/ferrules and different kinds of wire. I was ready.
It dawned on me that I should do the first end on my work table, then thread the wire rope through the fence posts and finish the other end in midair, so I pulled the wire from the fence.
First, thread the rope.
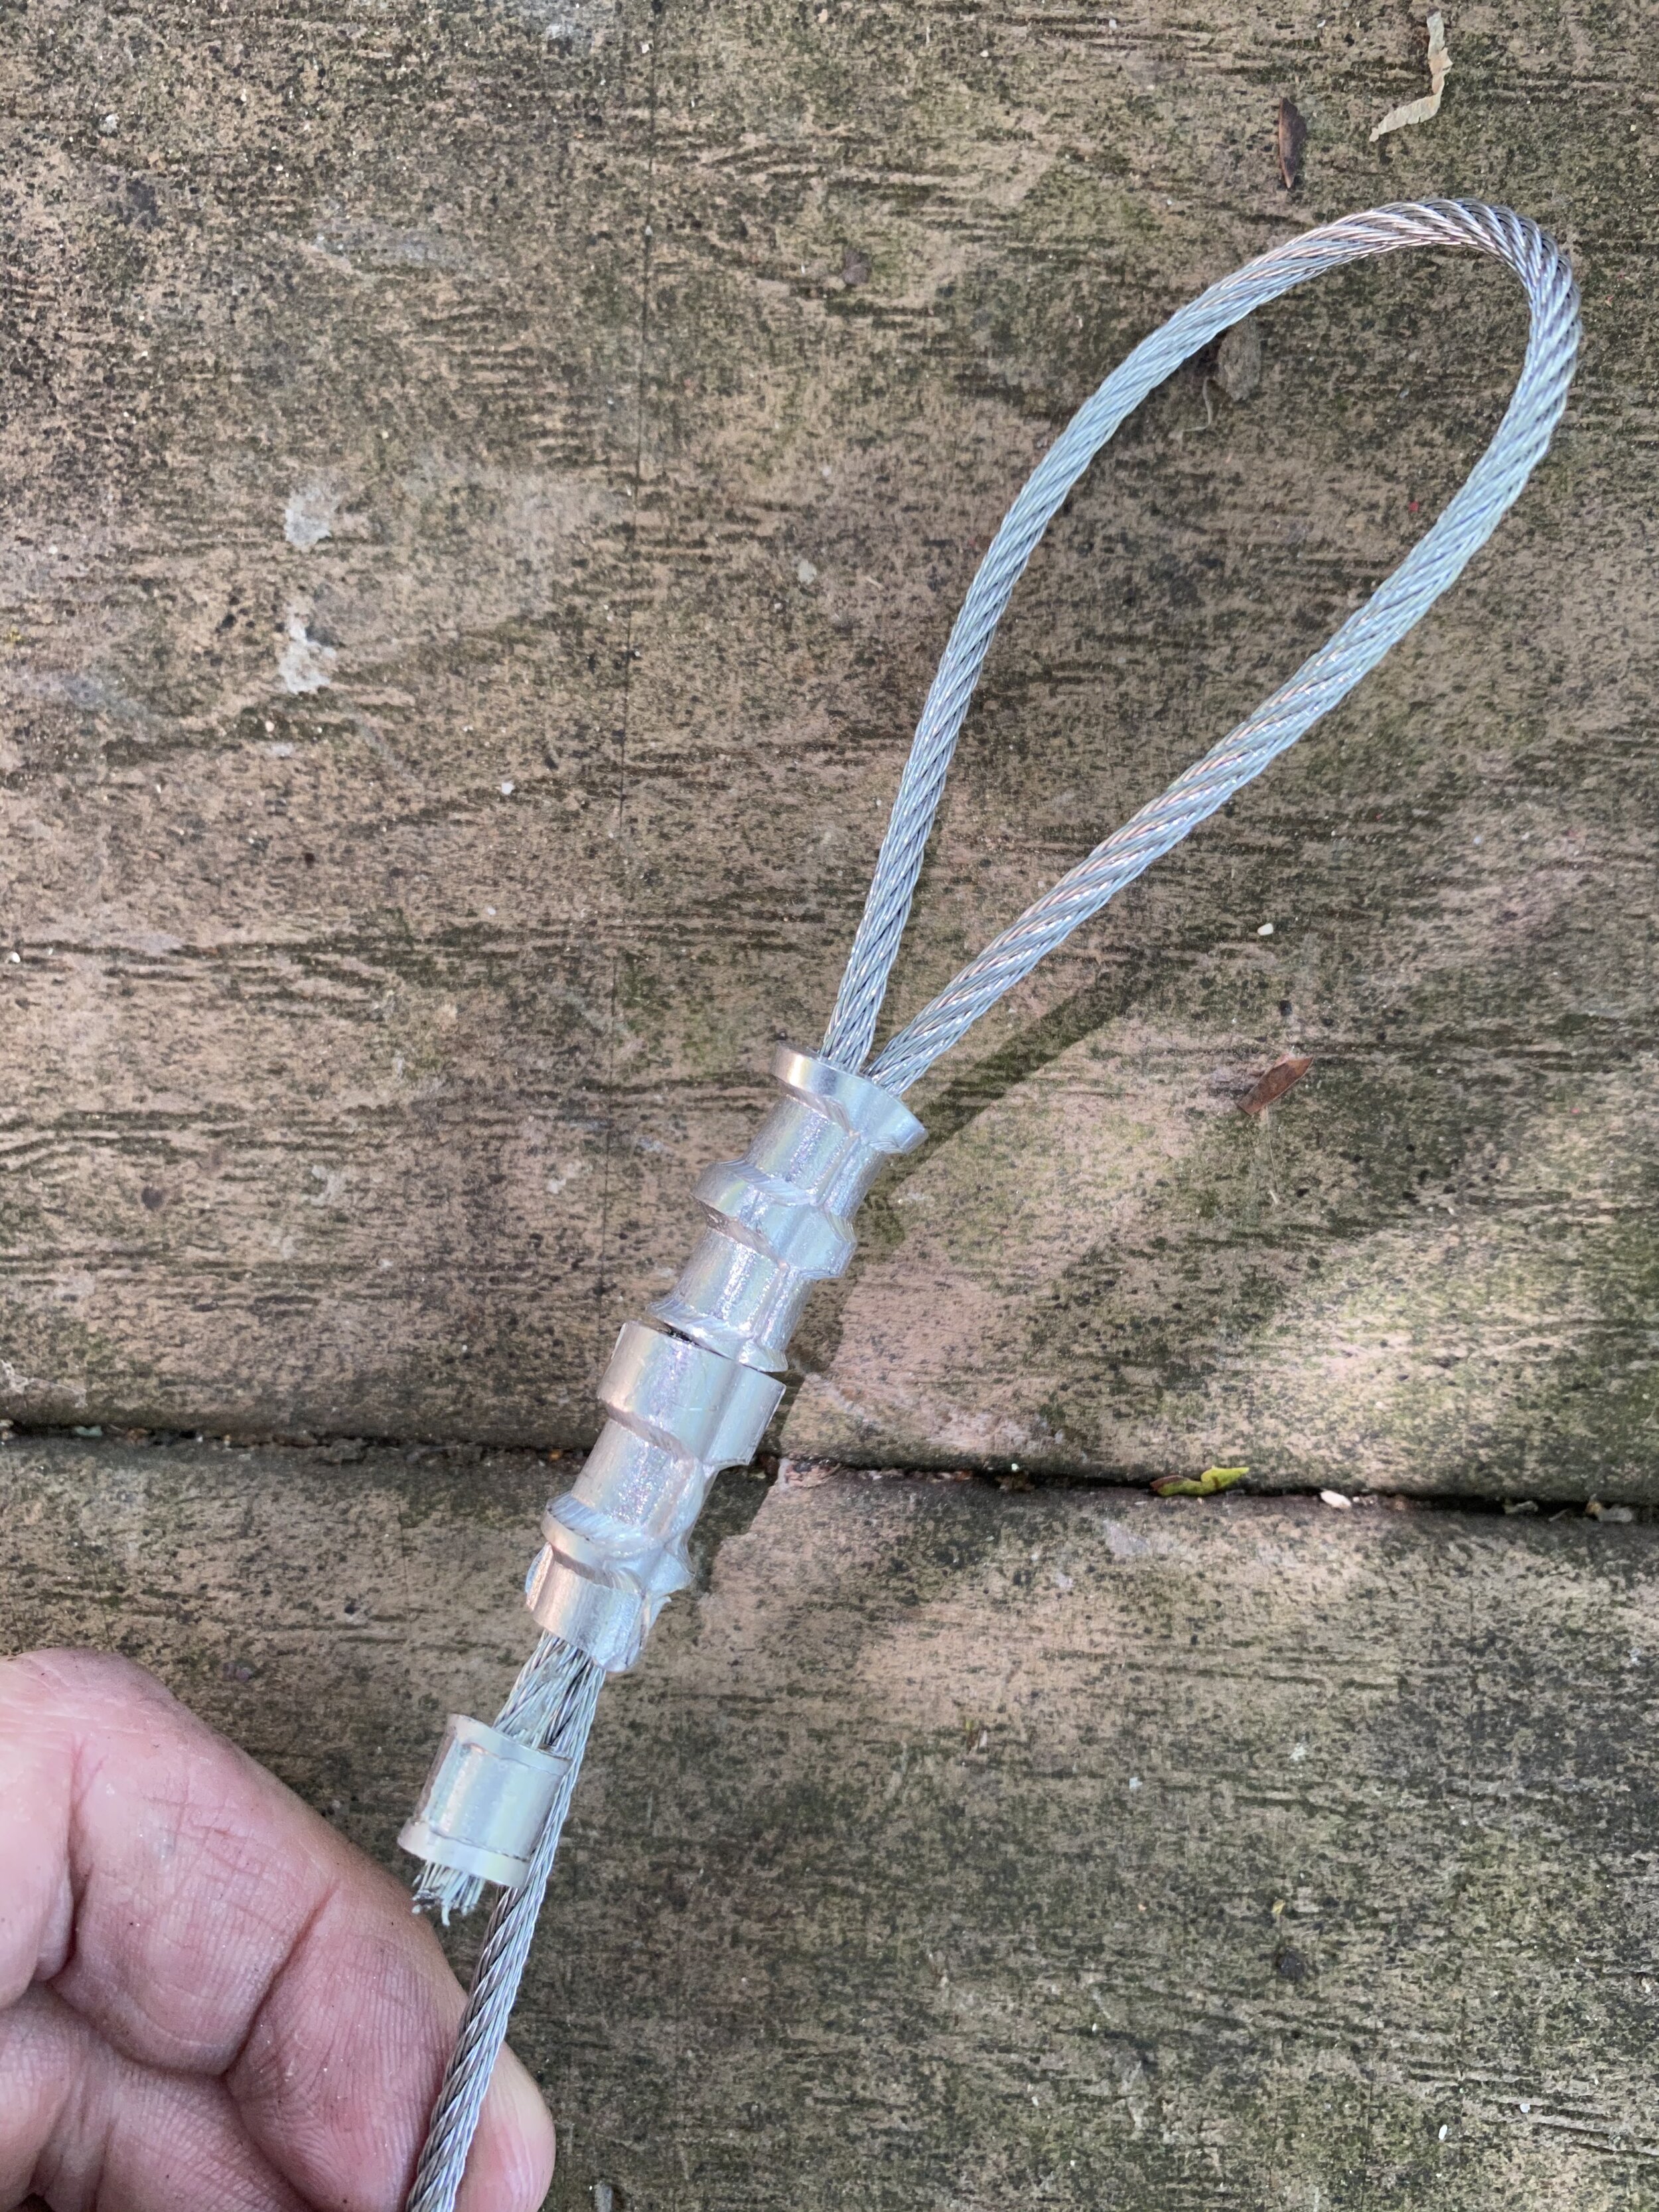
Next, the squishing, or, as we artists in wire rope community call it, the swaging.
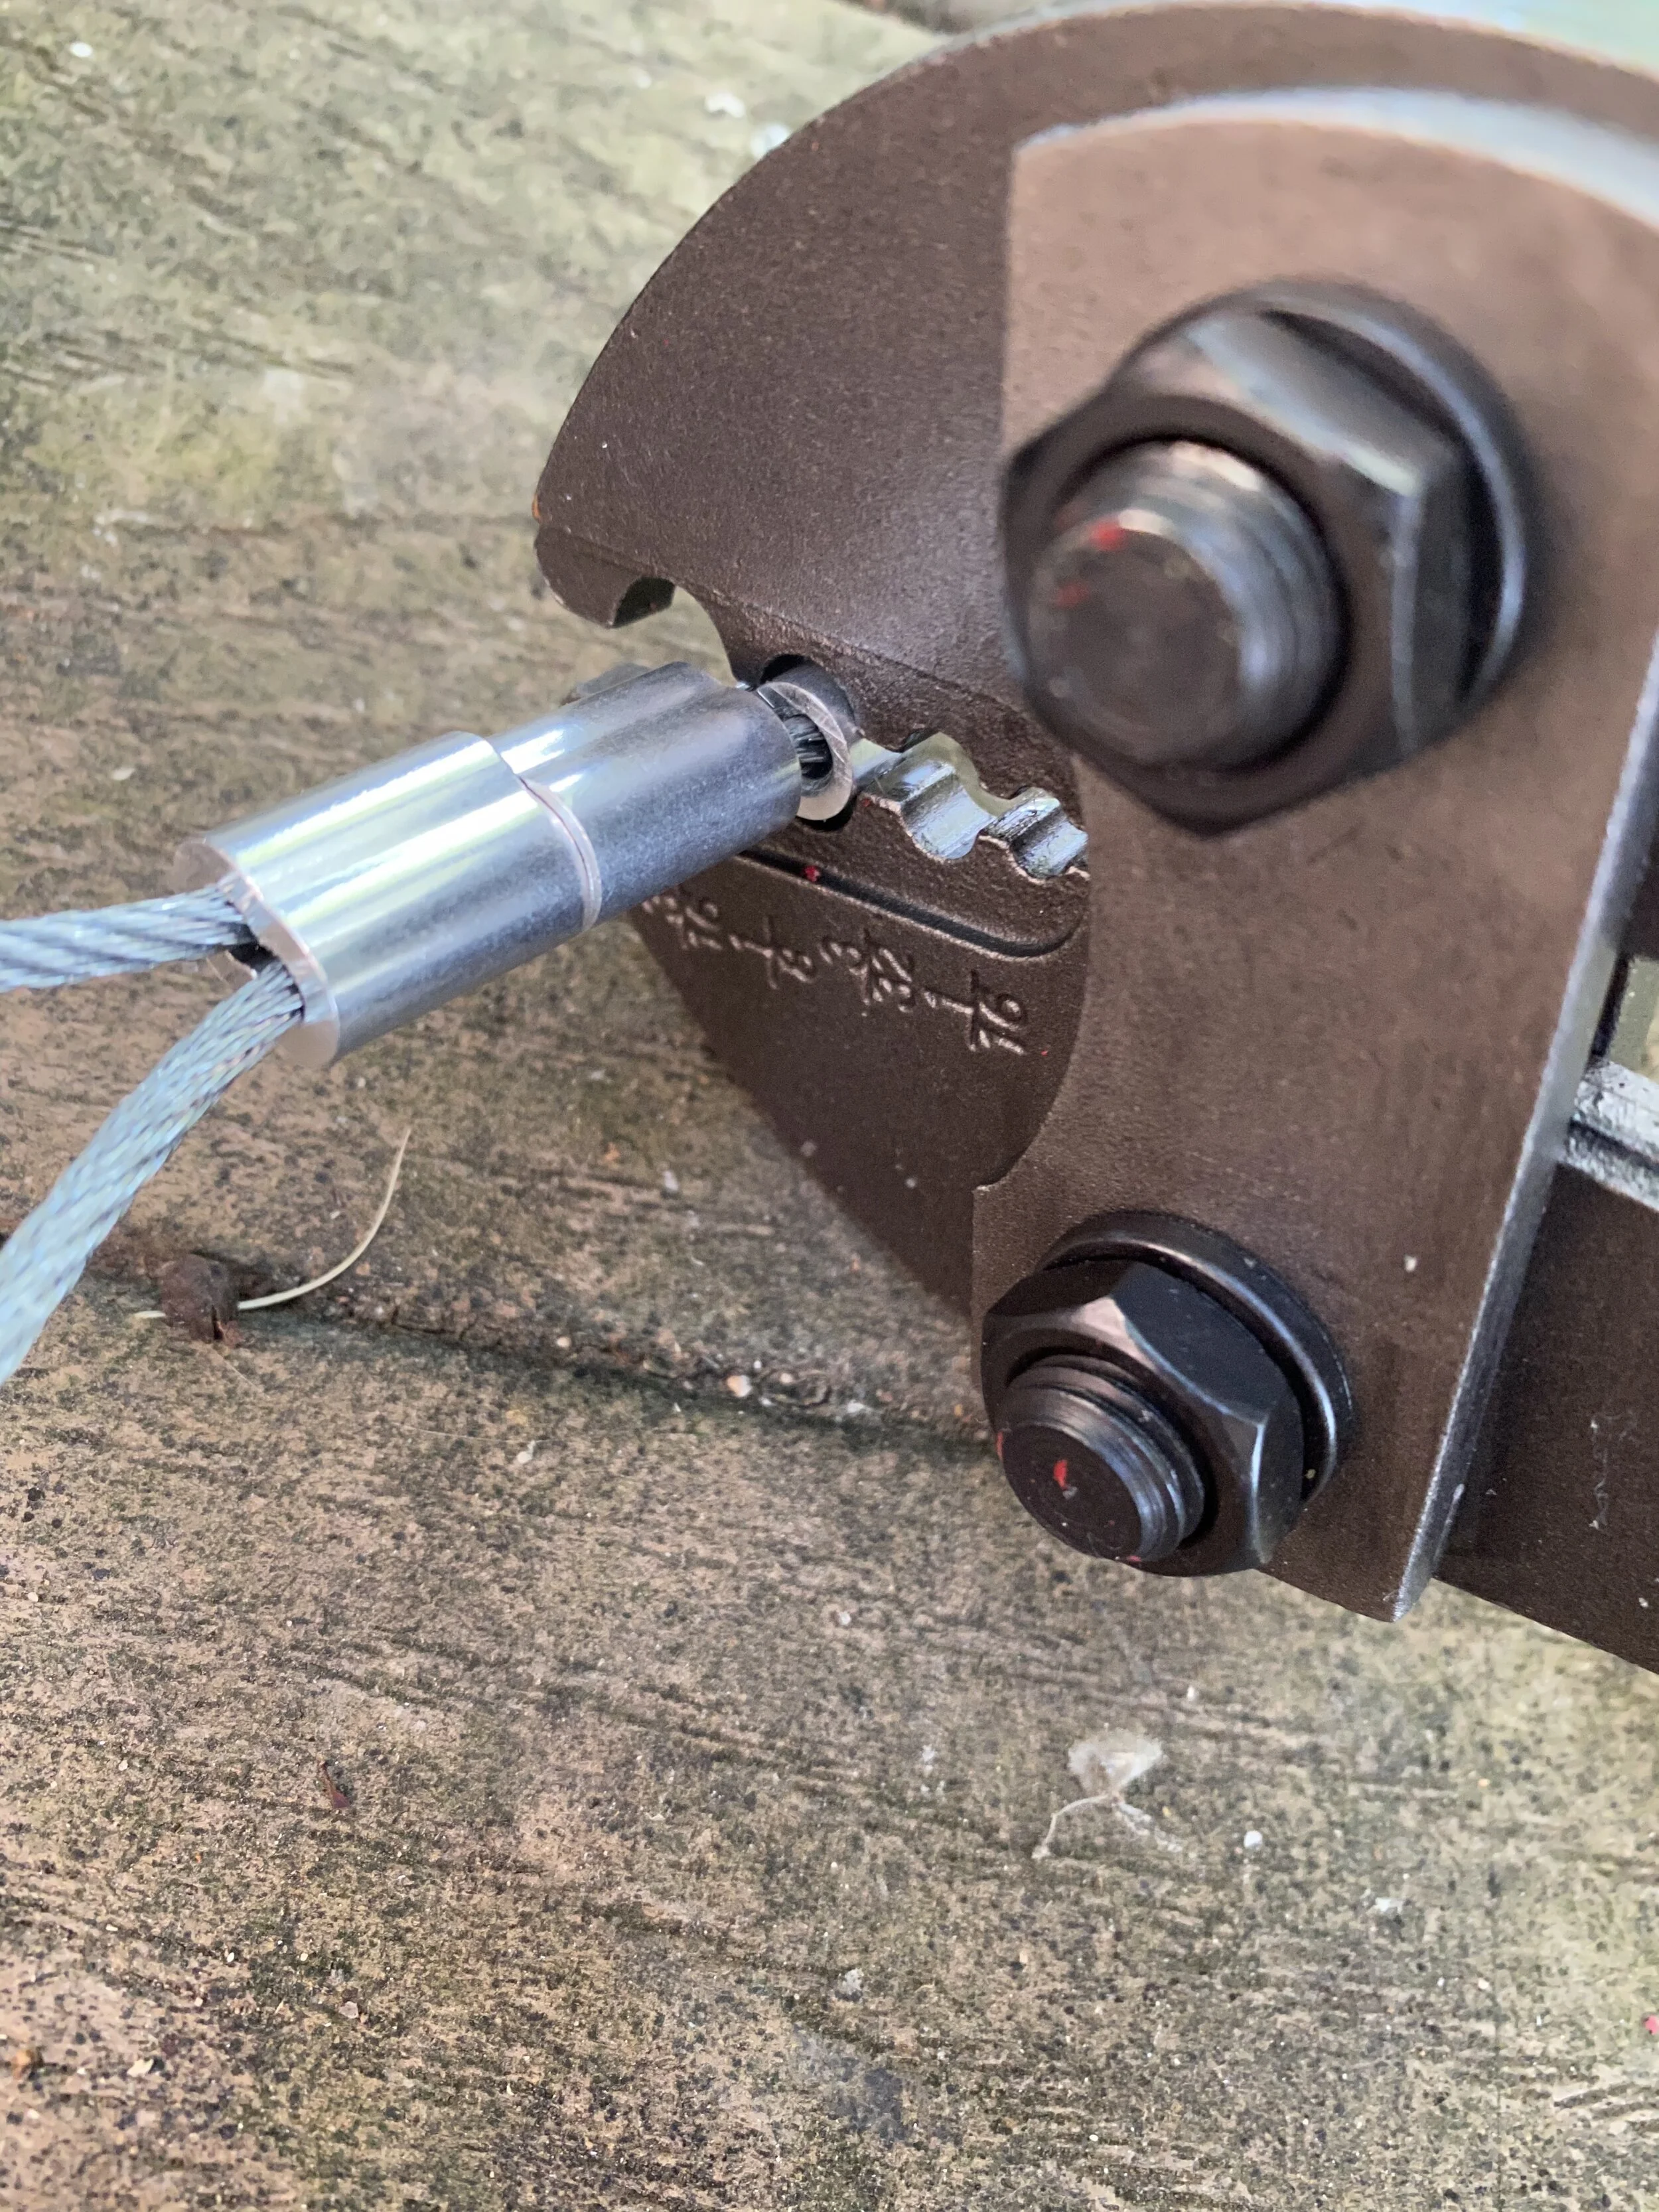
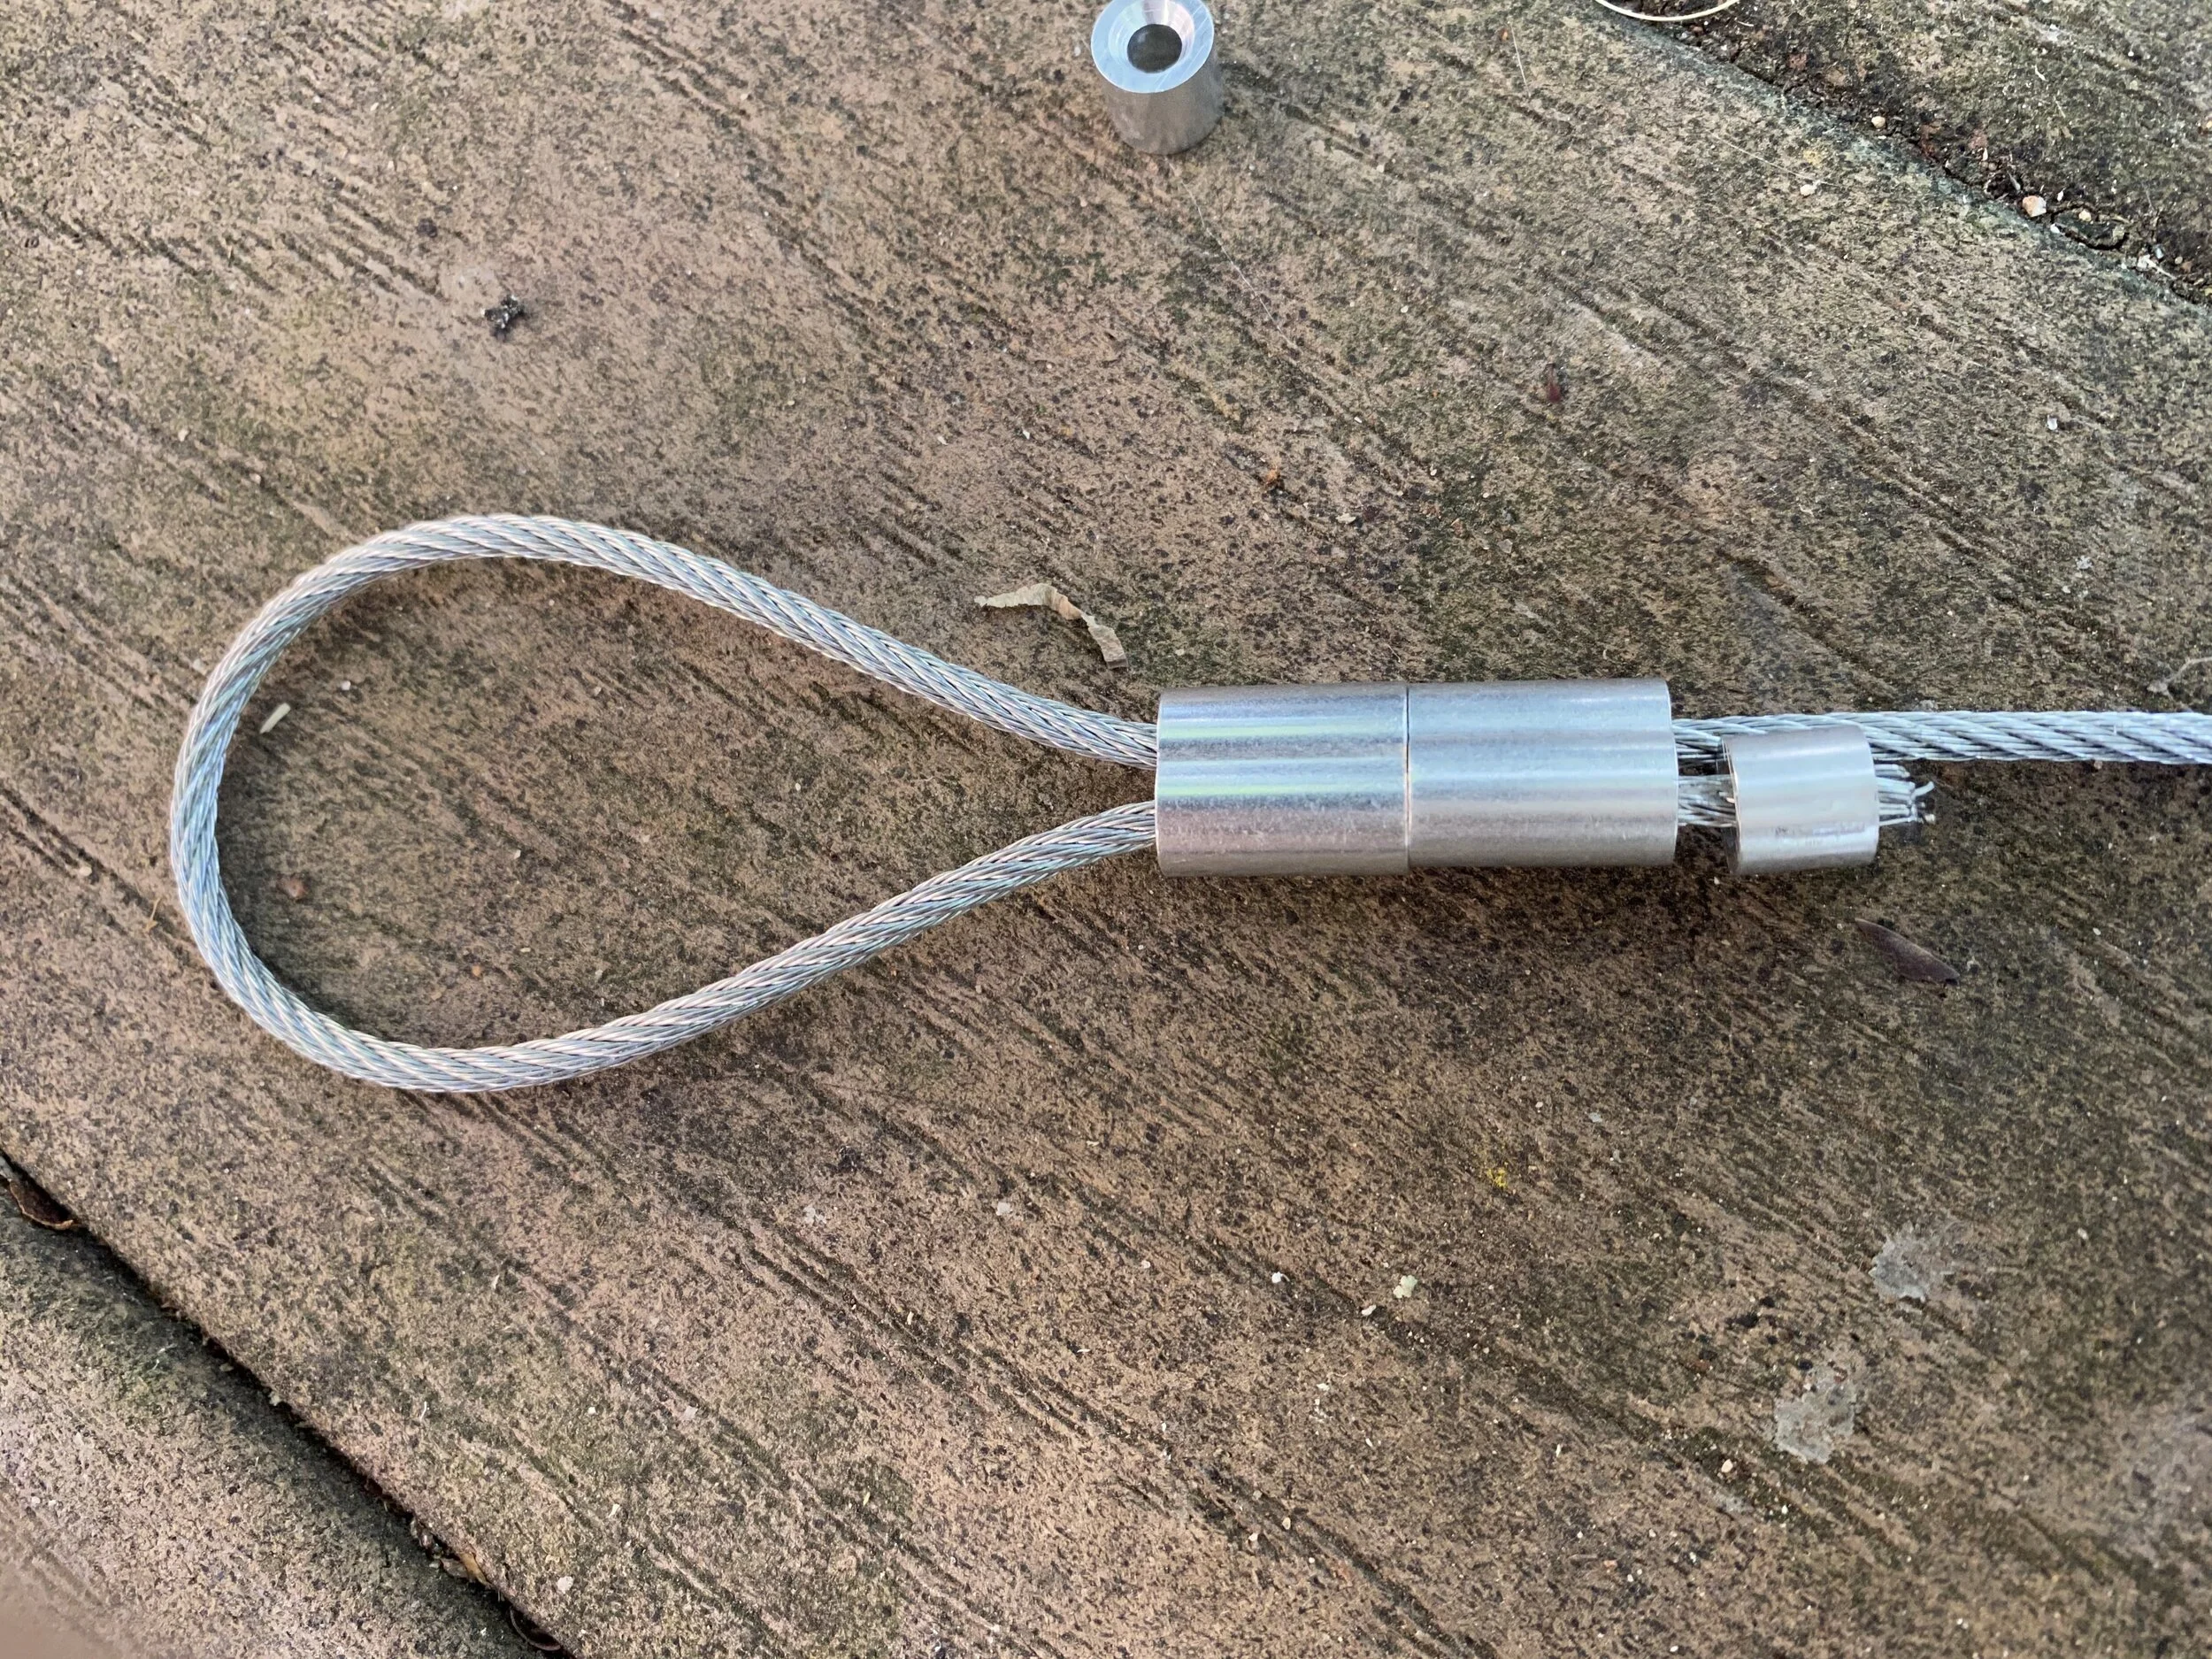
The results are odd looking.

The video said that this size ferrule should be swaged three times, but I chickened out. Since this wire is not going to be supporting anything heavy, I am going to commit to being unconcerned that my swaging was inadequate.
I will say that I was gratified to see the healthy young man in the video have to put the swaging tool down on the table to swage his ferrule, because I certainly had to. The force required to squish the aluminum is significantly more than that of clipping hedges.
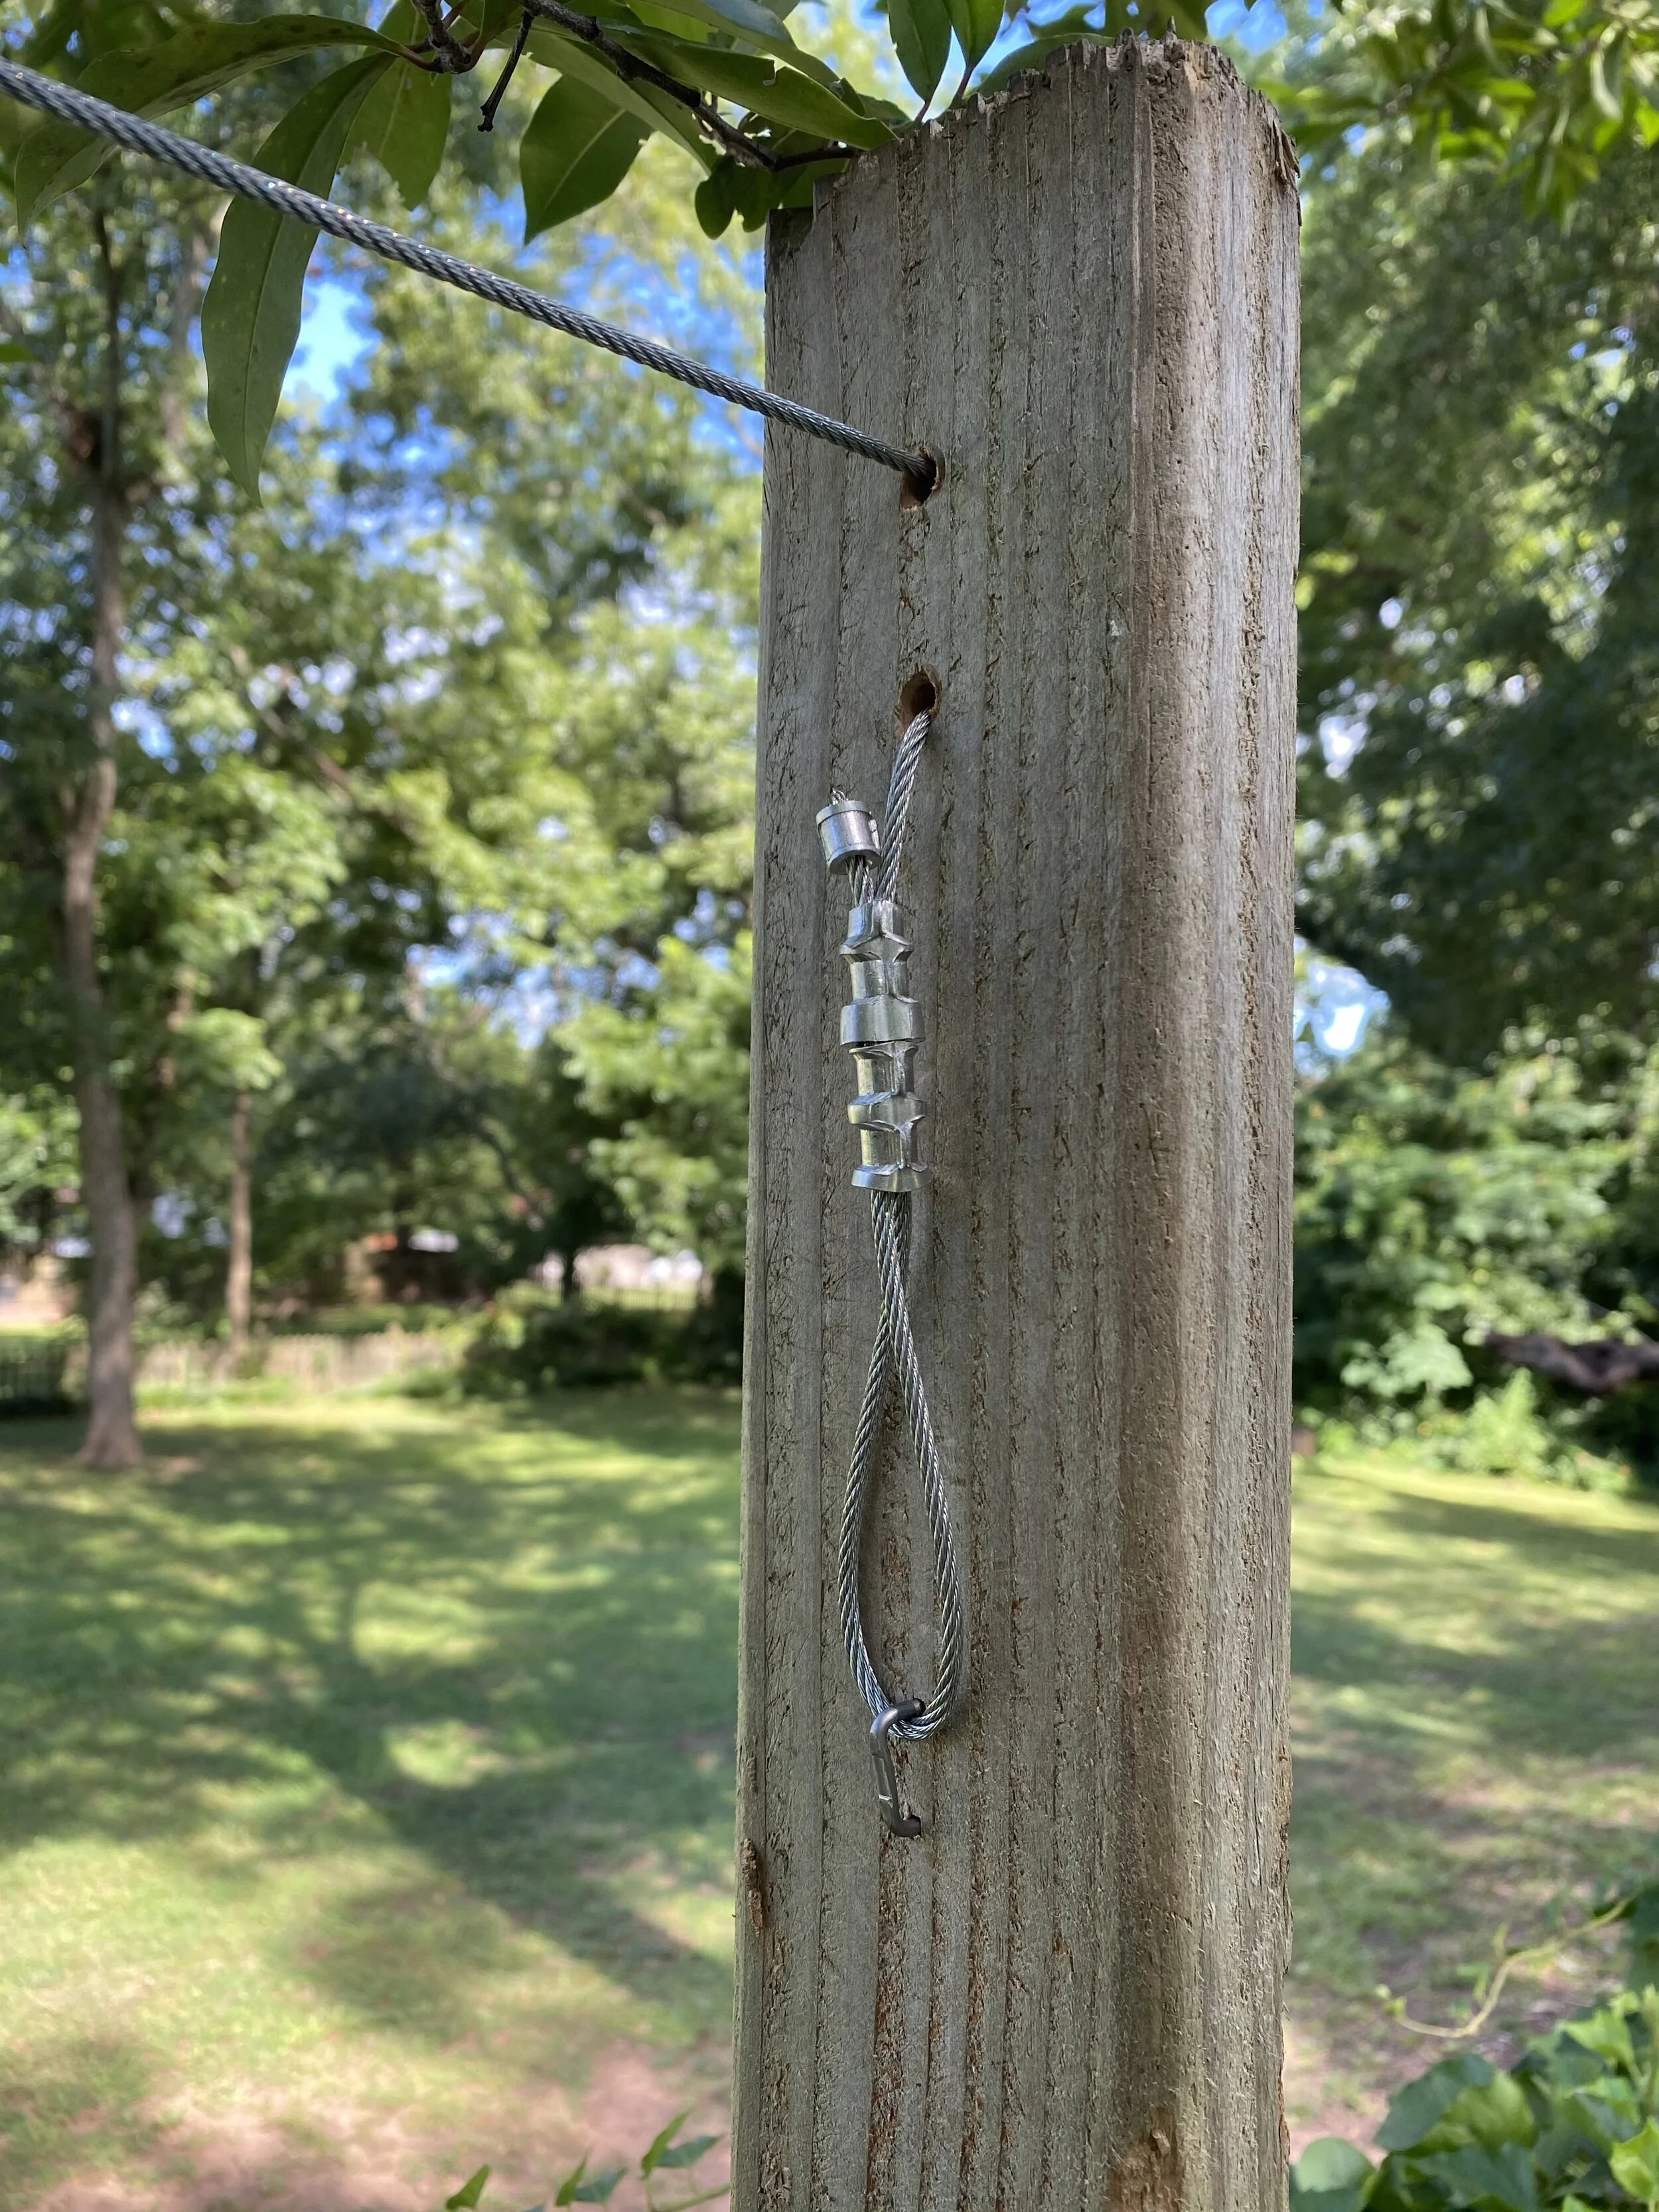
I threaded the wire back into the posts.
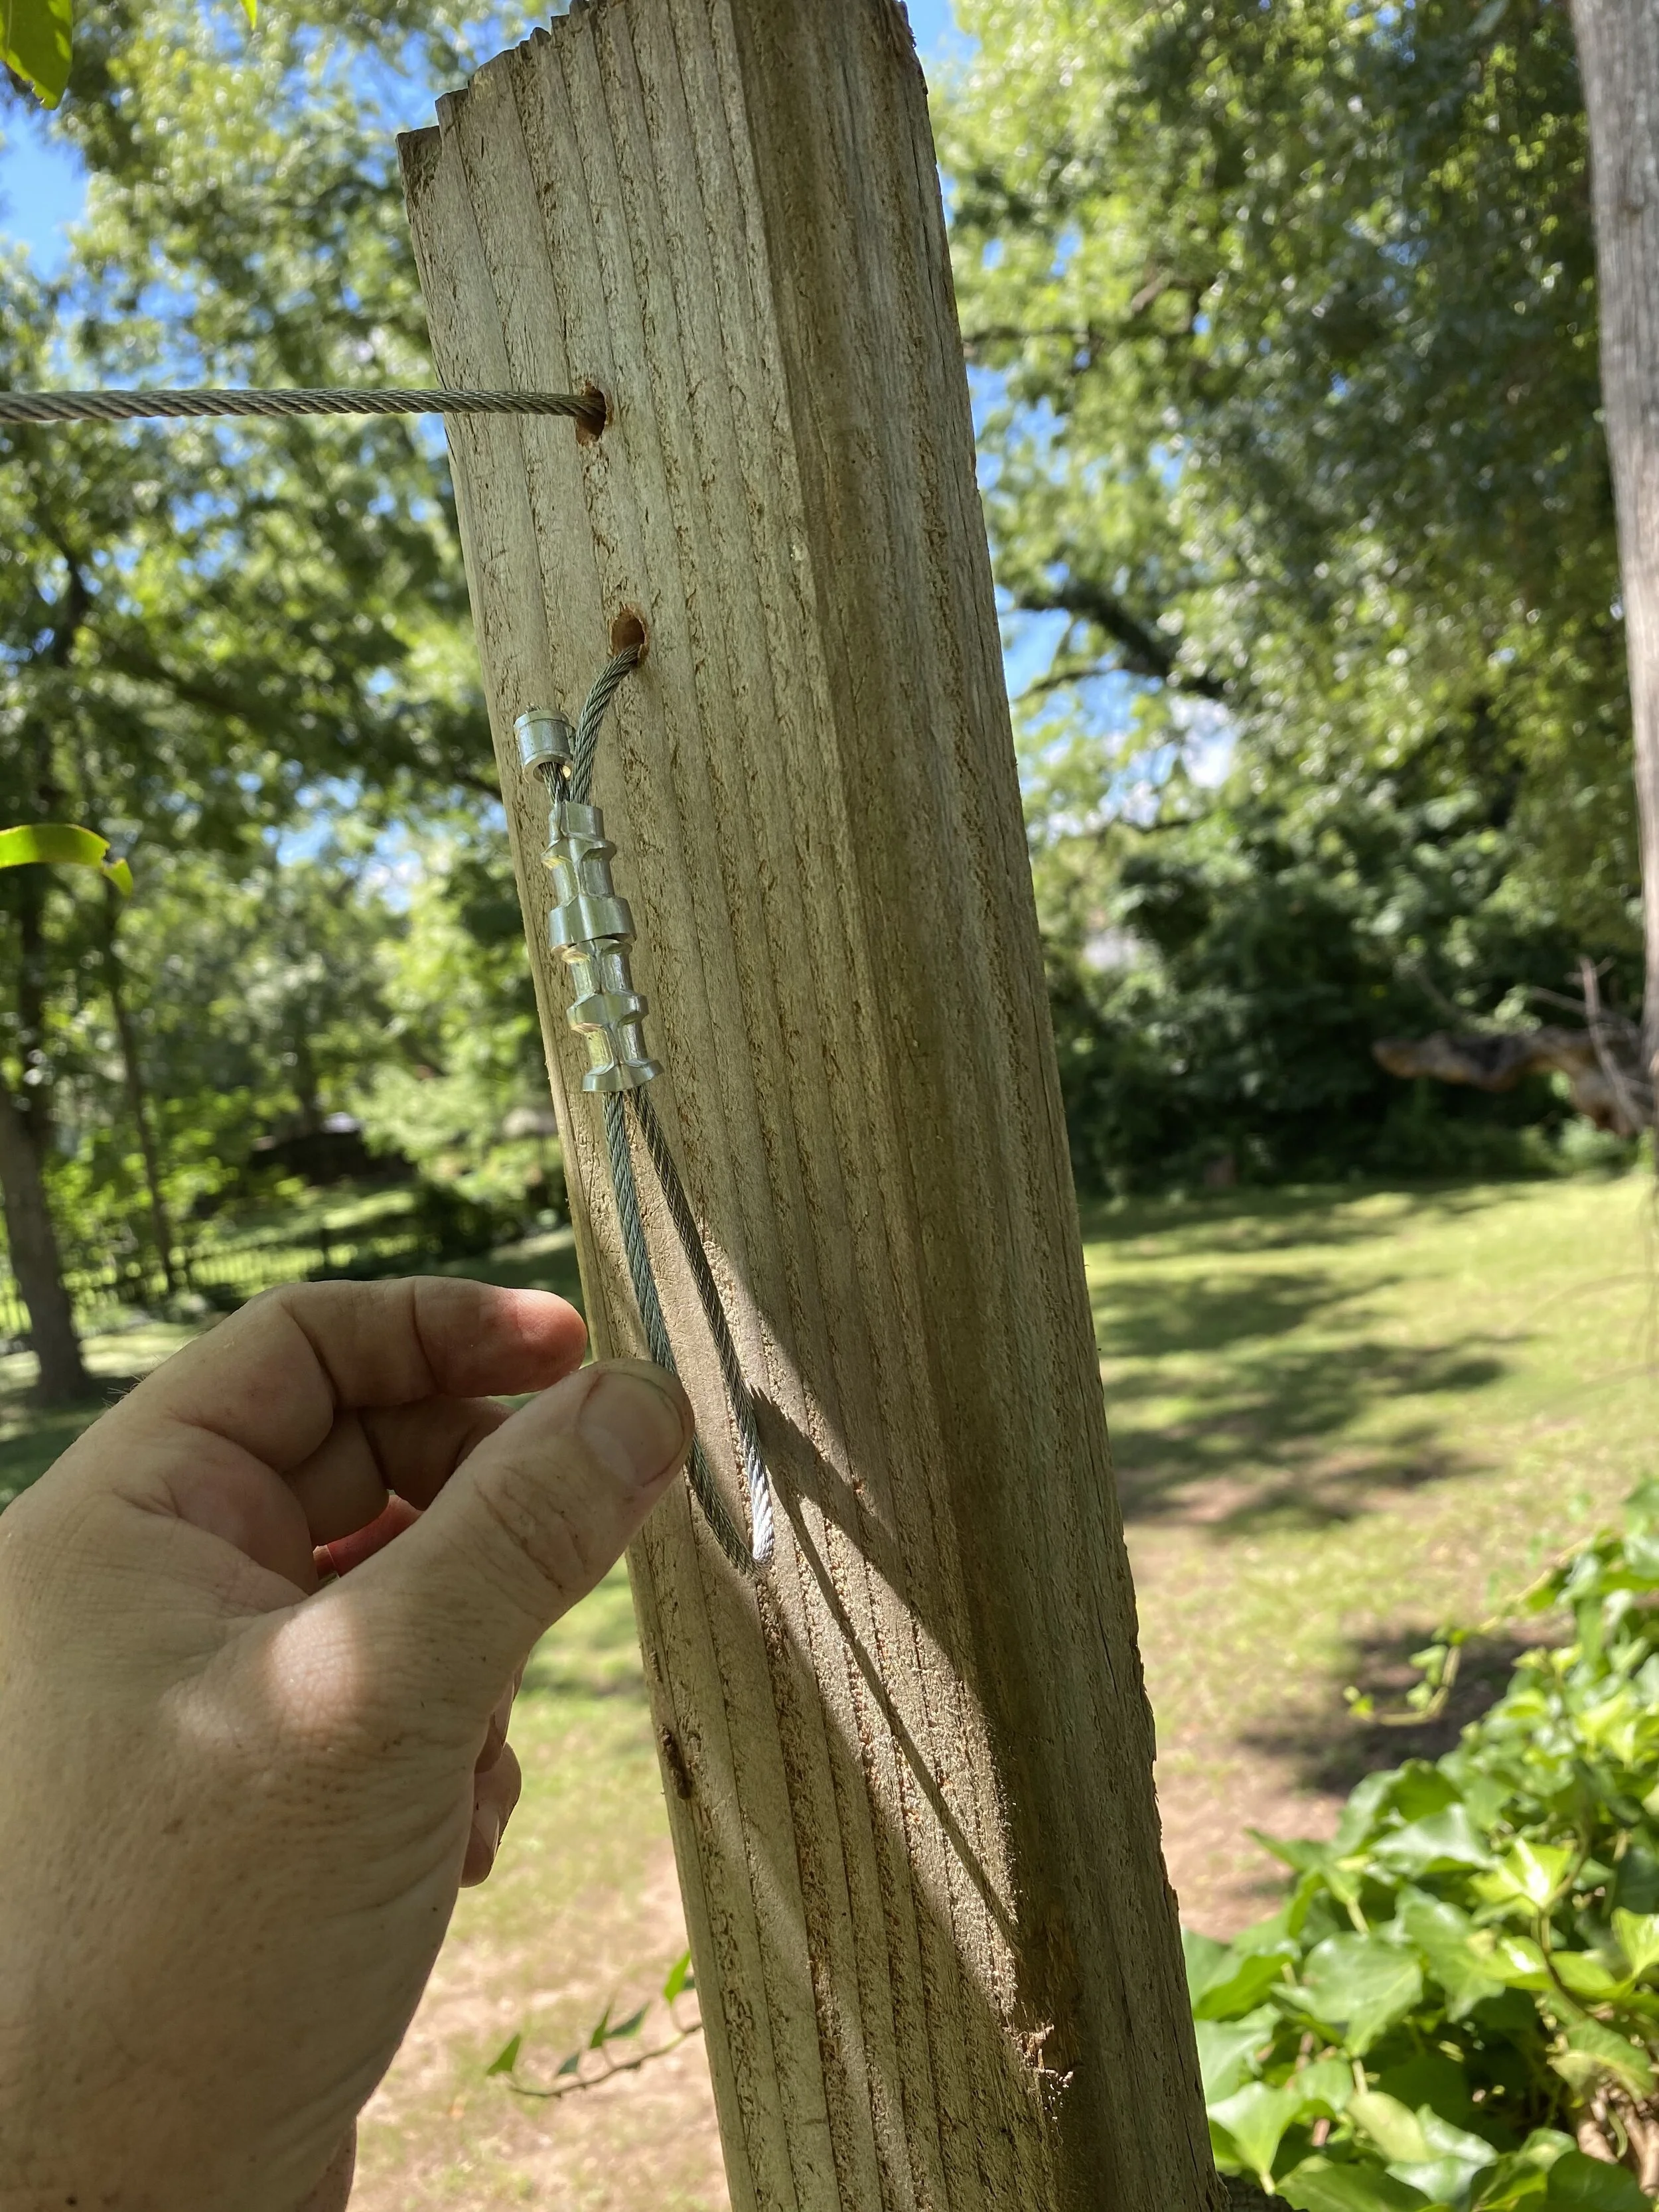
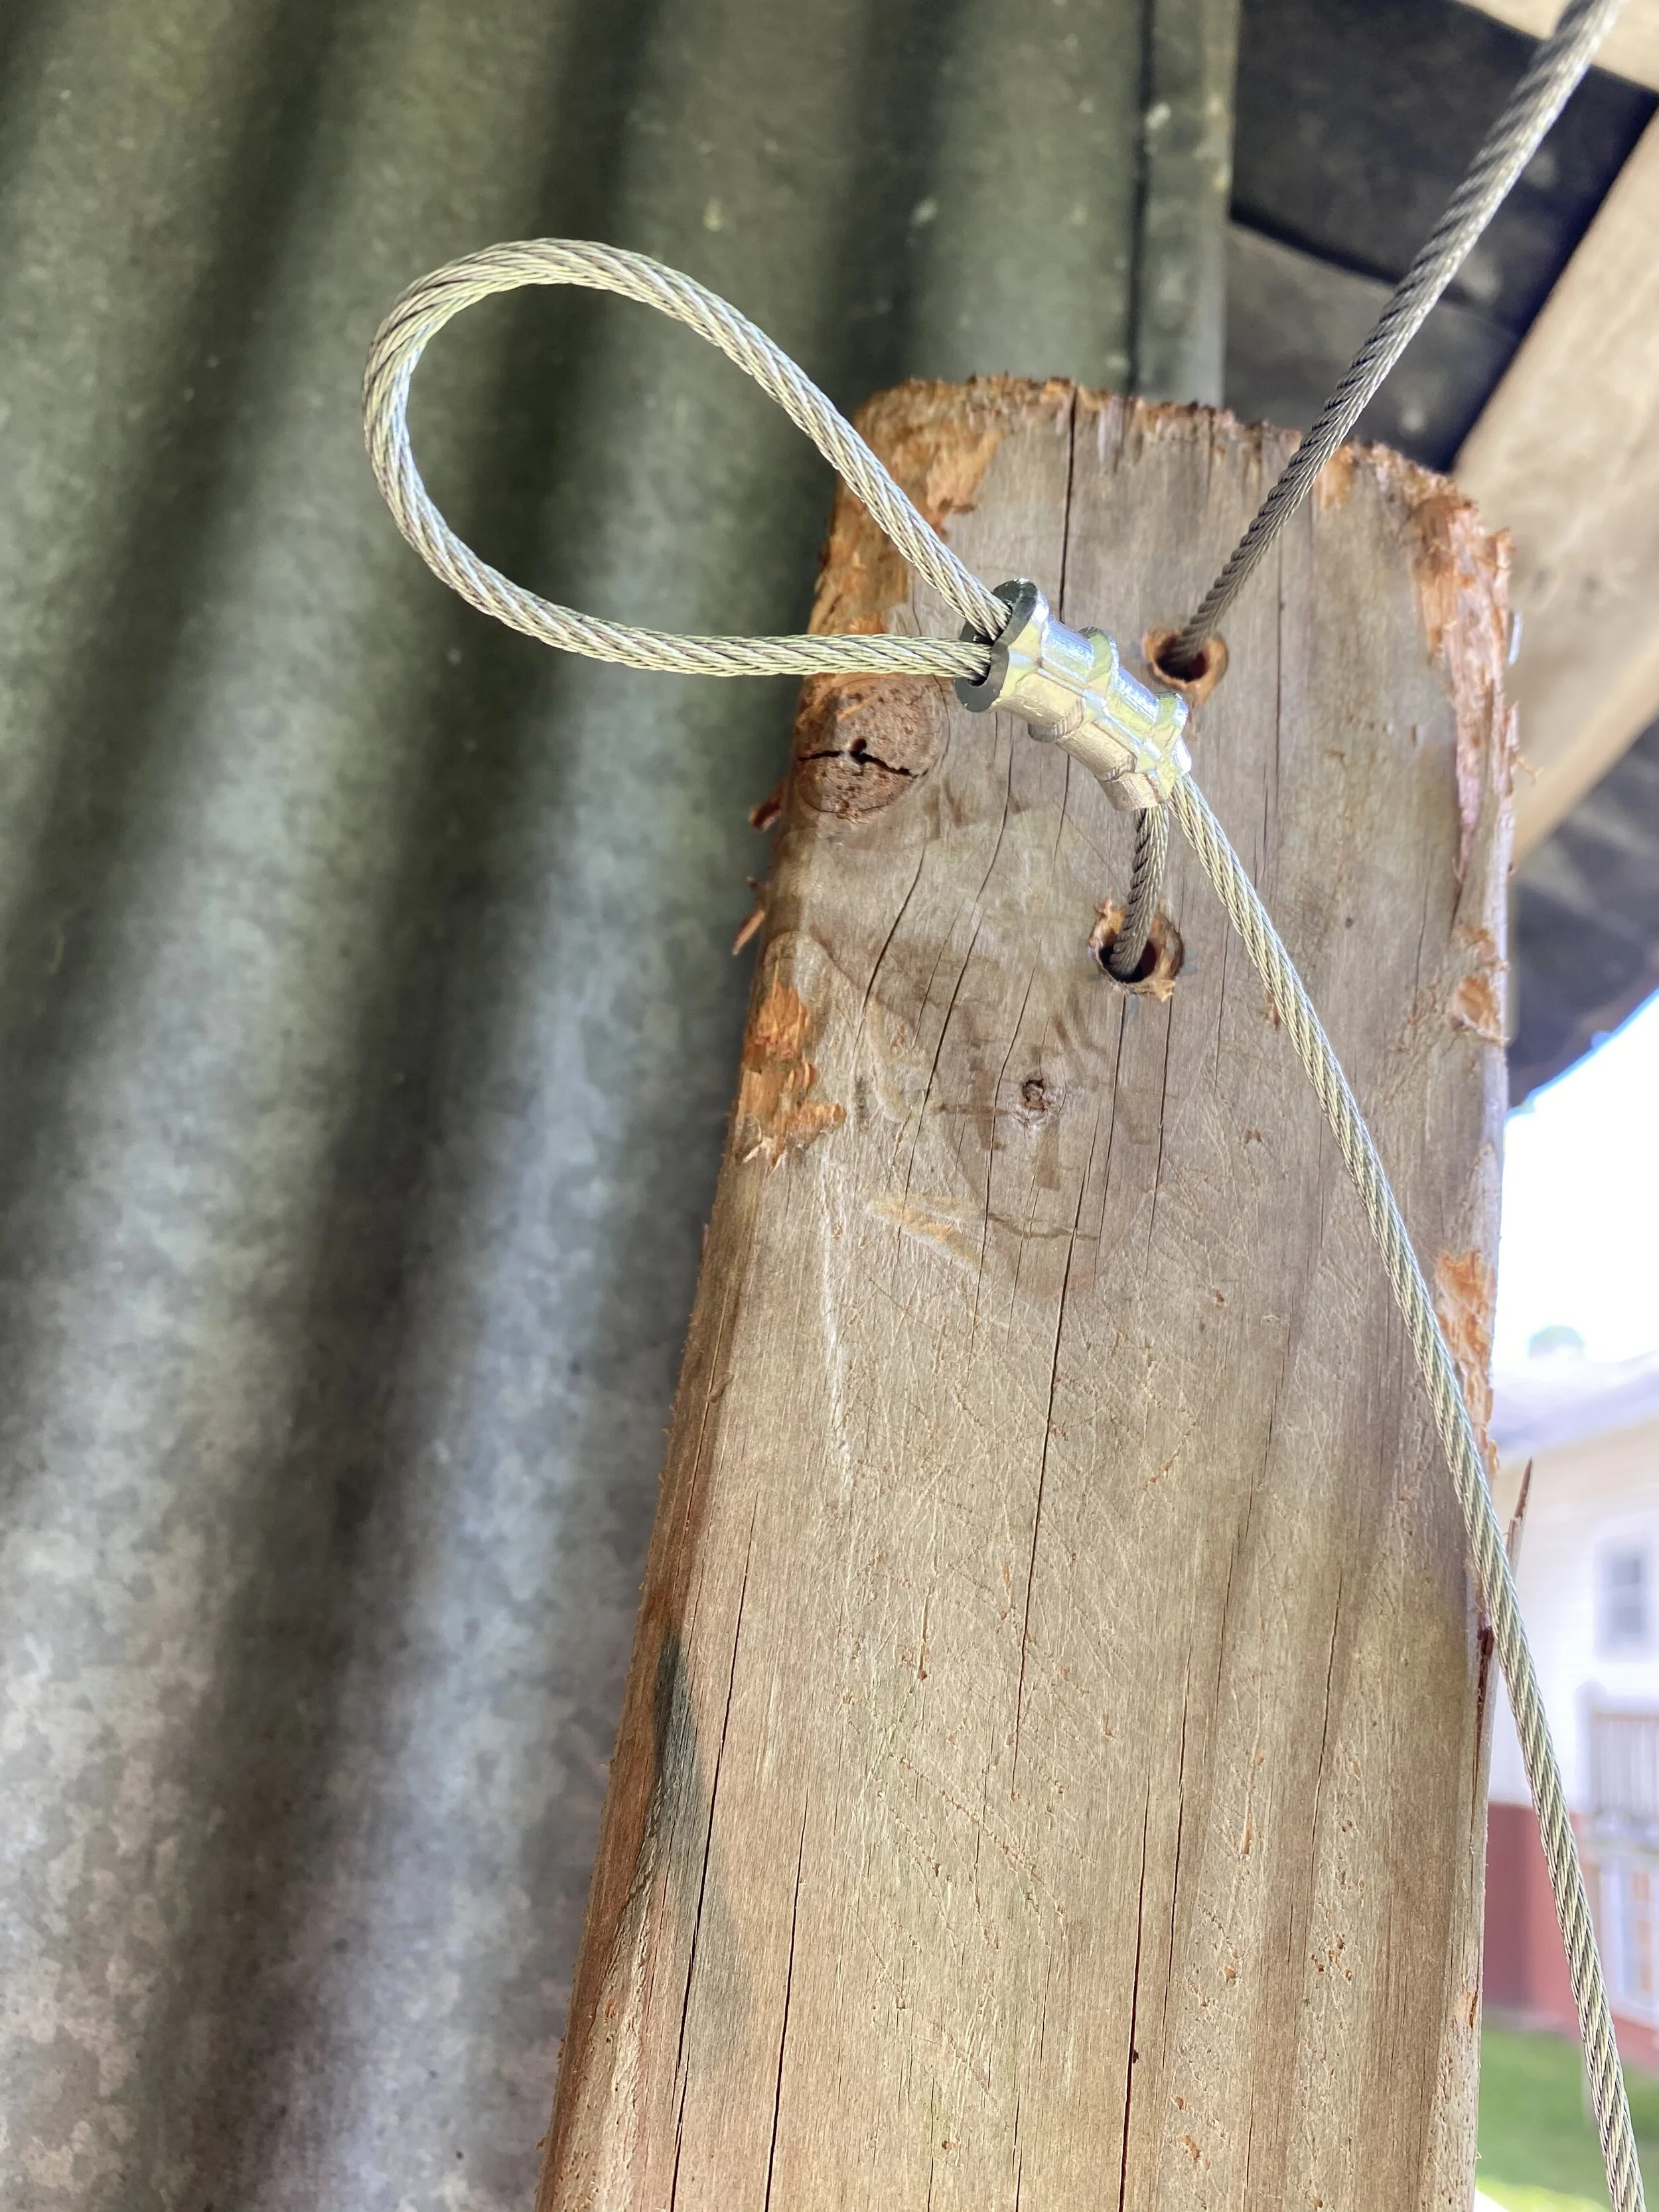
I thought about just leaving it loose. It’s not as if the ferrules are going to slip through the hole. (In fact, I could have just ferruled the end without a loop at all, I suspect.)
But I secured it: drilled some guide holes, then hammered in a staple:
I moved to the other end of the fence, tightened the wire, then clambered up on the ladder with my swaging tool to swage the other end.
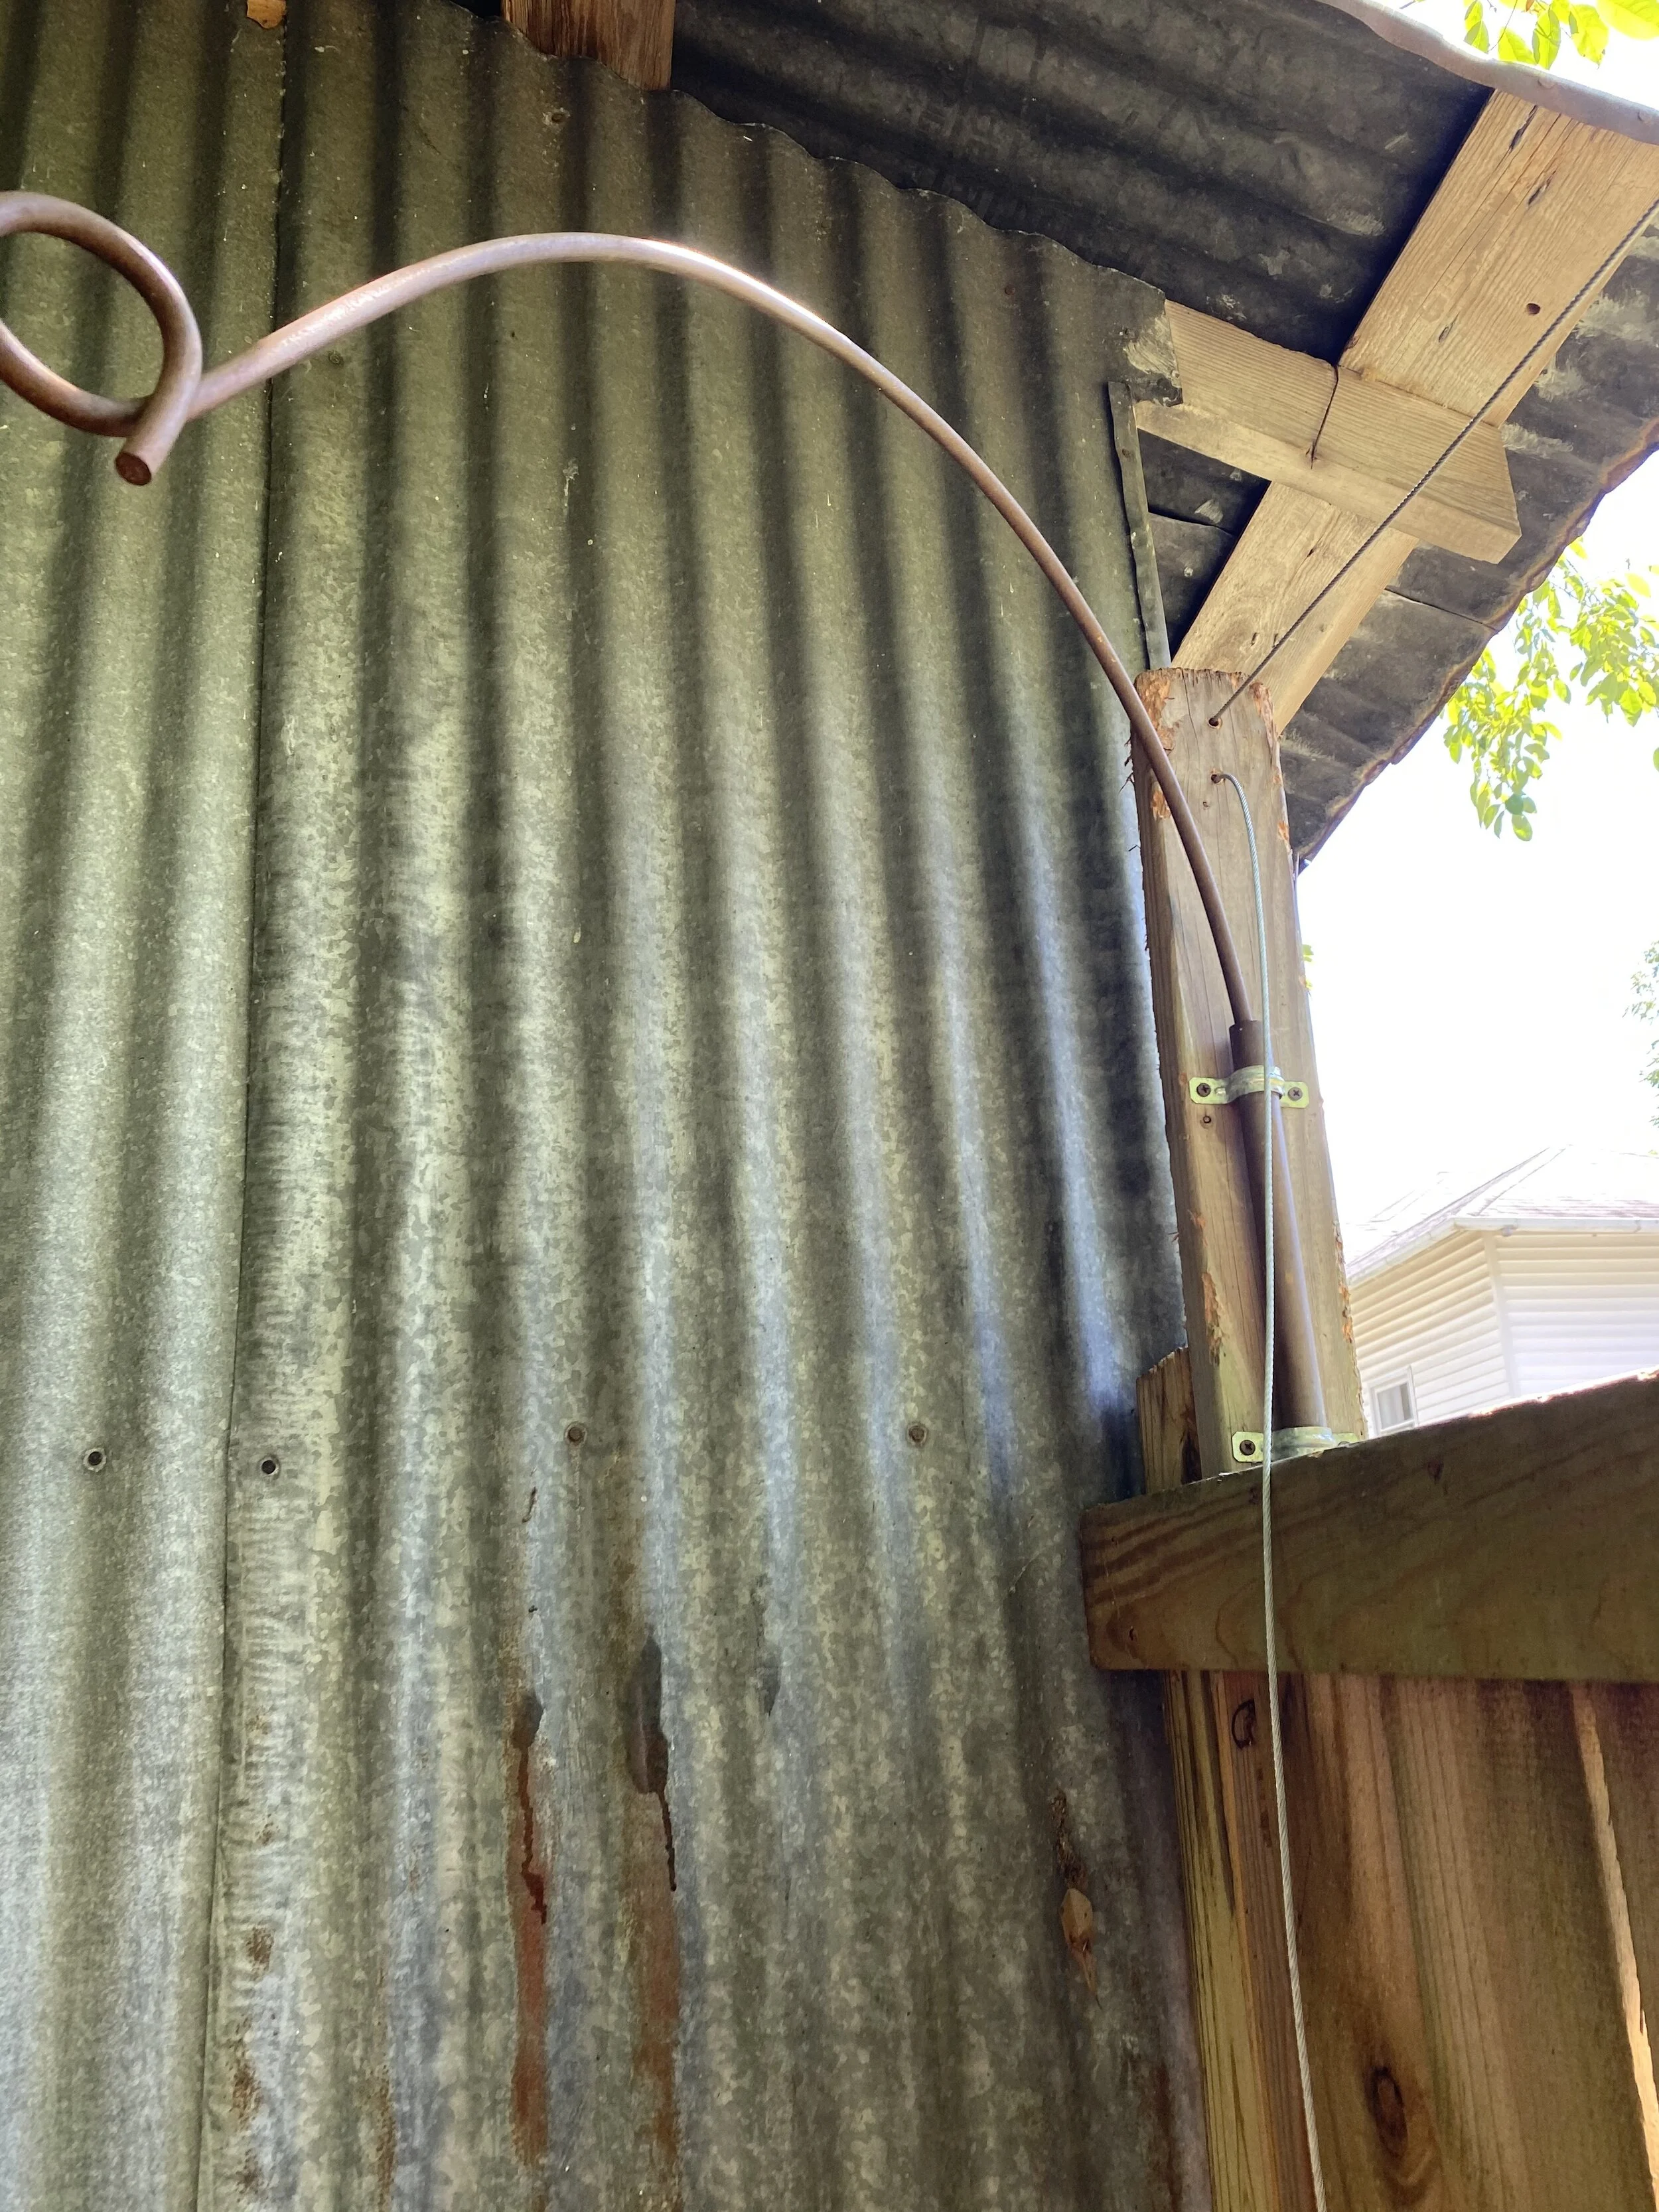
The contraption there is to hang a lantern on. It is removable by design.
Much grunting and teetering later:
I pulled it tight and fastened it. I now have a wire rope stretched across my fence. There is no photo because you can’t really see it from a distance.
Next: the hard part — designing the five panels.
