

A NEW PROJECT yes really
/To those of you gasping at the title of this post, WHAT IS IT ABOUT TASK AVOIDANCE THAT YOU DO NOT UNDERSTAND?
A quick review: The entire basis of Lichtenbergianism is TASK AVOIDANCE, not doing all the things. The reason it works as a legitimate creative process is that you are always working on something to avoid working on the other thing.
Hence, recently, I could avoid working on the GALAXY project by working on the lizard decoration and vice versa. (I could avoid working on either by clearing out some bamboo or developing a new cocktail.)
However, I am now at an impasse. With the lizard project, I am awaiting the delivery of some enamel paint so I can add those colors to the plan. With GALAXY, I have nothing I can do until I receive the order of 5mm EL wire from coolneon.com. (I need to go nudge Benny about that, in fact.)
So what’s a Lichtenbergian to do? Start a new project, of course: the Fence Art Project.
Actually, the Fence Art Project is an old project. When I was convinced to allow the labyrinth to be on the Christmas Tour of Homes back in 2016, I had a new fence installed. You can read all about that here, but the main thing you have to know is that since I couldn’t have an 8-foot fence installed, I asked for 8-foot posts so I could install art between the posts for that little bit of extra privacy they would afford.
Last week, a neighbor’s security light aimed right at my face as I tried to walk the labyrinth convinced me it was time to get this project done.
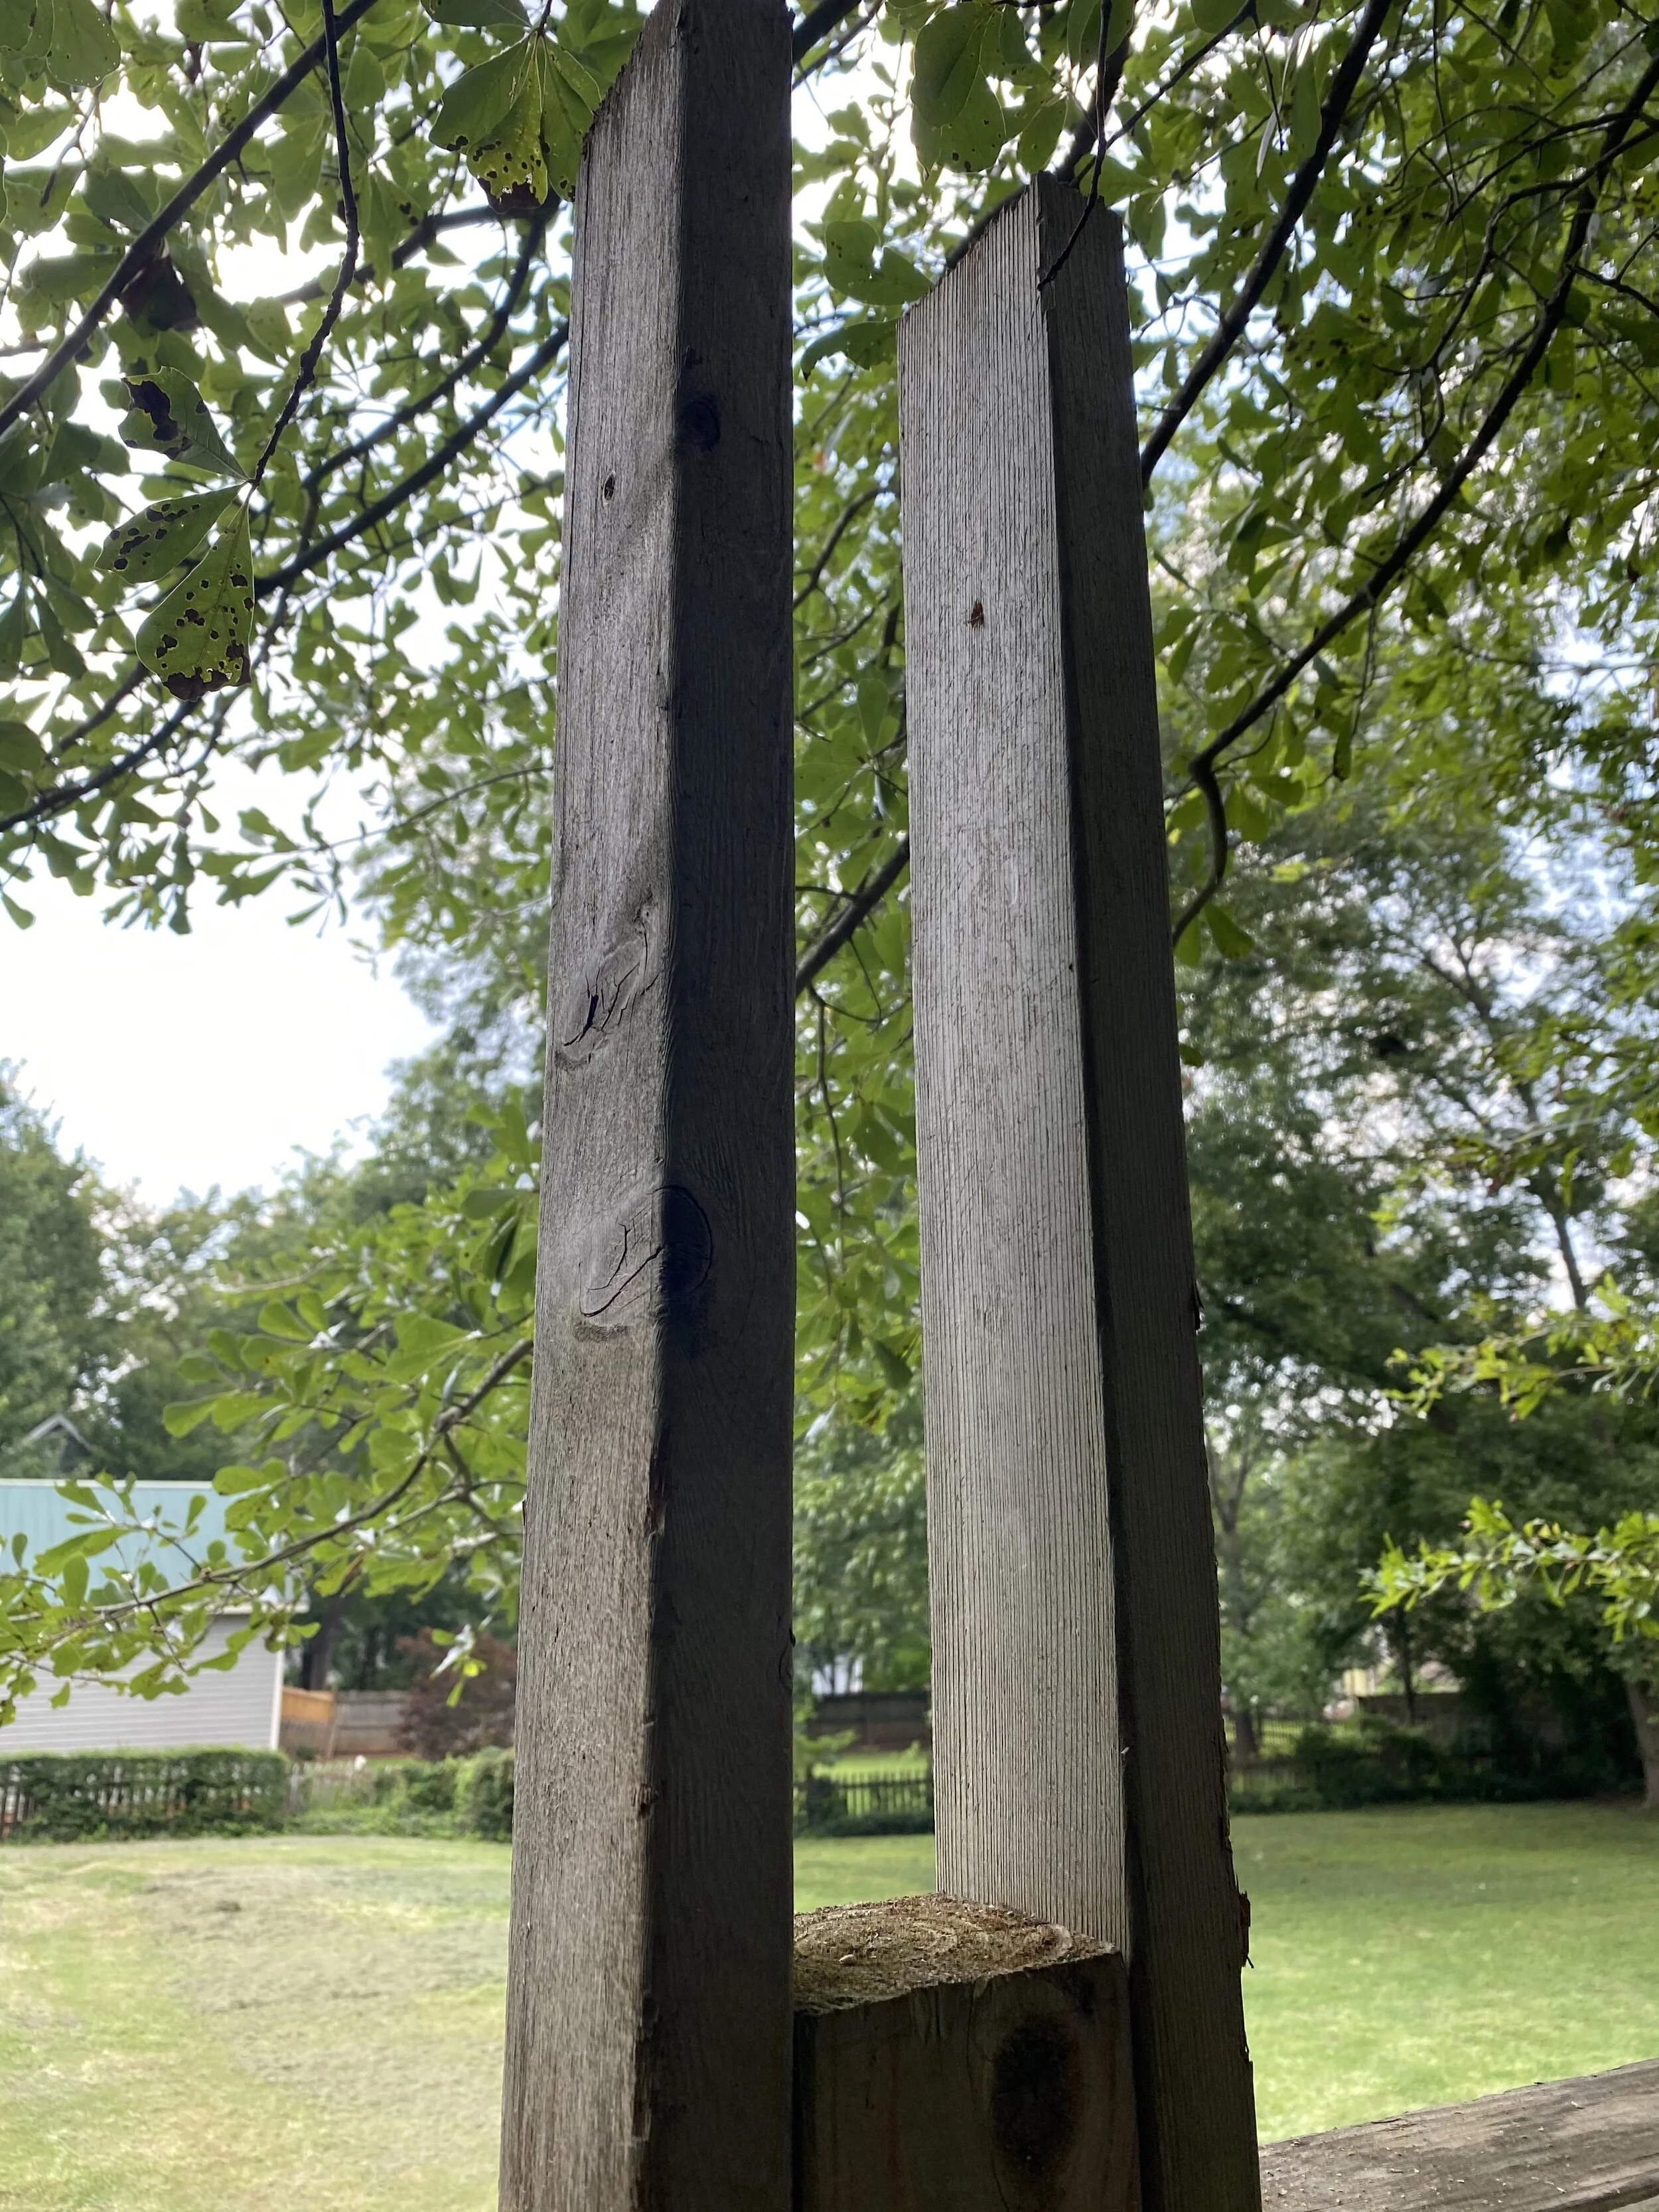
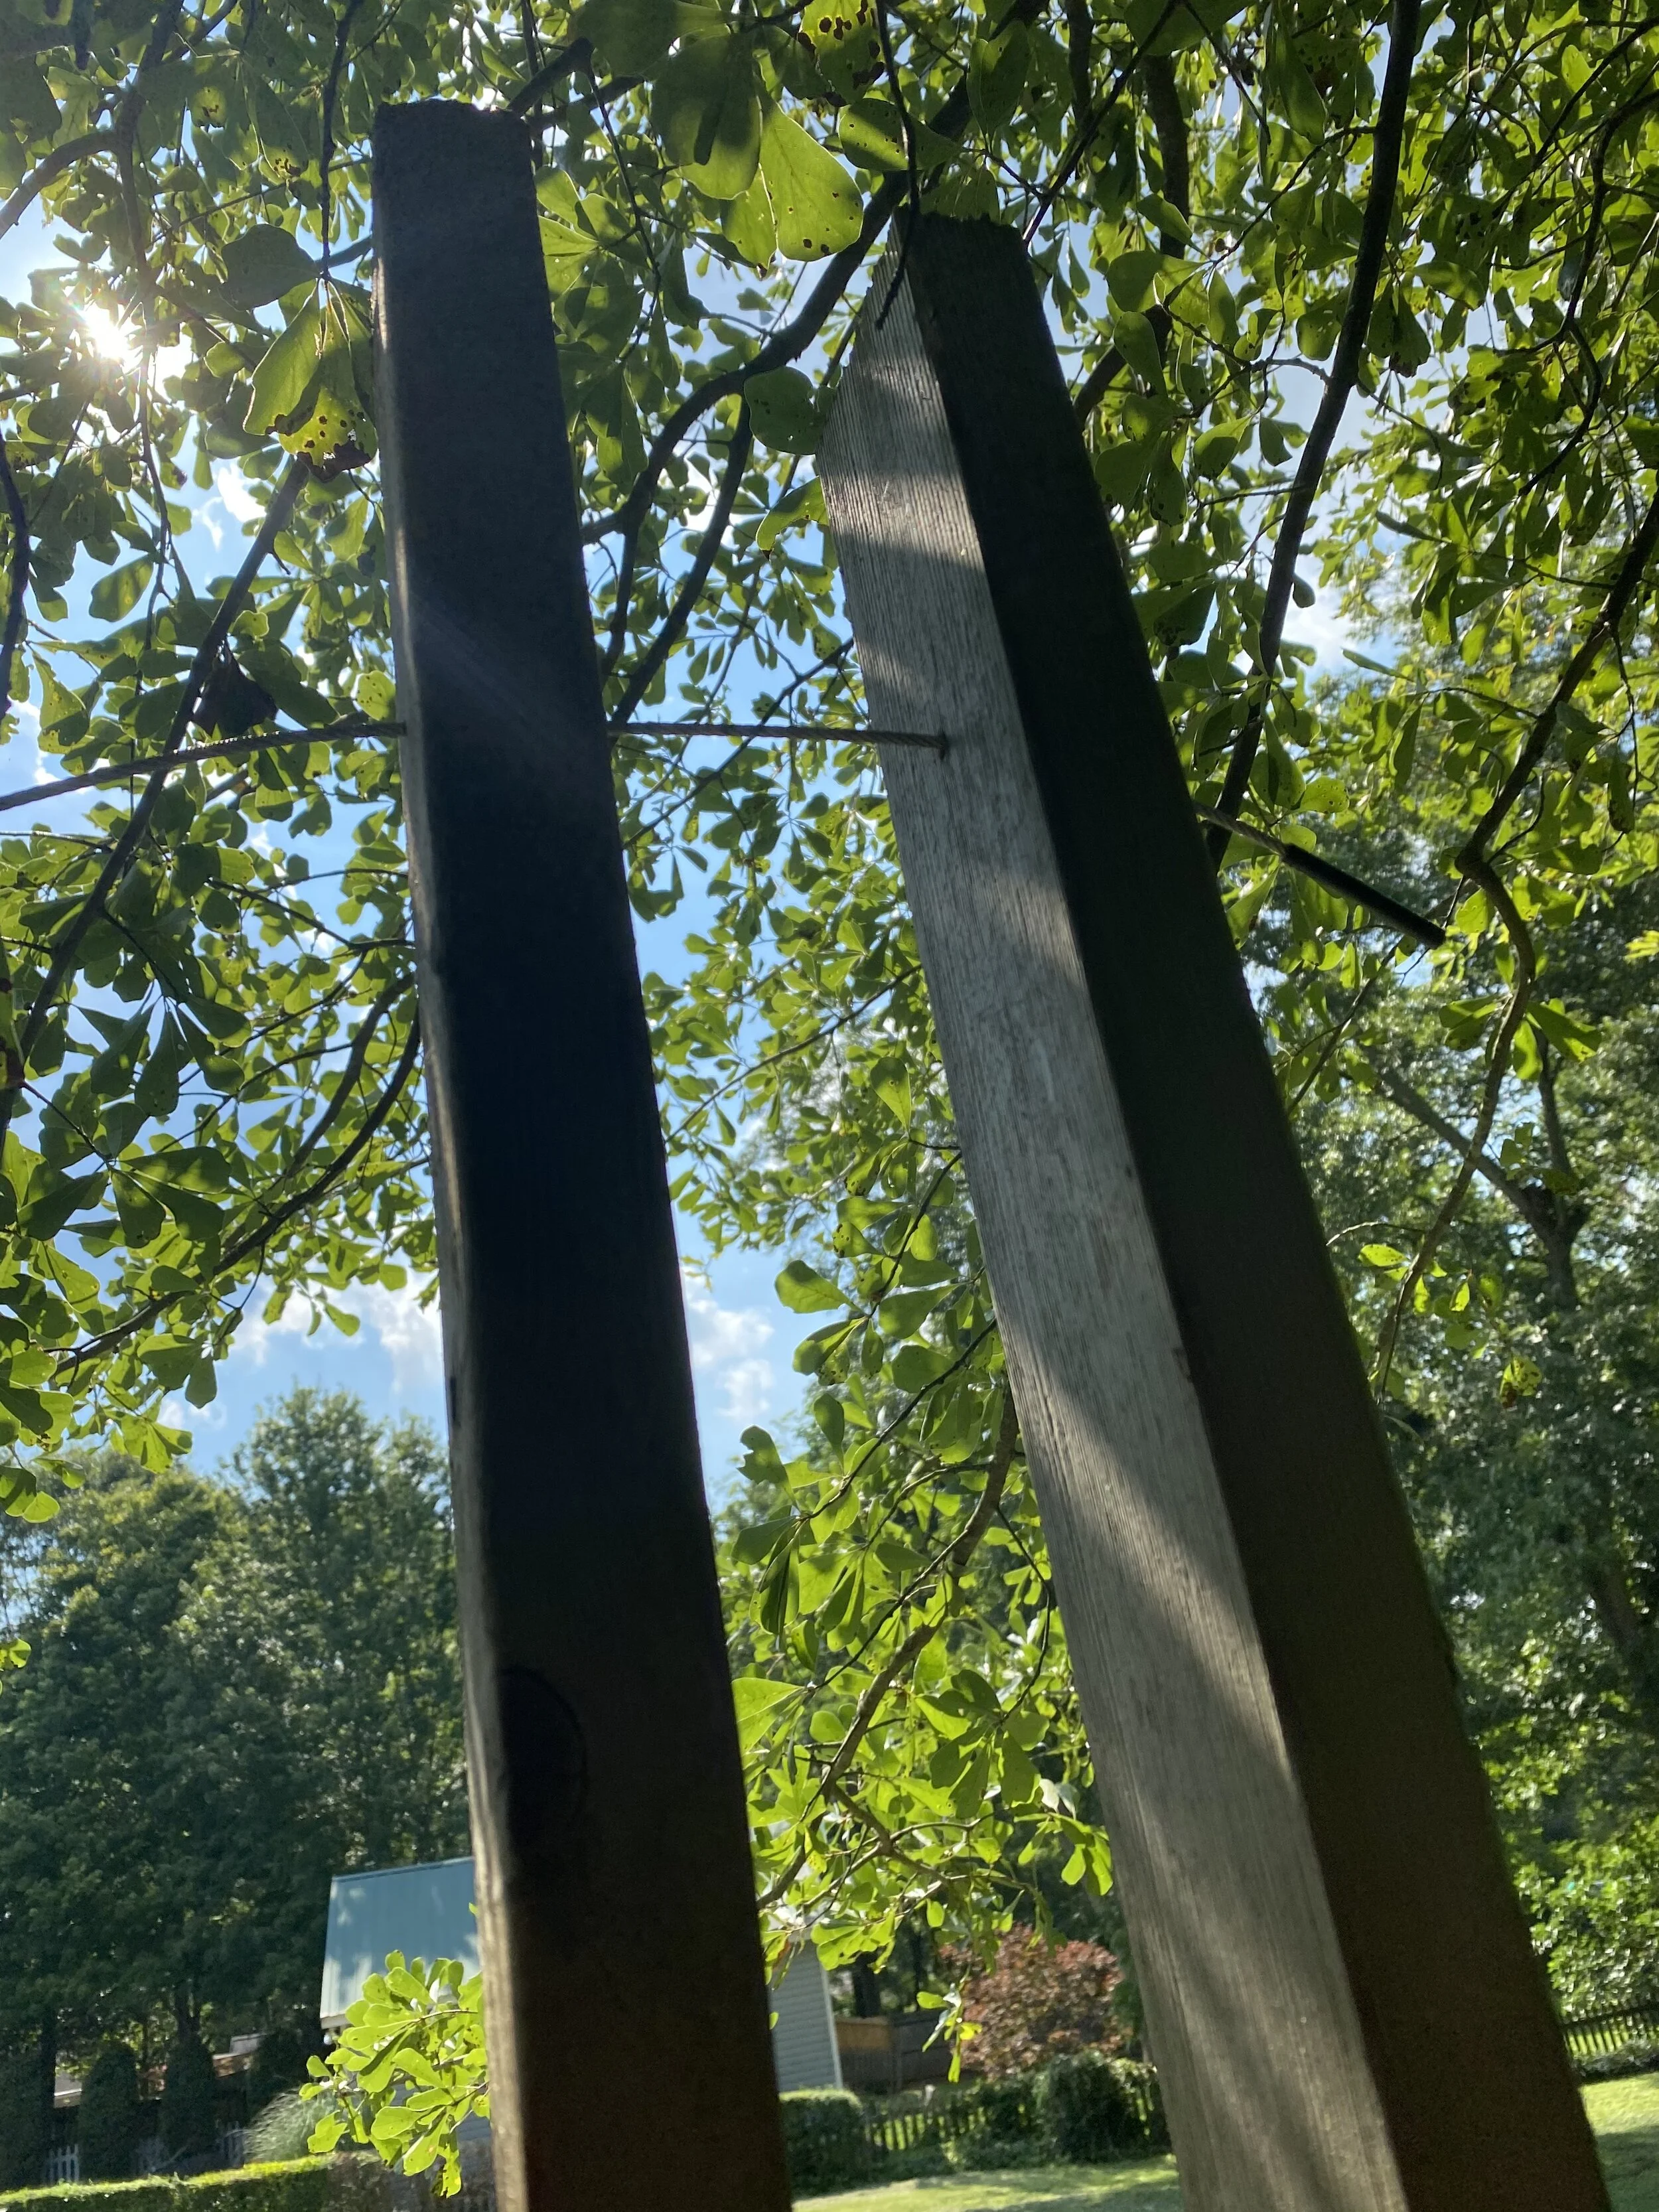
Here are the rather elegant posts:
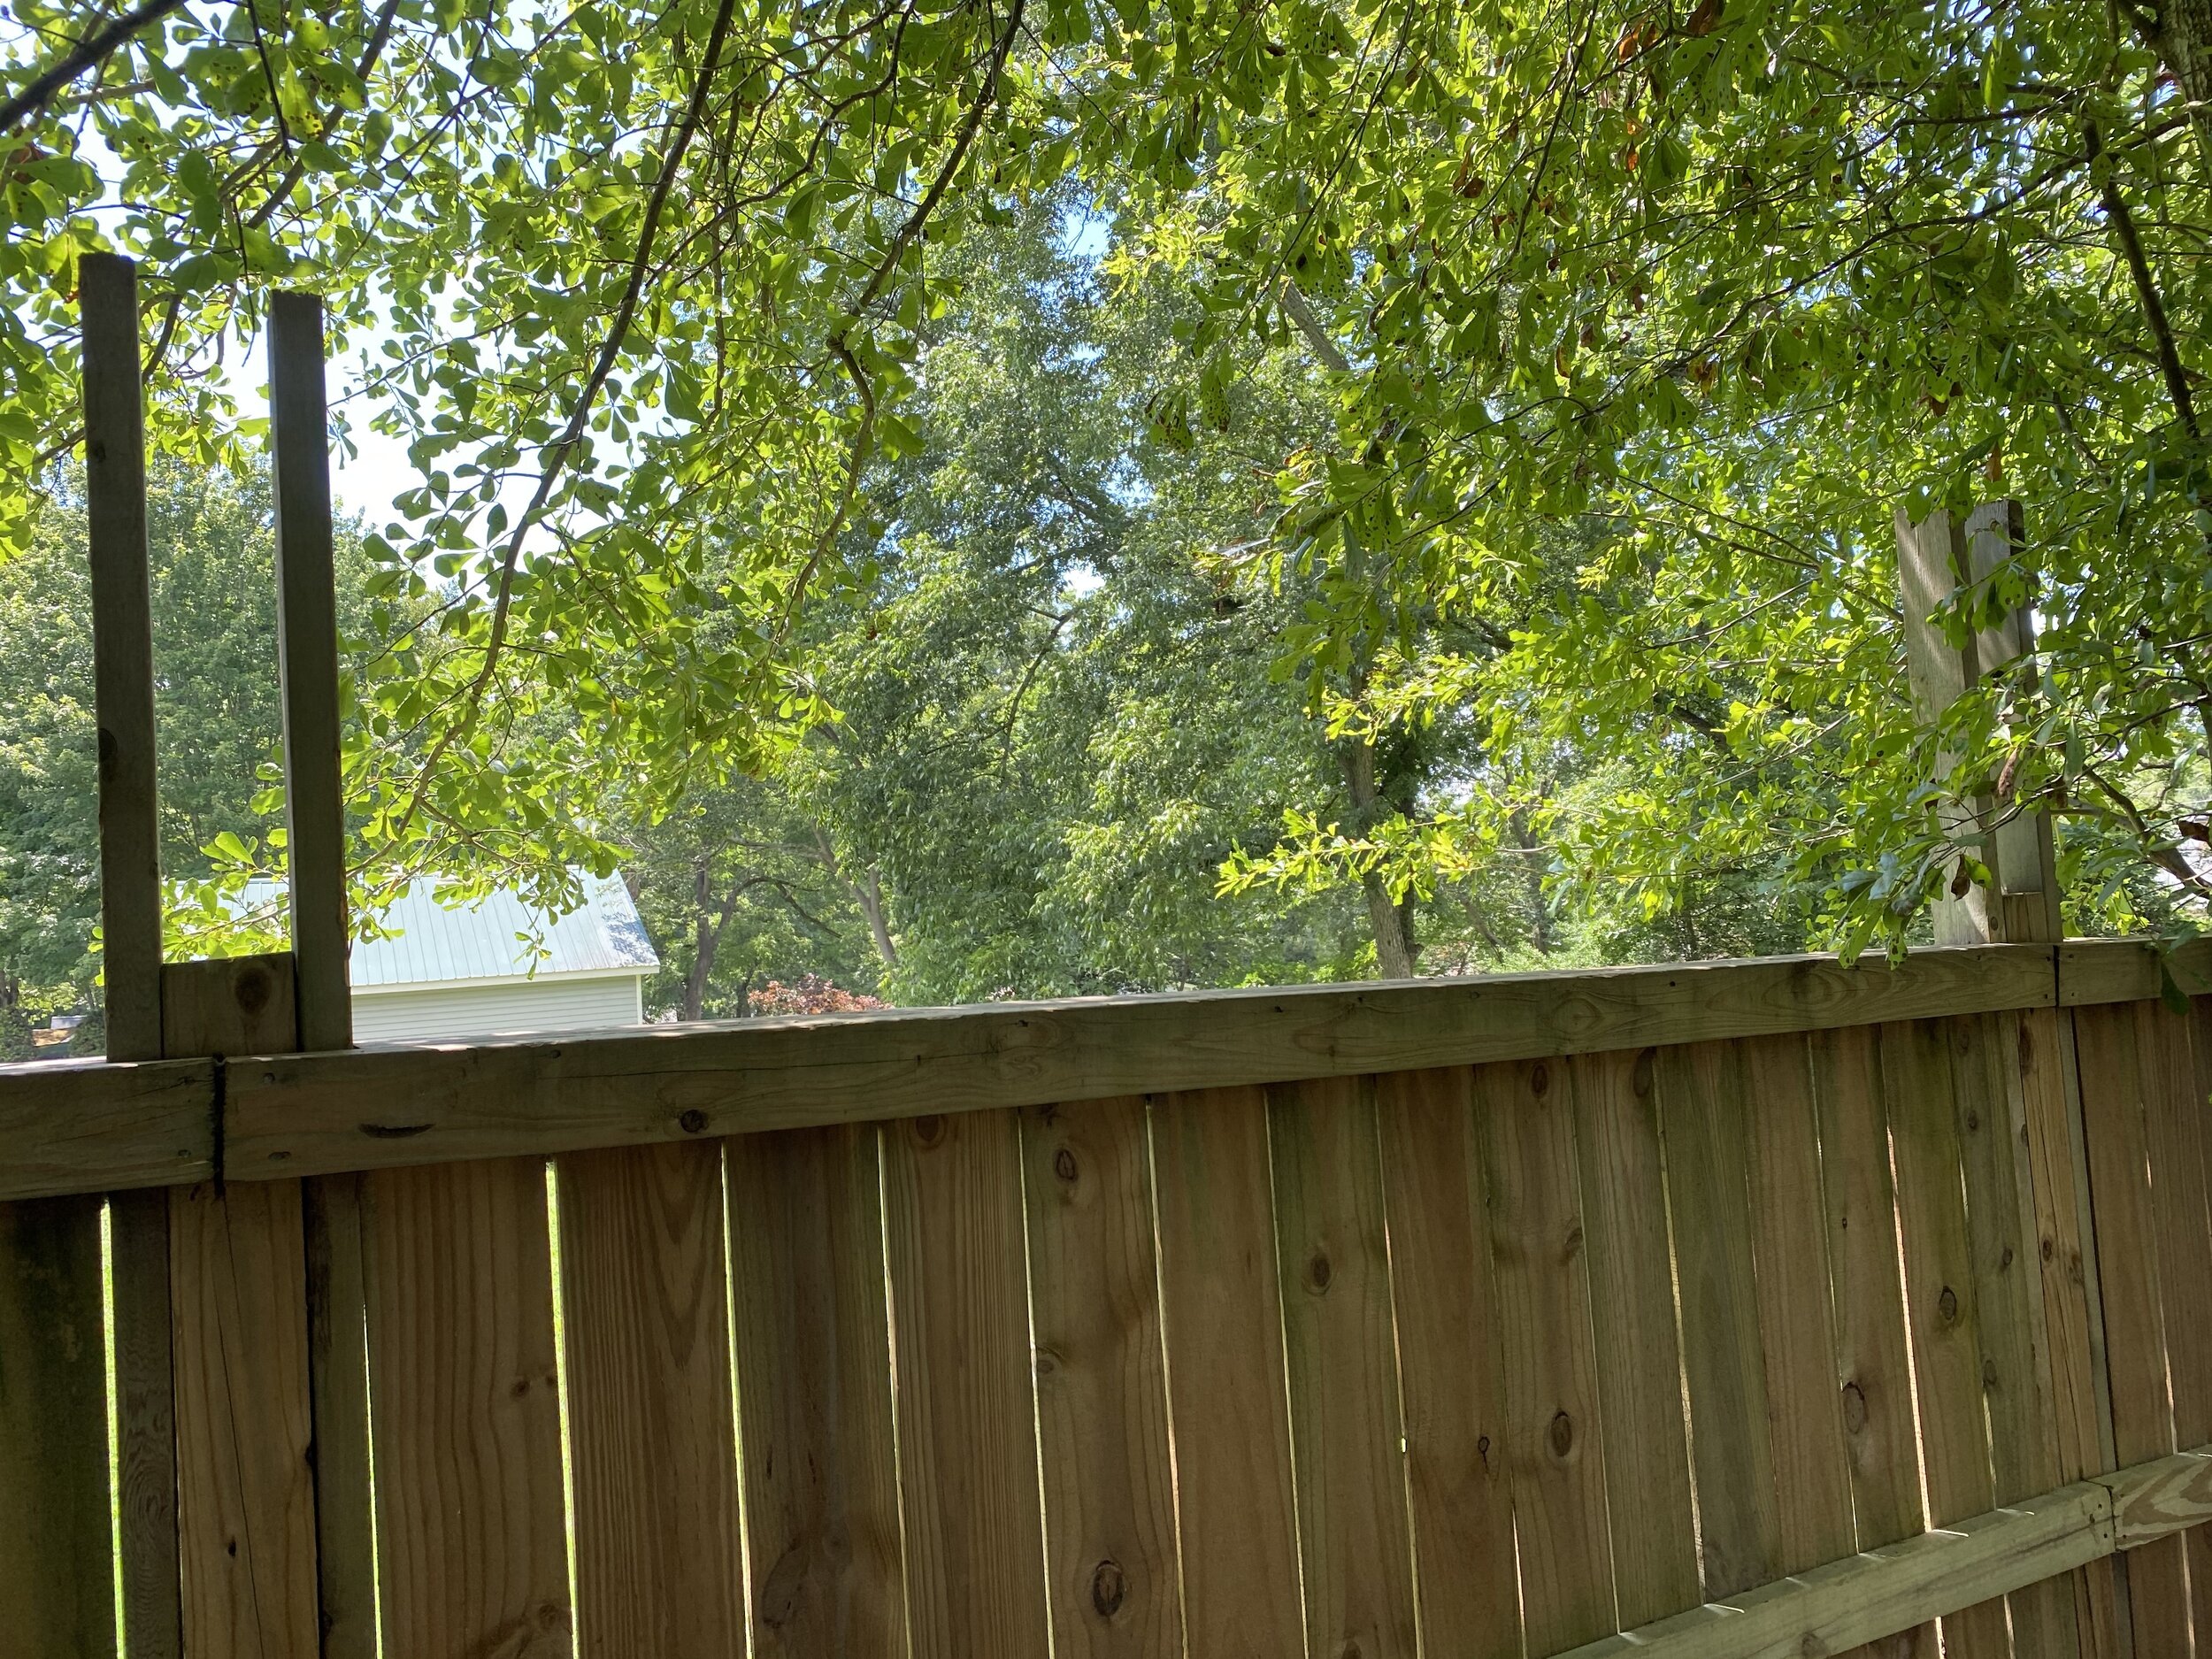
My plan is to drill holes in the uprights, string wire rope through them, then hang canvas “tapestries” on them.
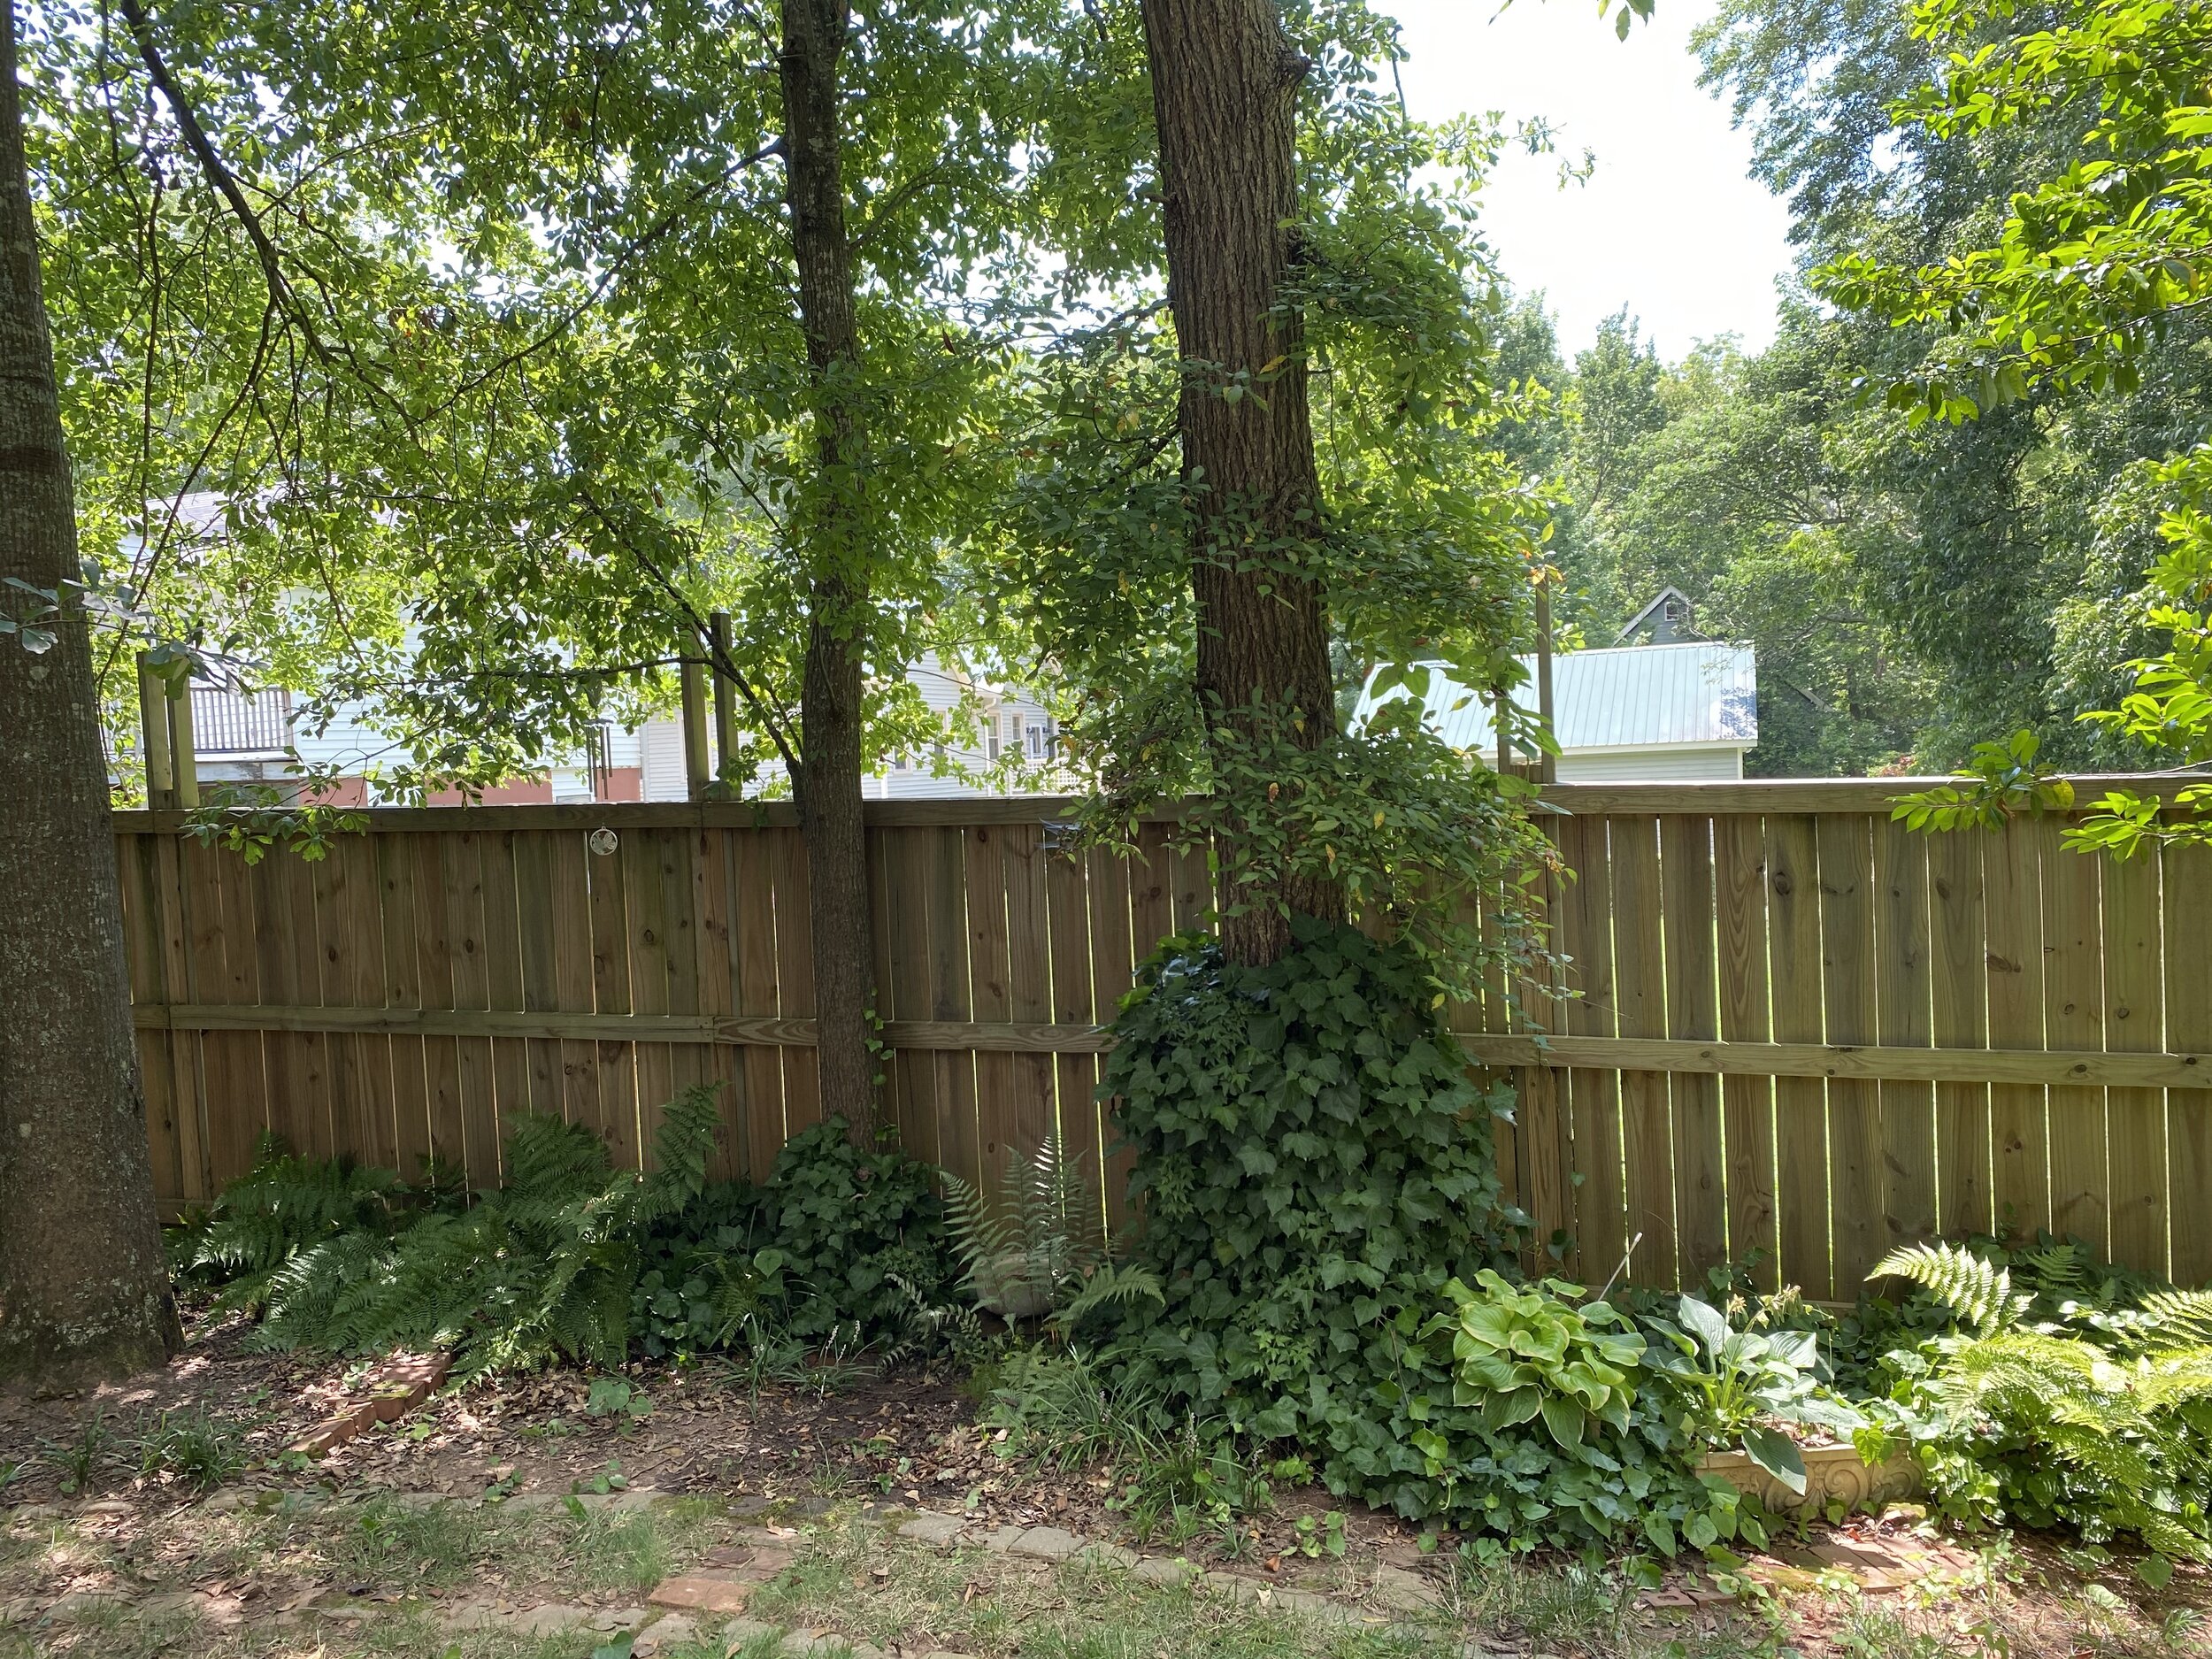
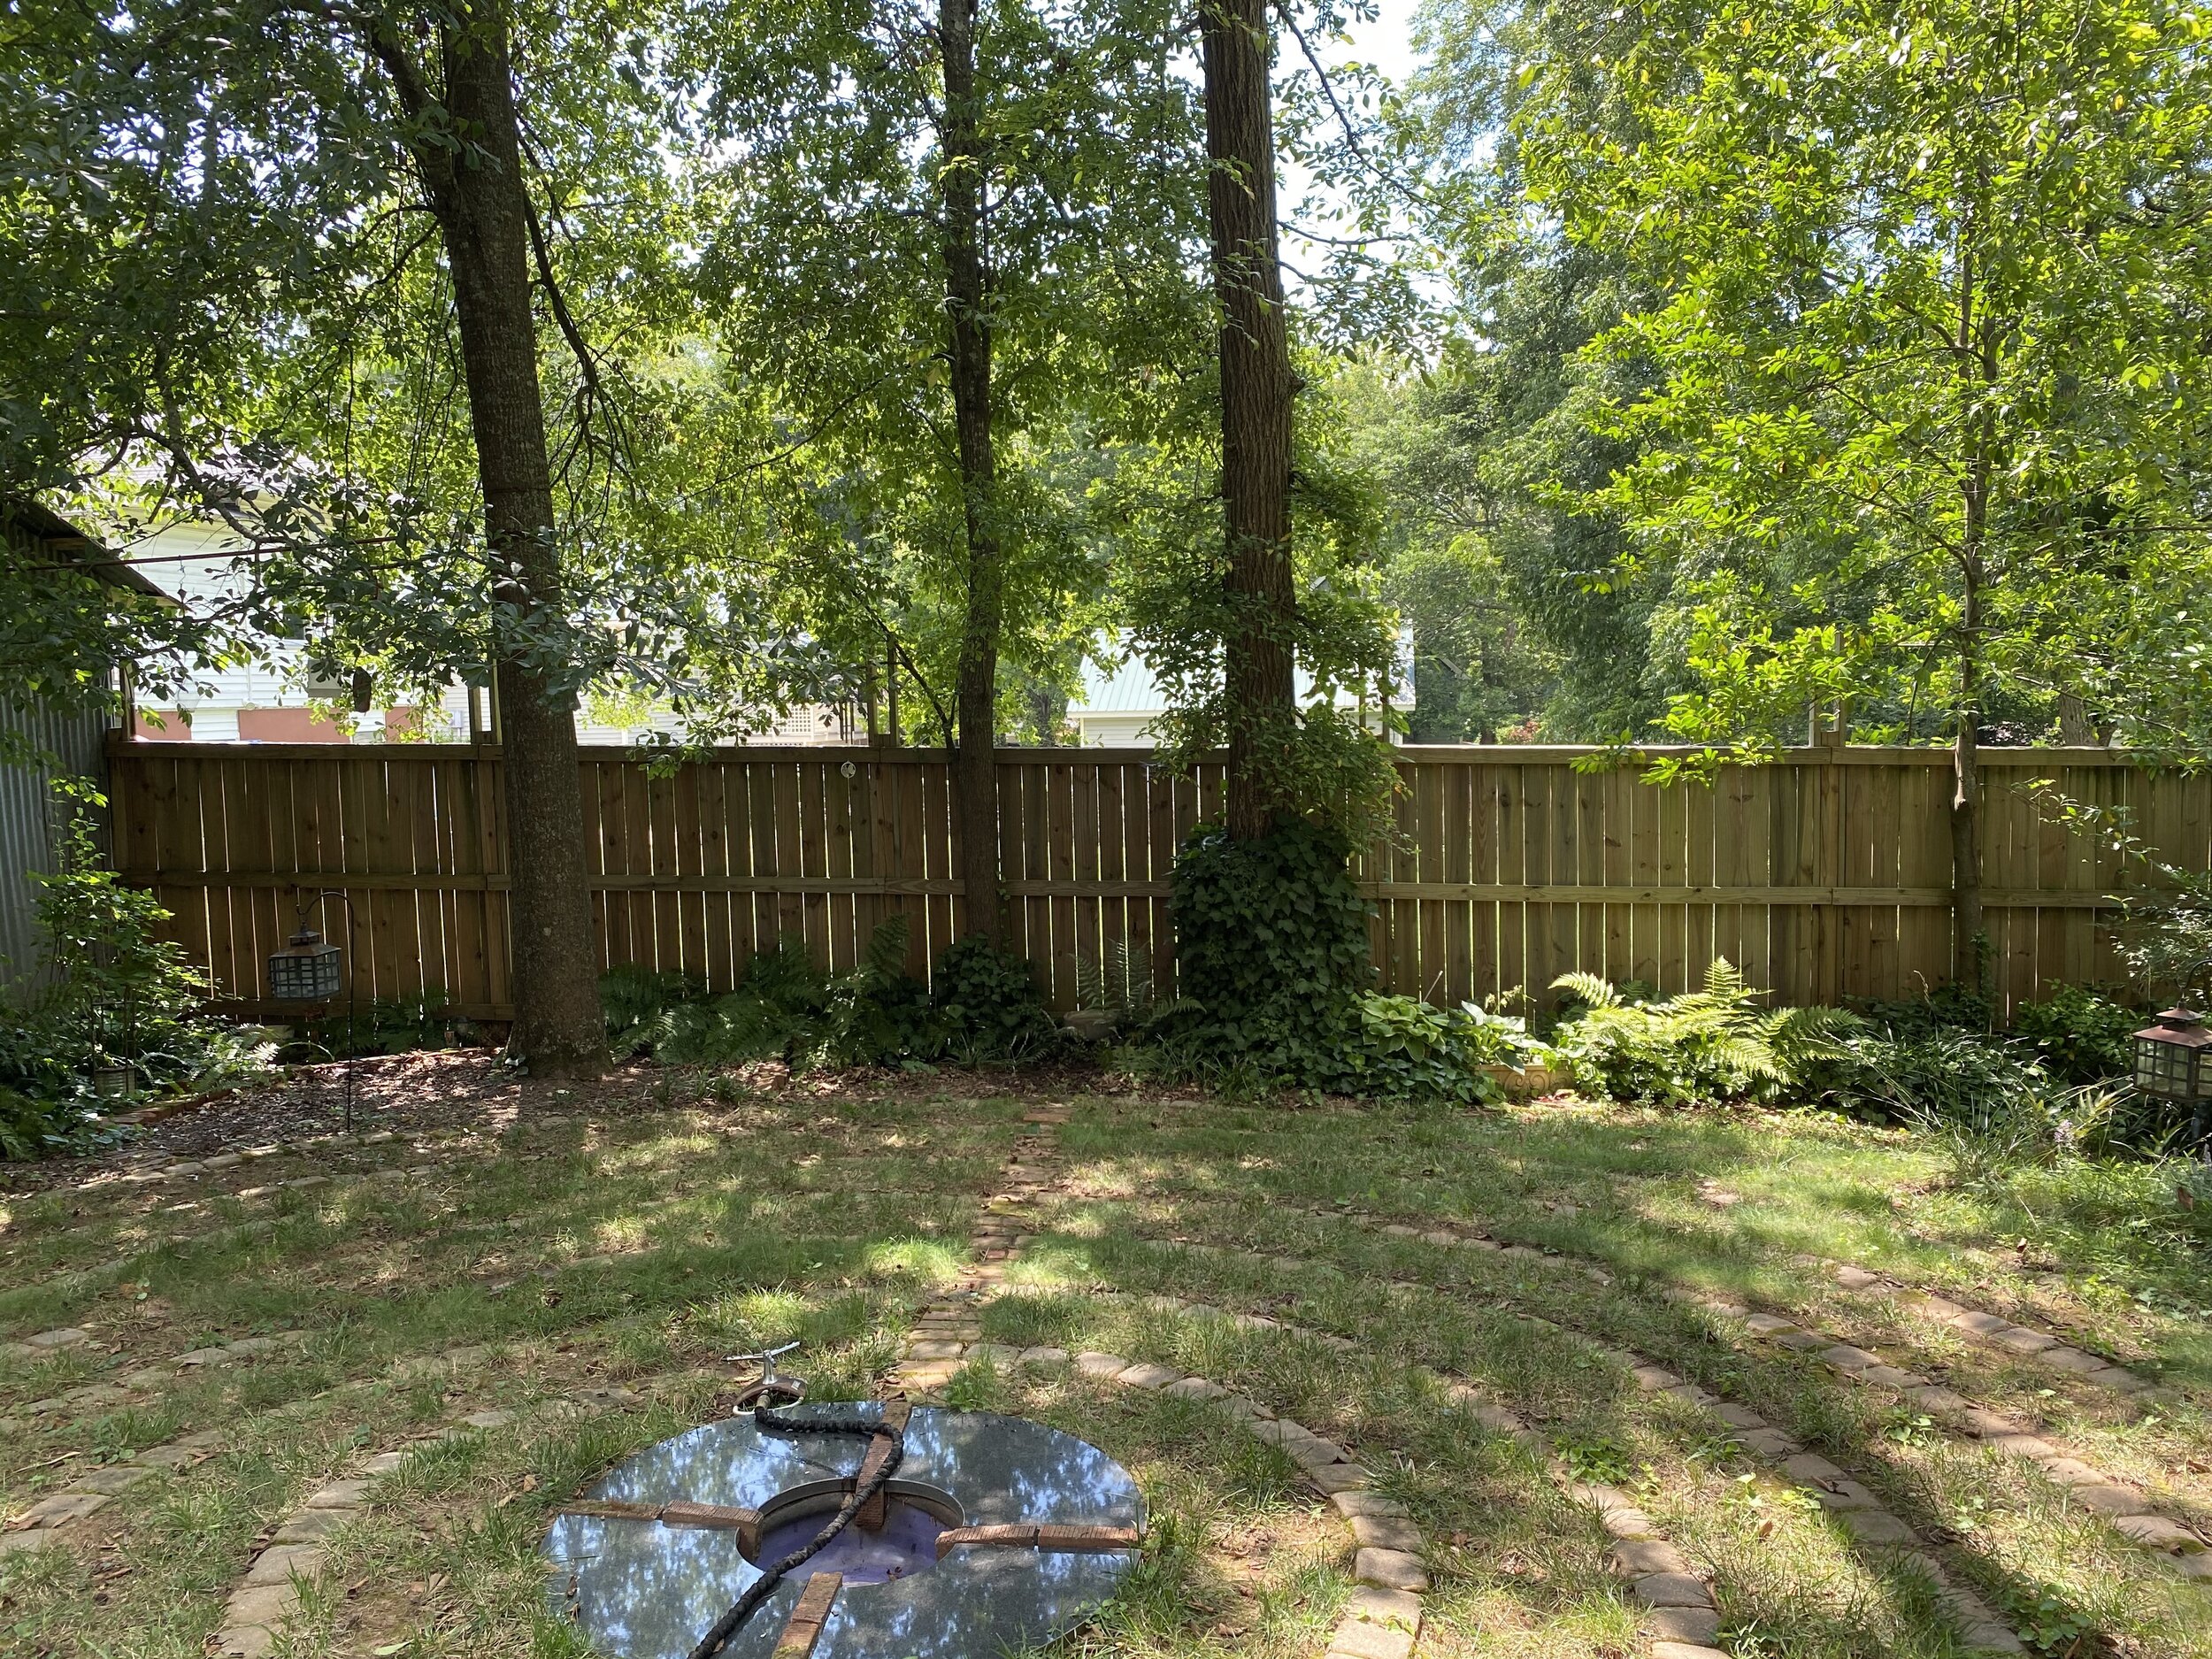
As you can see in the third photo, access to the fence is dicey: uneven ground, plantings (although most of it is ivy), and a precarious perch on a ladder. So my first step is to make sure that the holes I drill are a) all at the same height; and b) absolutely straight across the fence.
Solution: cut a board…
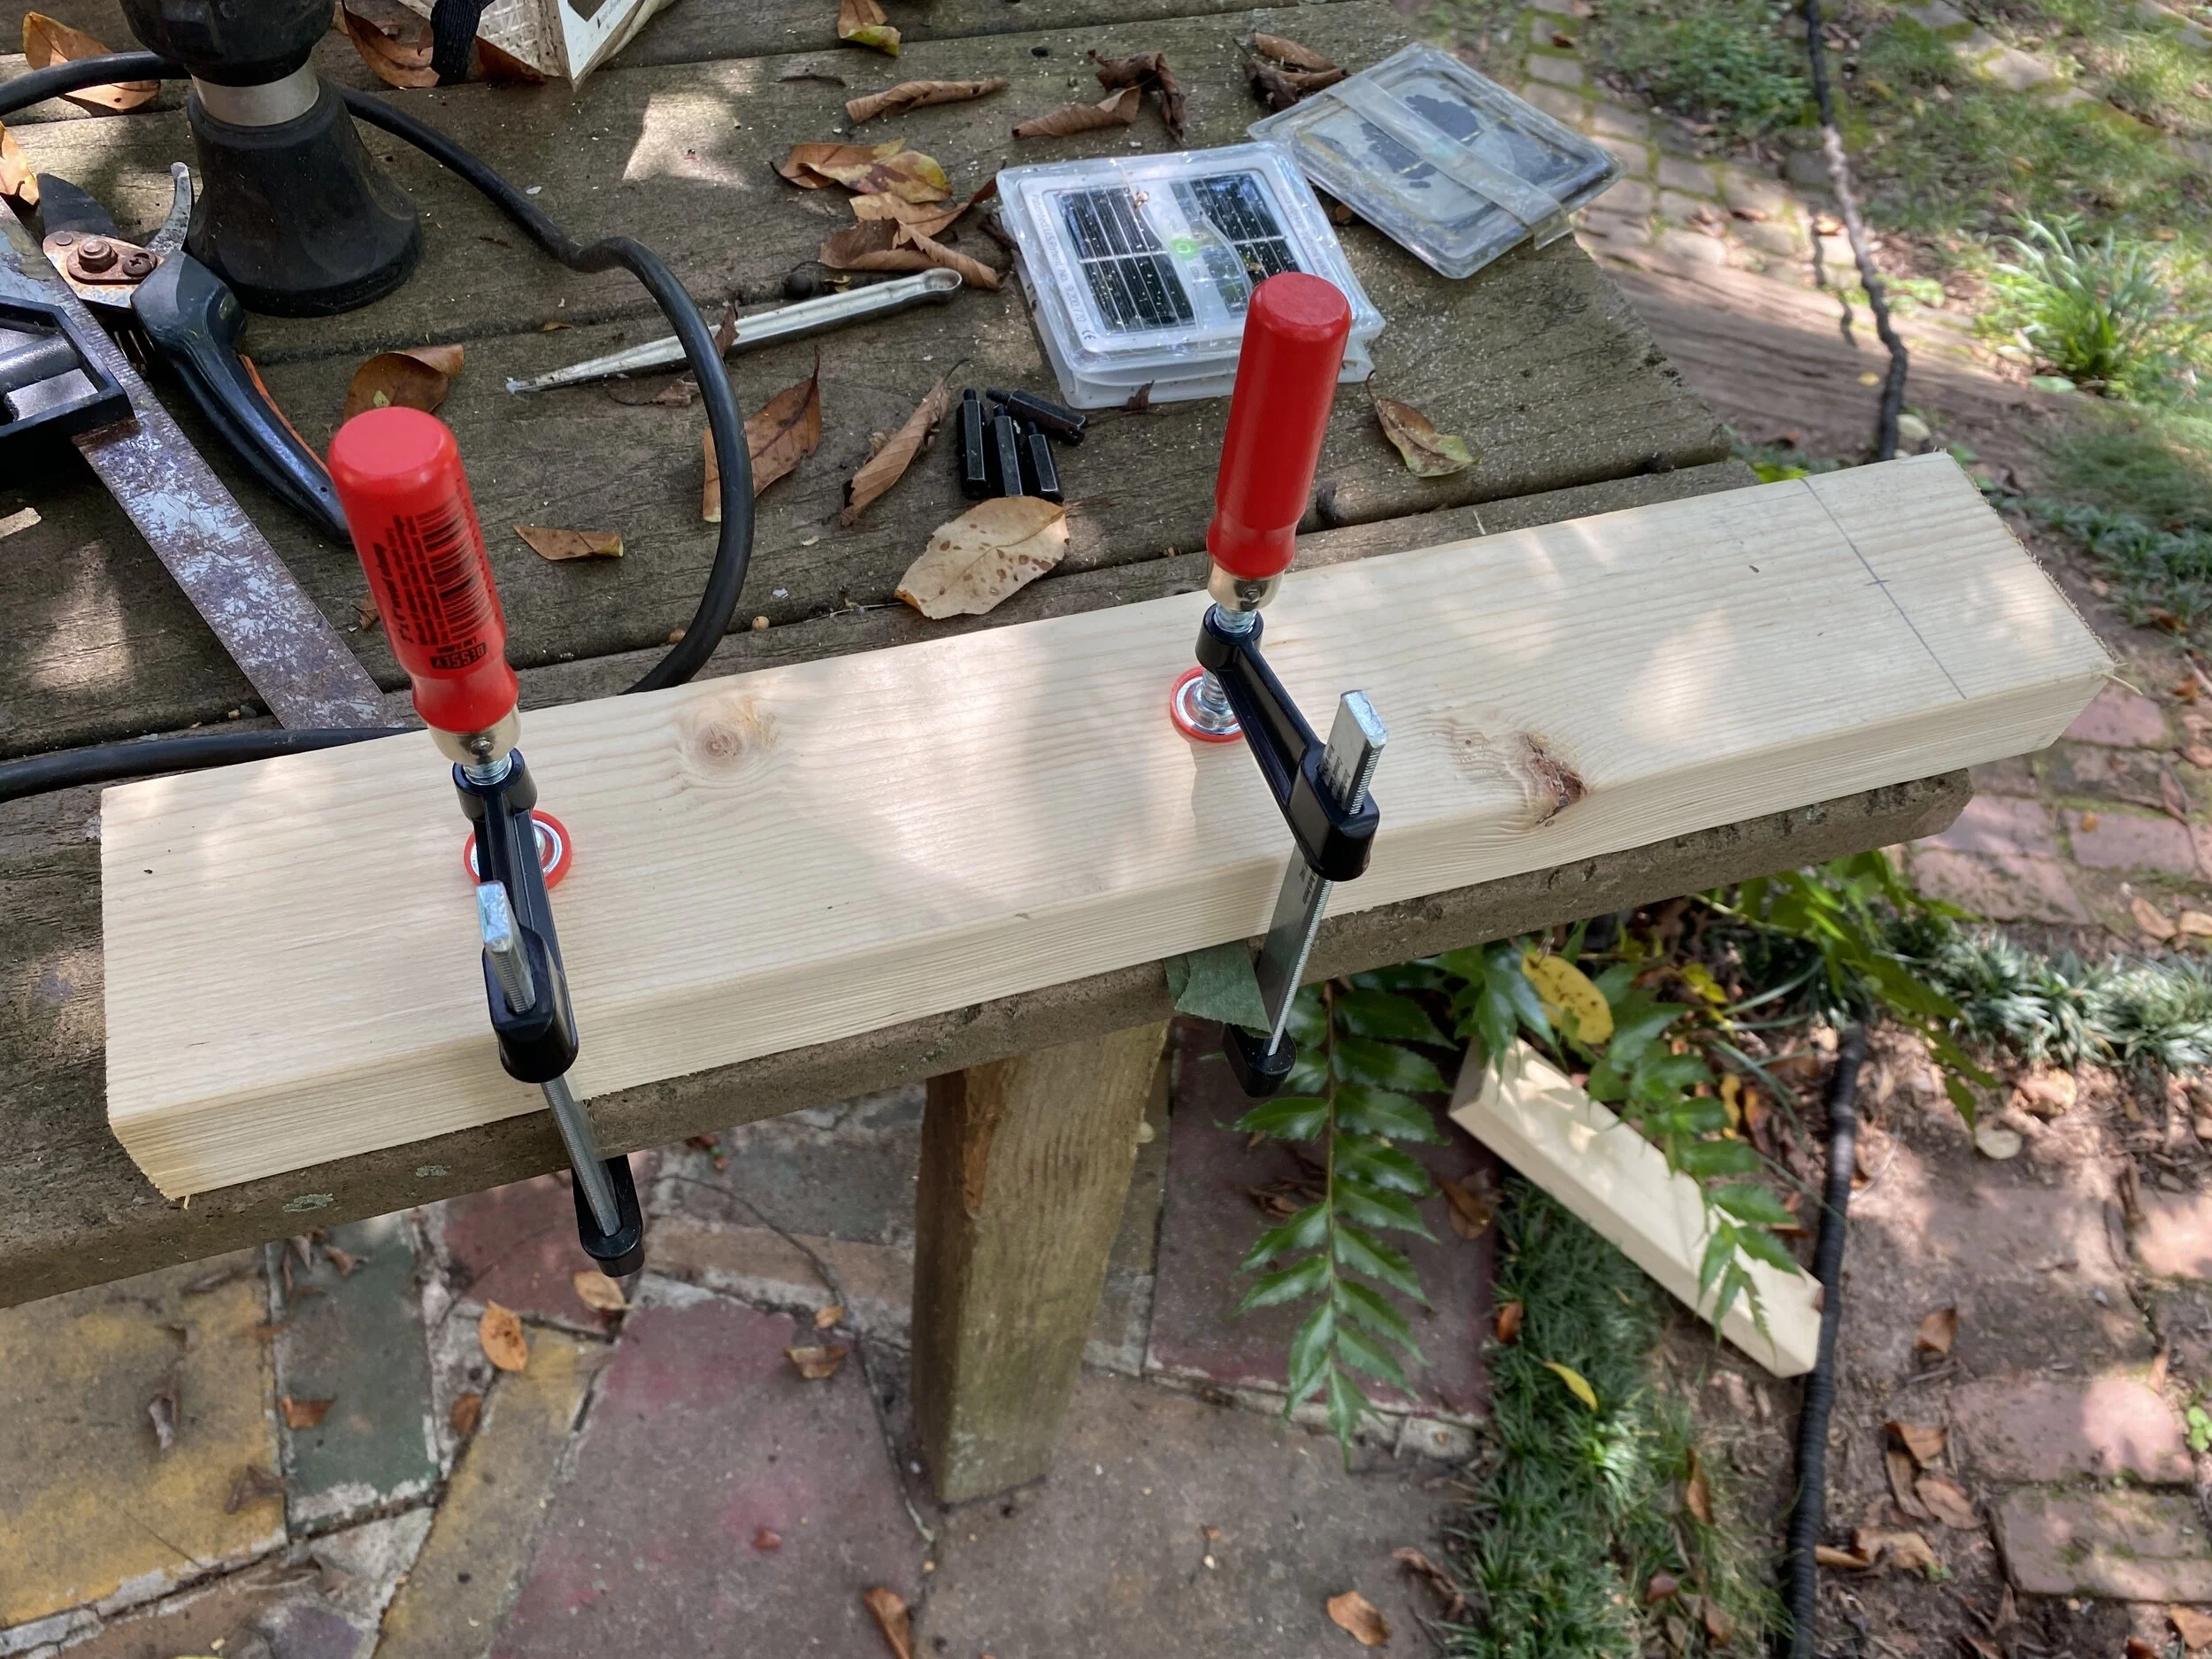
… mark it, drag out the drill press (for precision/accuracy), drill the hole…
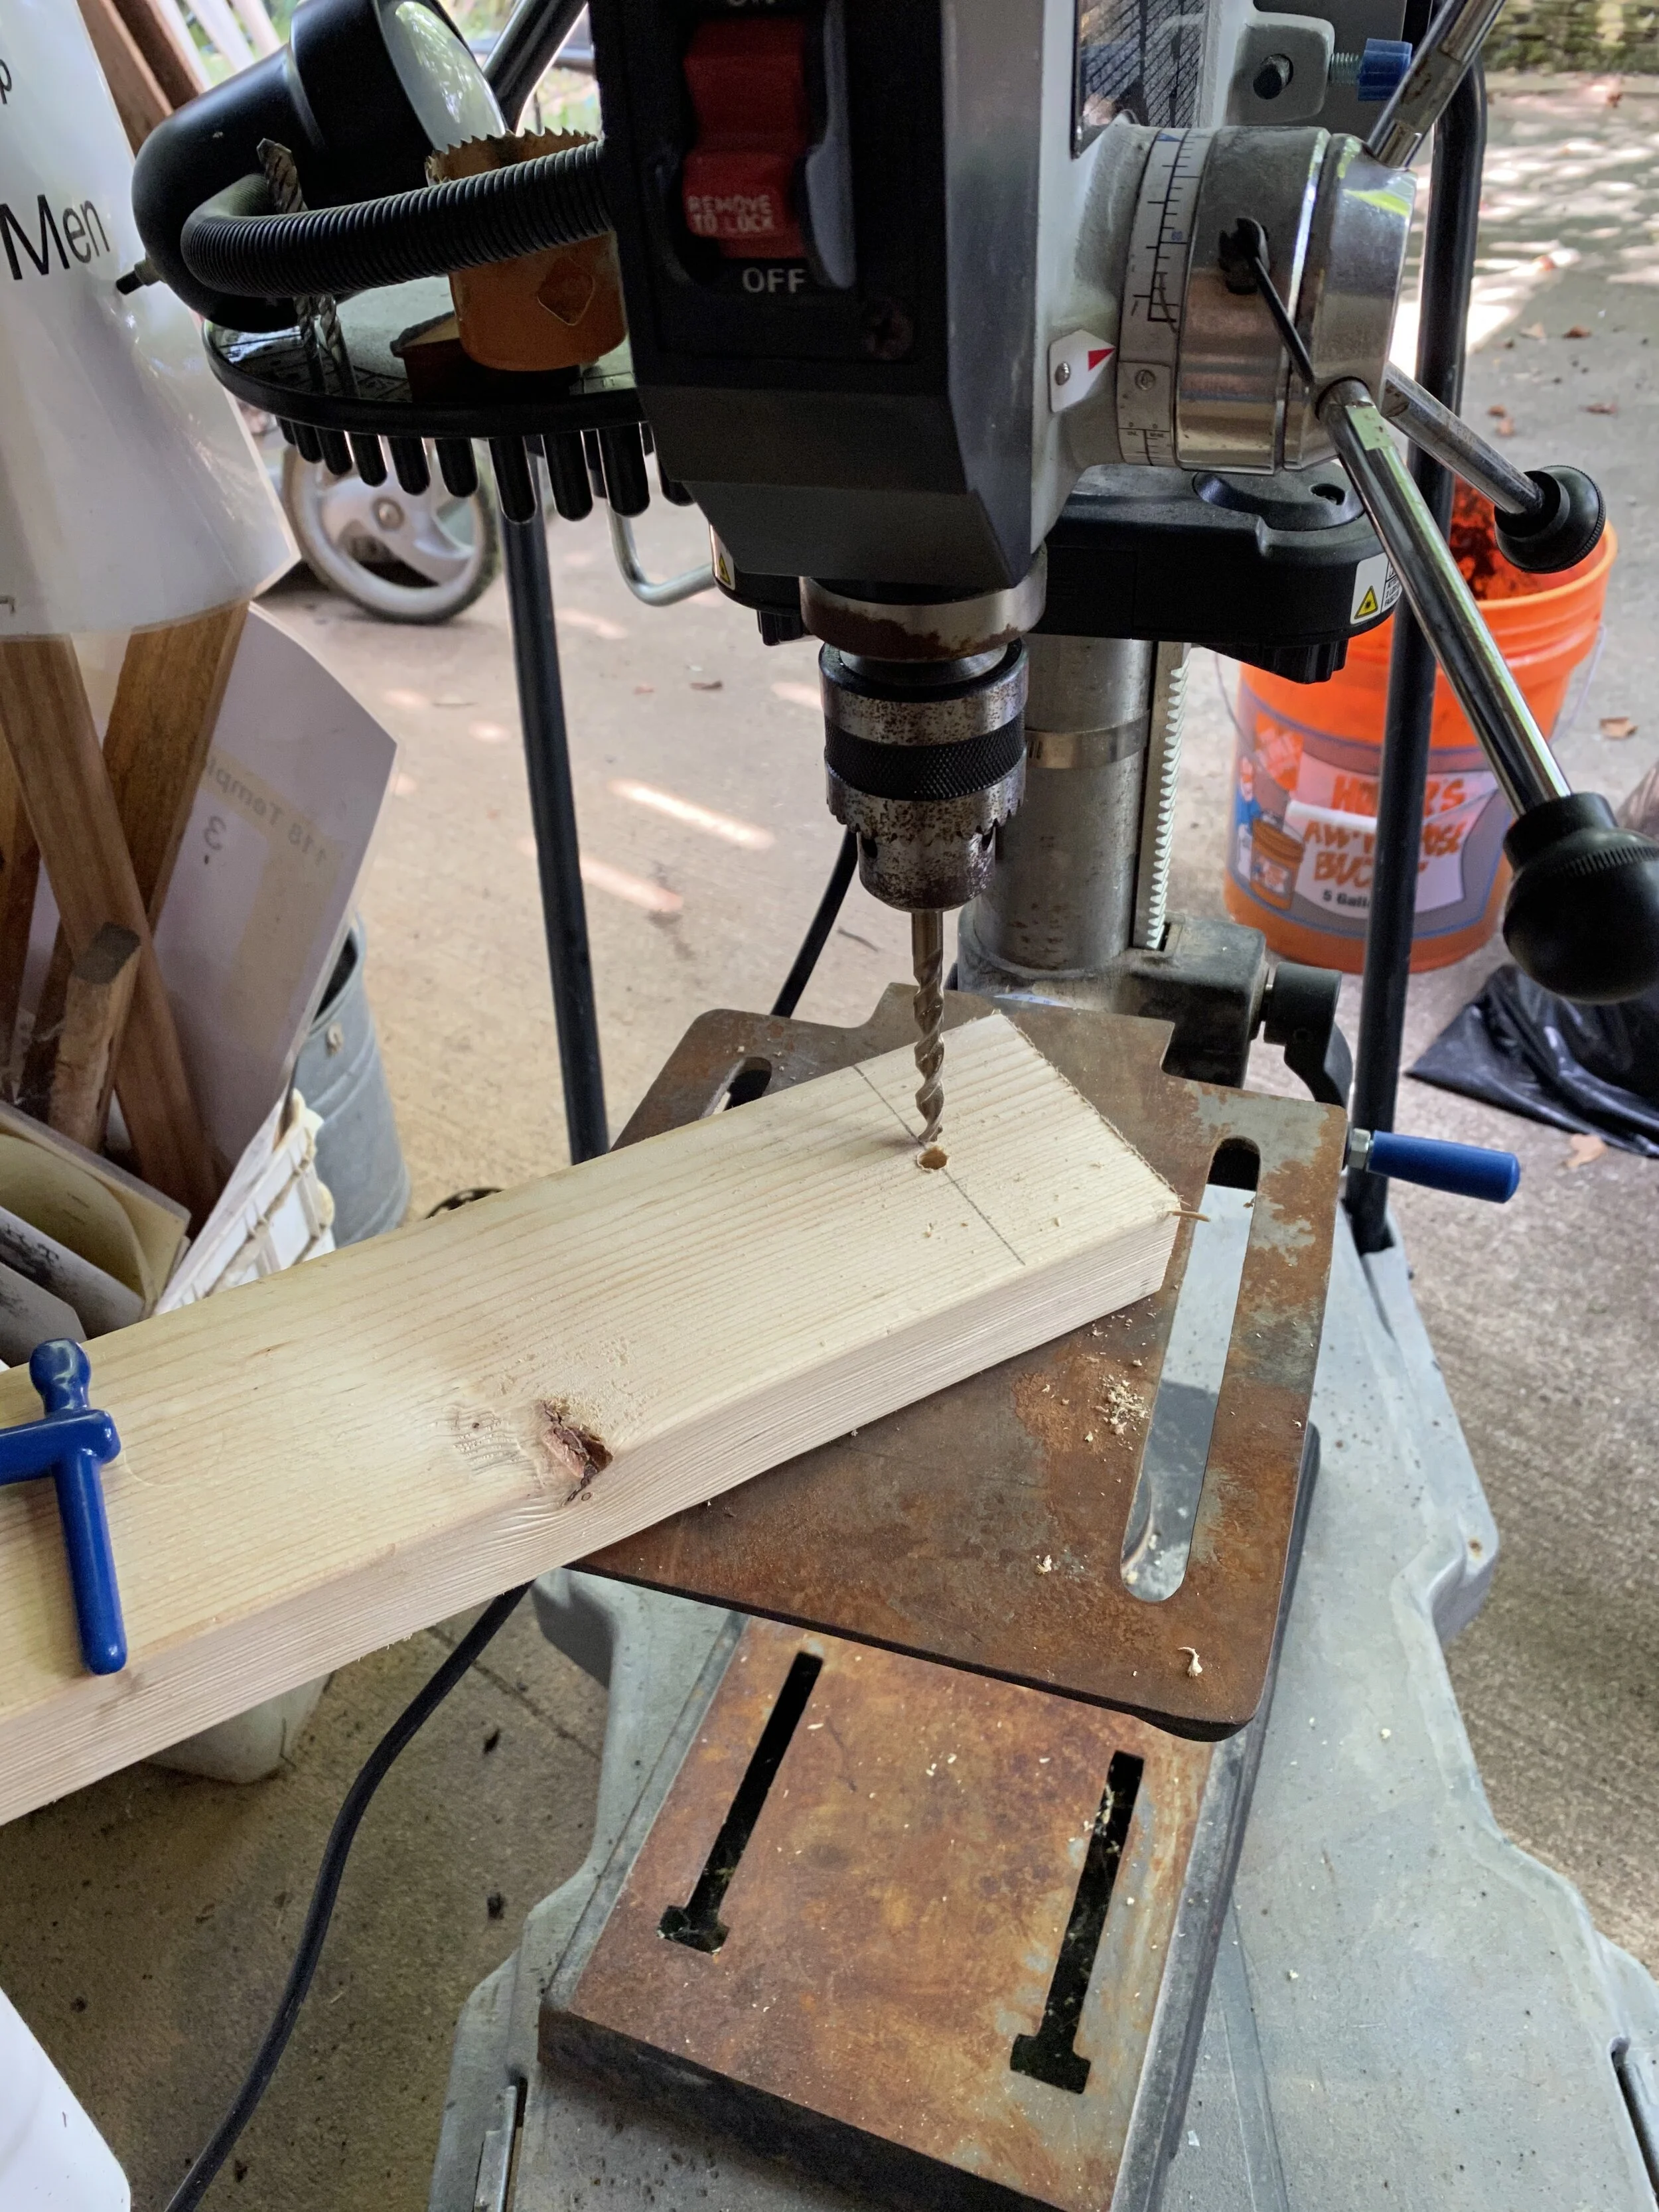
…. and clamp it to the uprights.
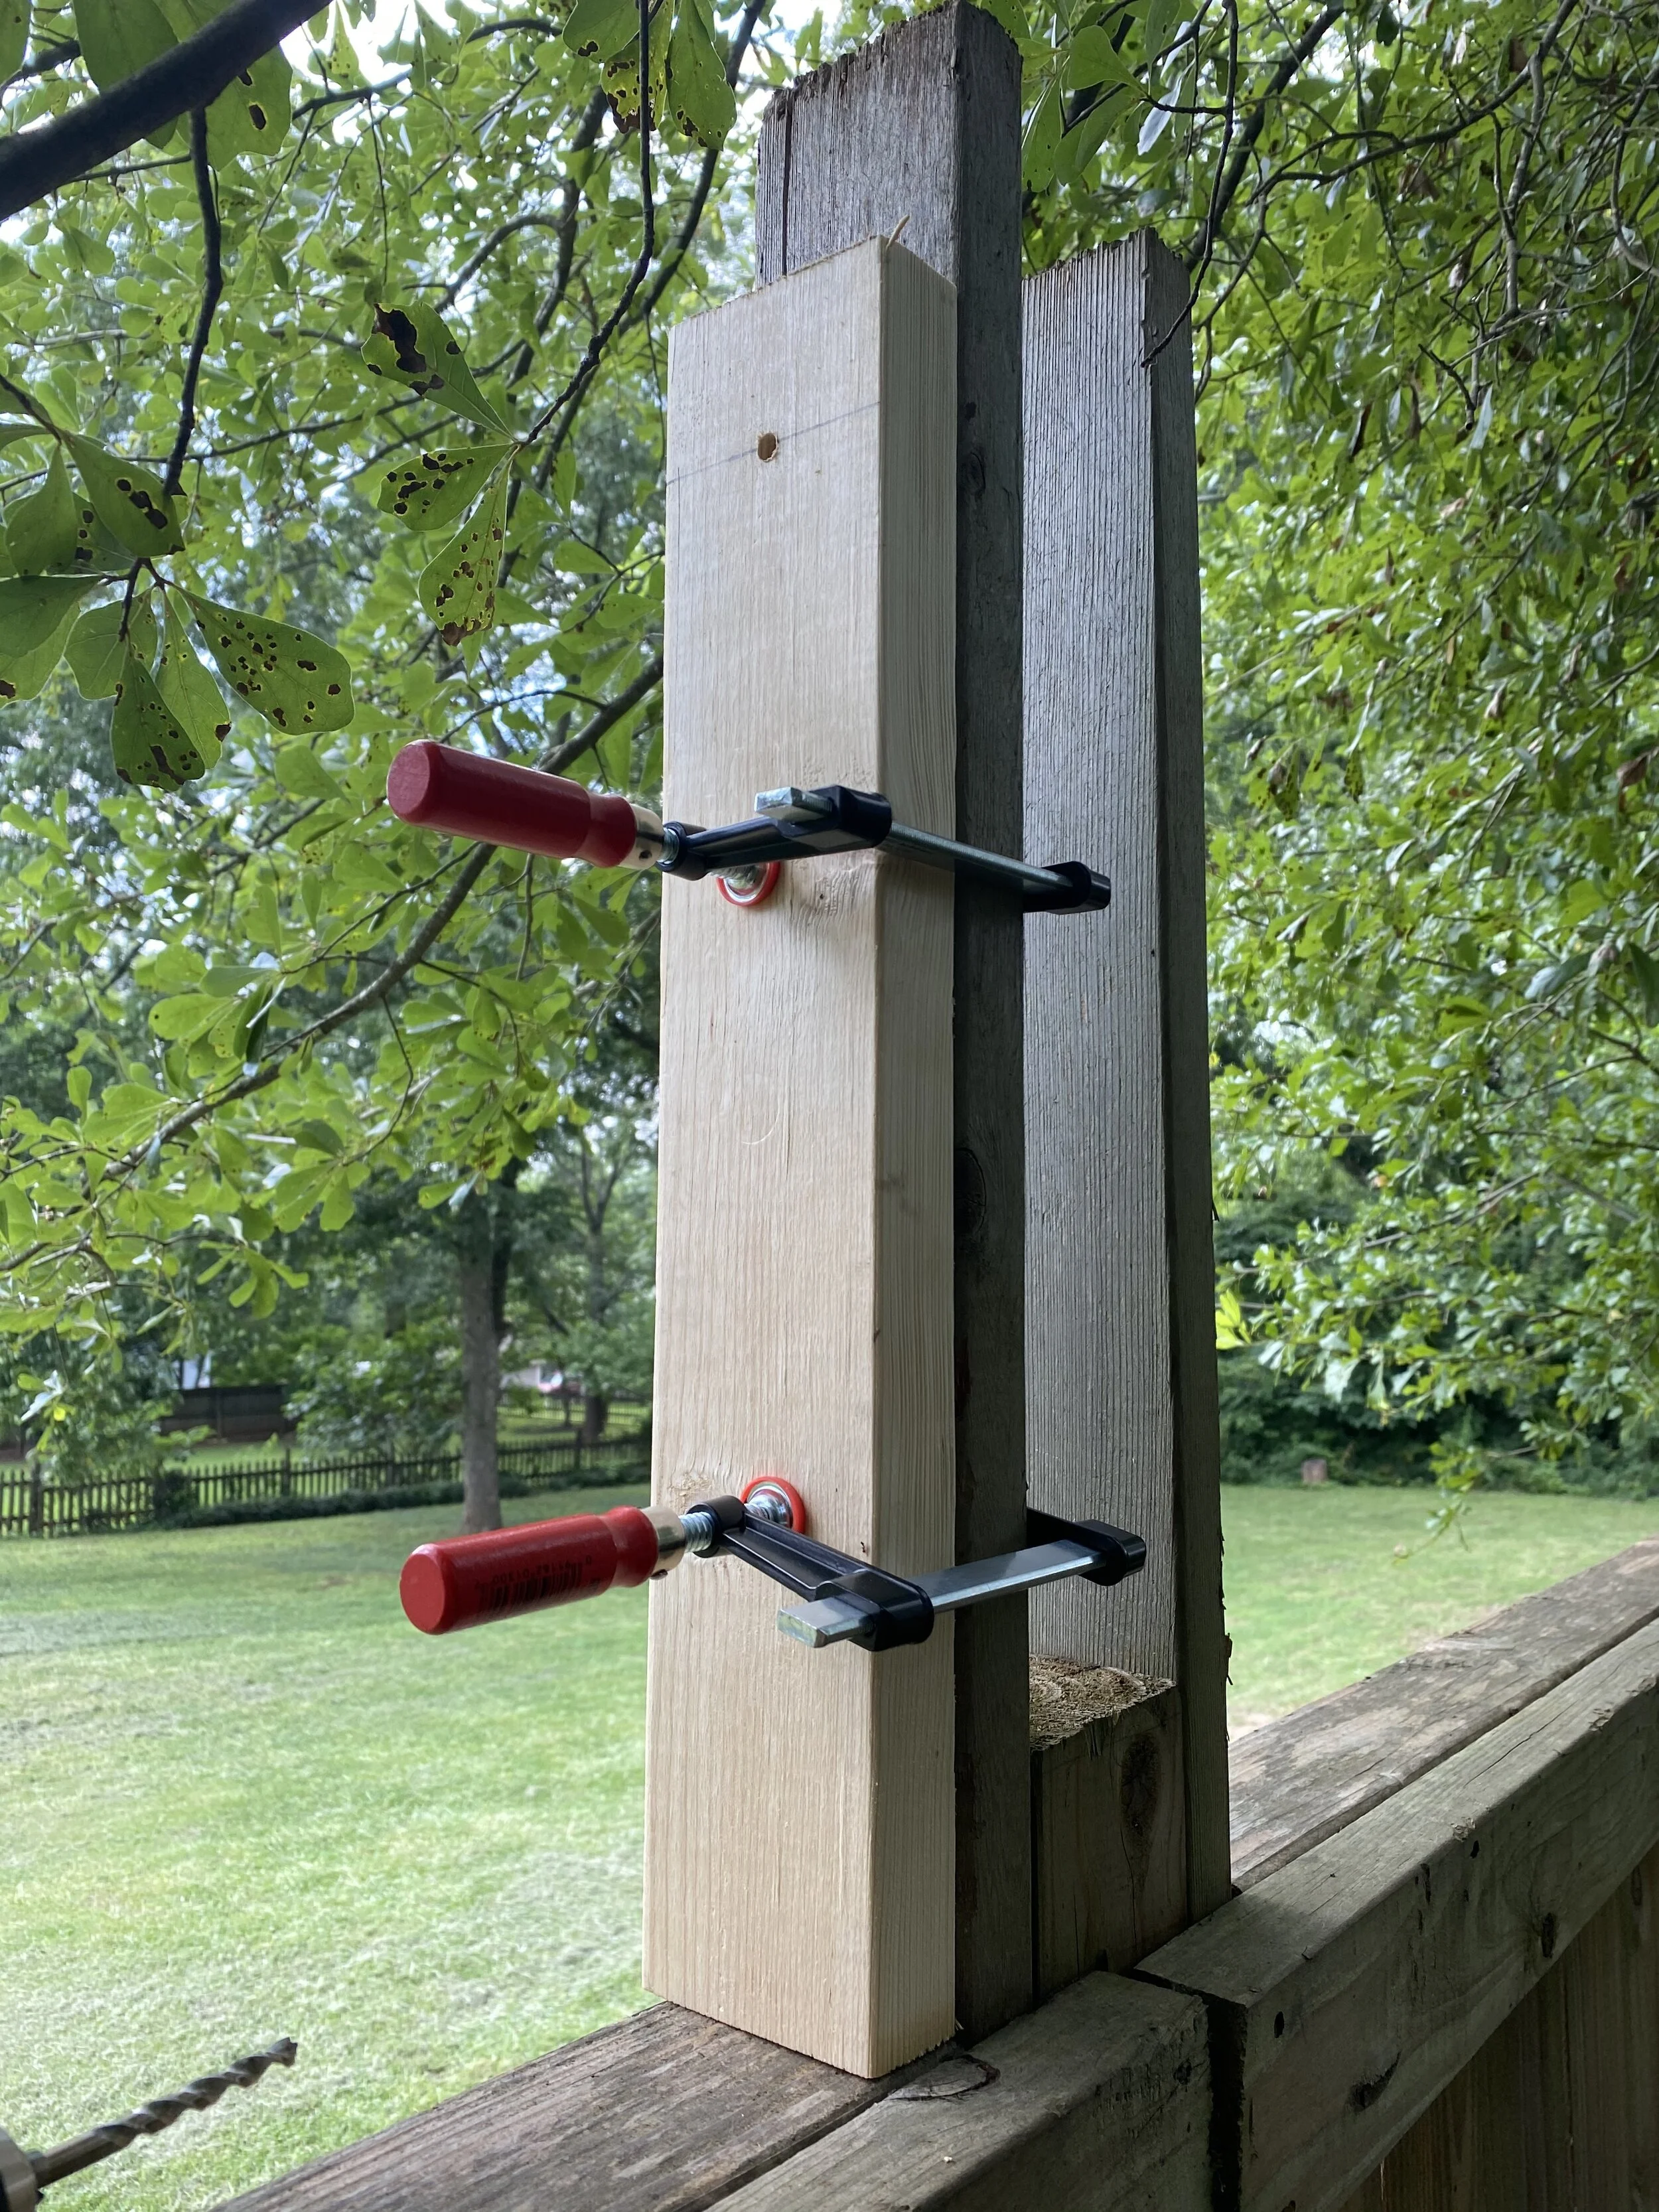
Thus, no matter how precarious my perch — and it was precarious — my drill bit would be in the right place and go straight through the upright. (There was the issue of the drill bit not going all the way through the upright, but that just meant removing the guide and finishing the hole.)
Next up, tape the end of the wire rope…
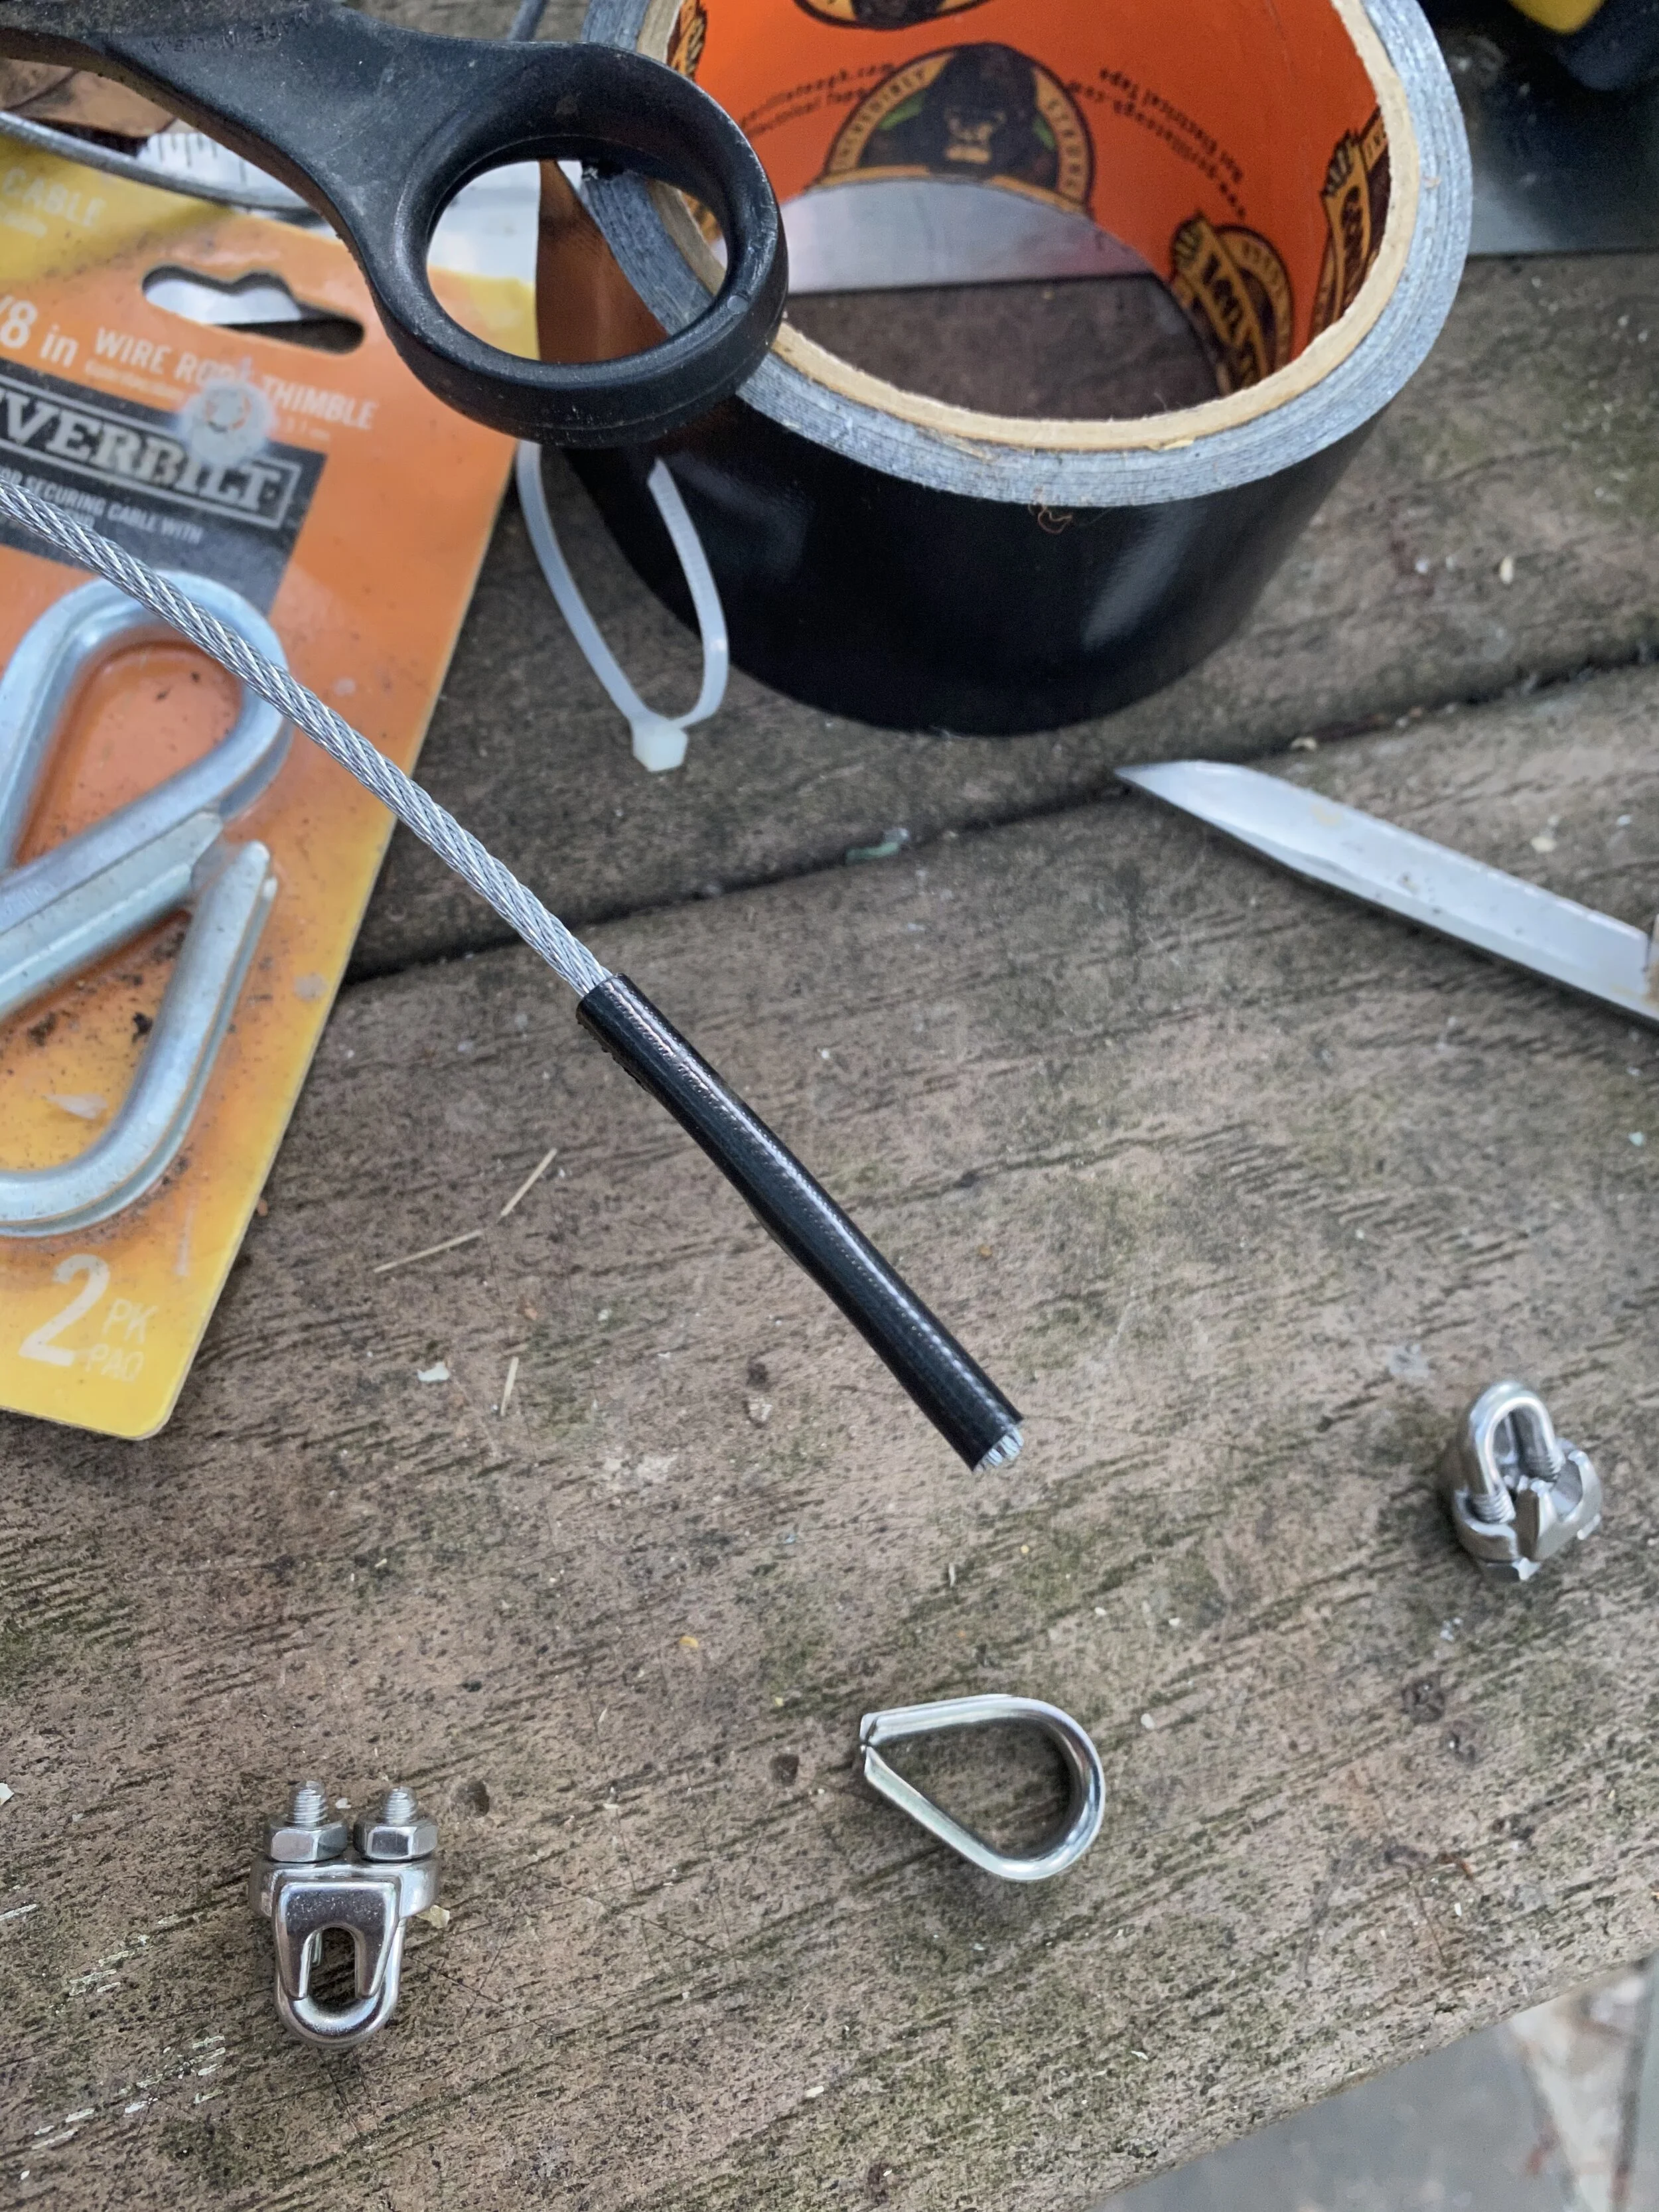
… then thread it through. On the ends, I drilled two holes, recognizing that when it came time to attach the wire rope it would not be possible to do that on the far side of the upright on either end of the fence, so the rope has to come back through and be attached on the inner face.

(Squirrel damage.)
The actual threading through was a piece of cake.
And that’s where we are with the Fence Art Project. Next step will be to actually affix the wire rope to the ends.
As for the art itself? No clue. More work is required.
